Charge Sensor (CRG-BTA)
Troubleshooting
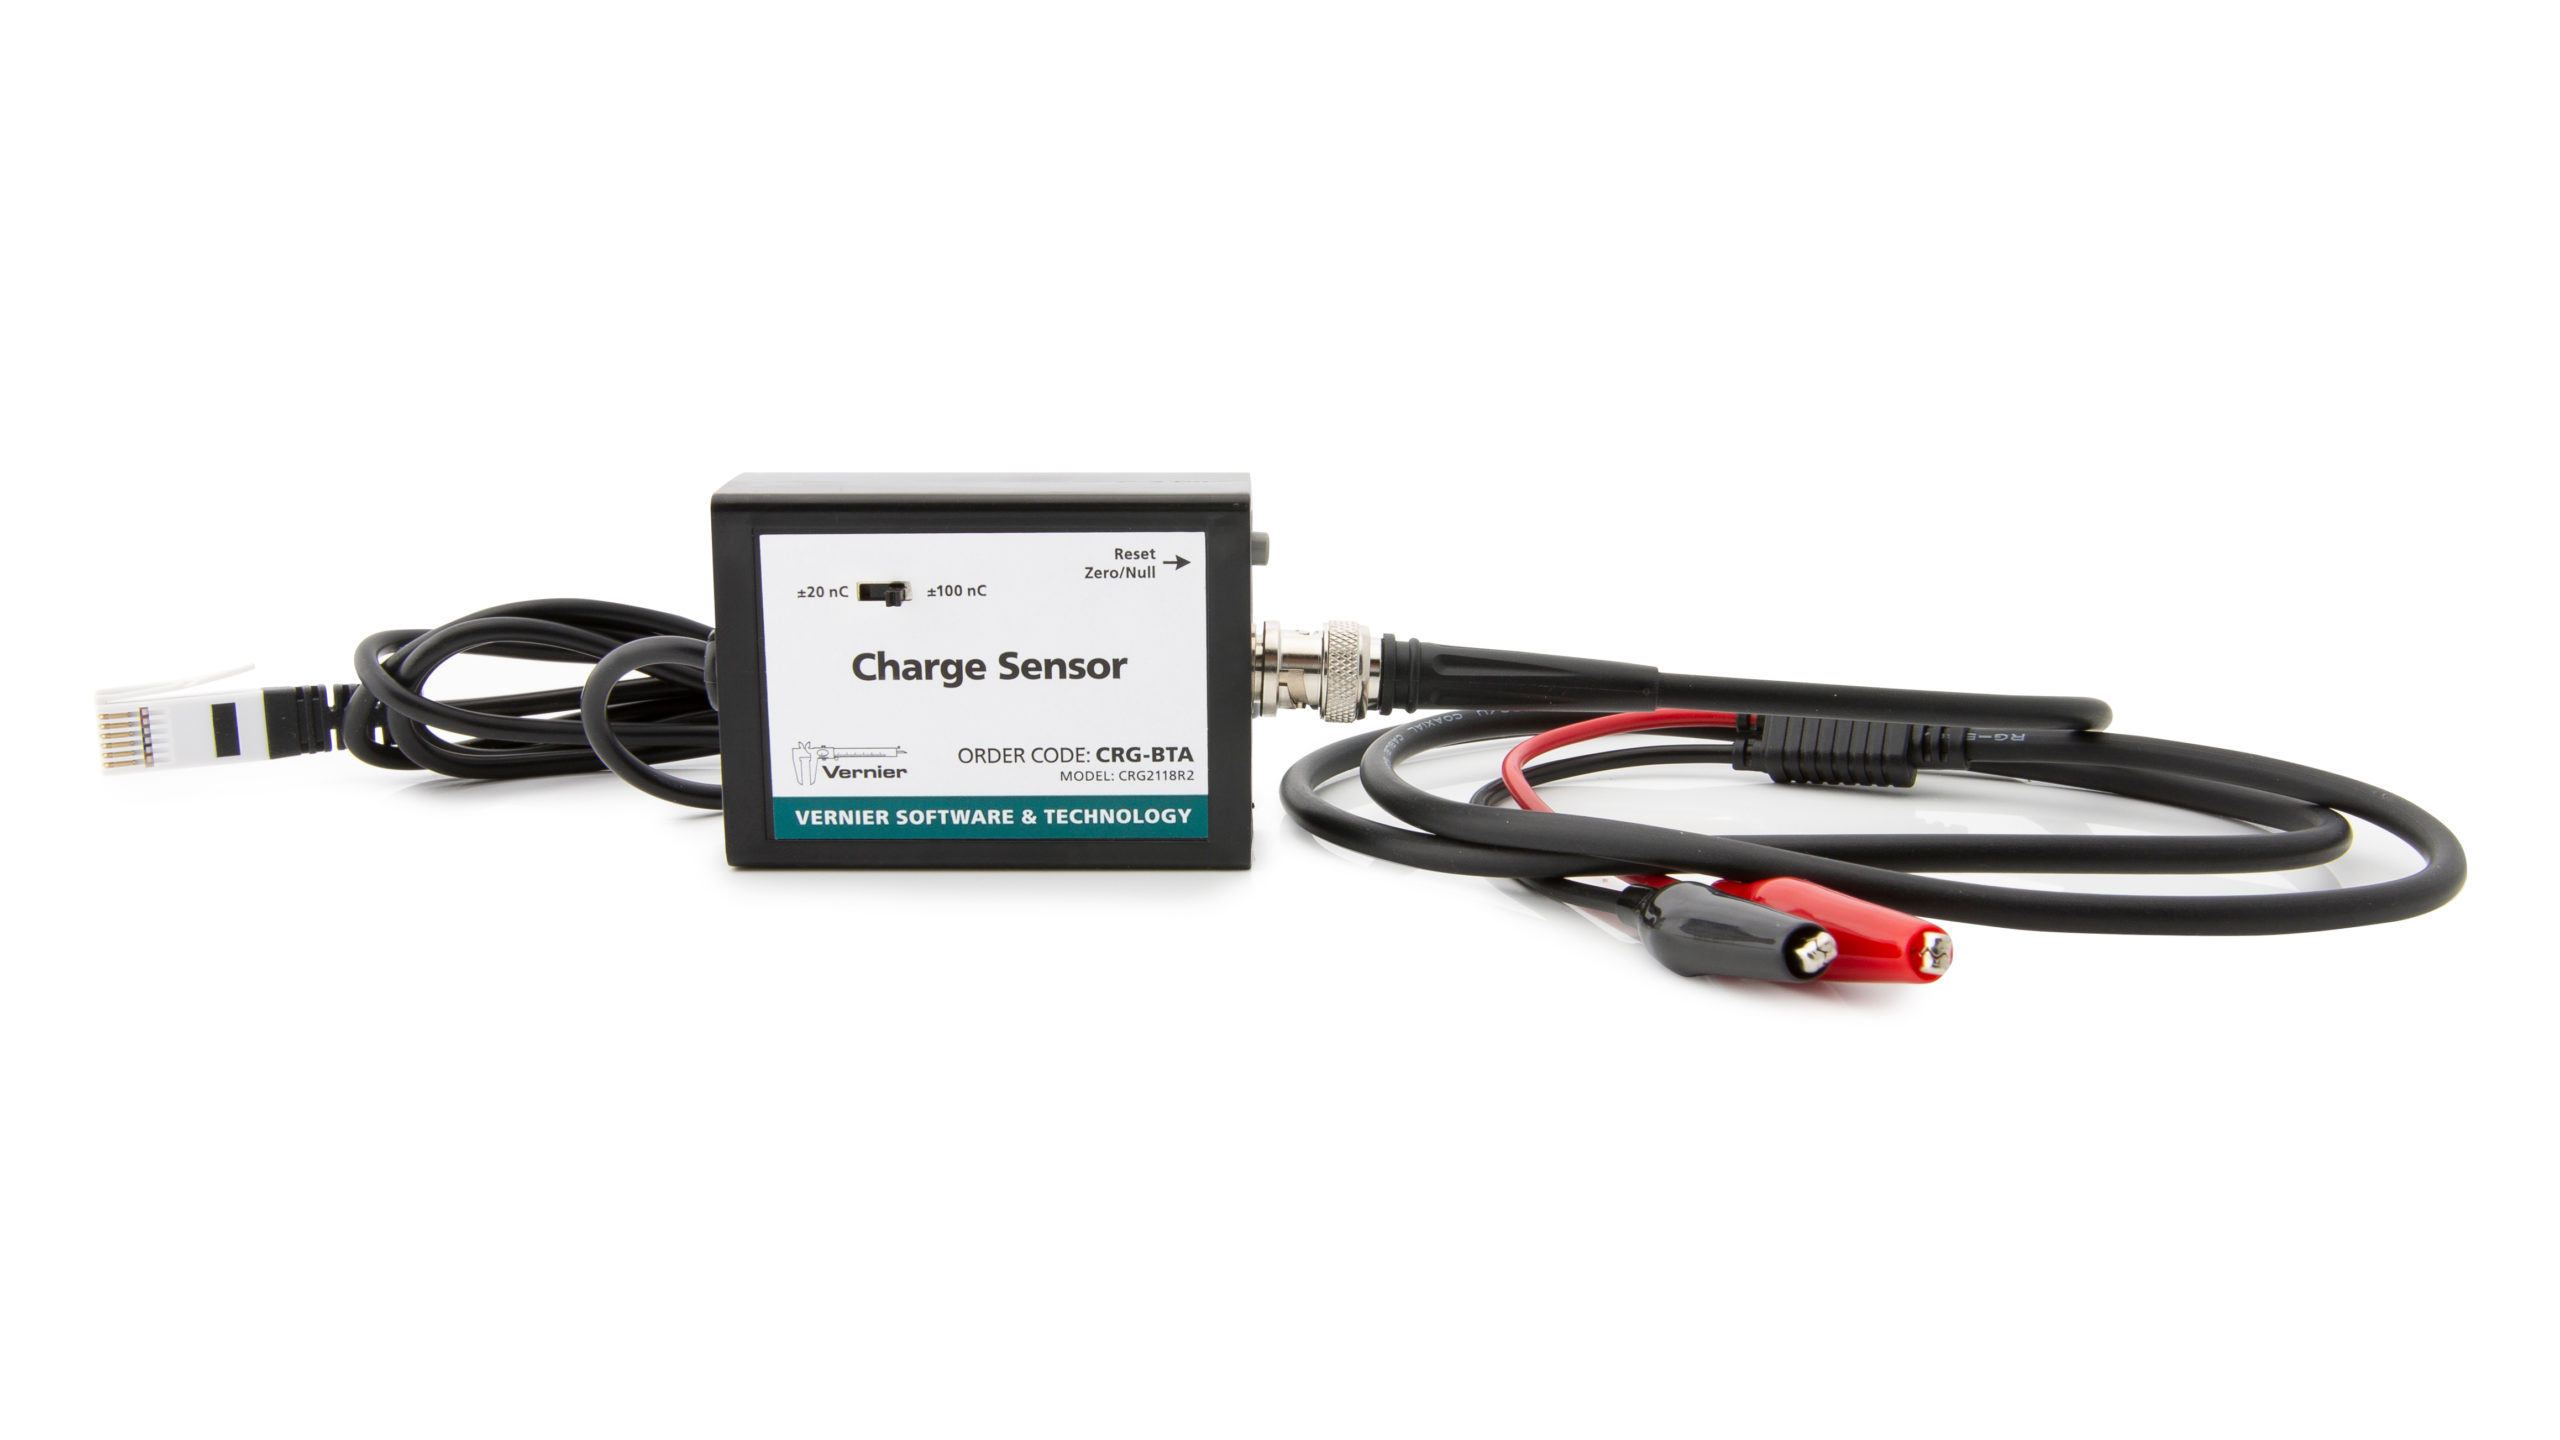
Confirm that the proper setting is chosen on the sensor box.
- Primary Test: After initial power up or whenever changing range setting, press the Reset button for a few seconds with the leads shorted together just to make sure all charge is depleted from the internal capacitor.
- Secondary Test: Are the readings imprecise? Be careful when handling the leads or you may alter the readings with stray charge. Refer to the sensor booklet for more tips on the proper handling and use of this sensor.
Note: This sensor was manufactured with three sensitivity settings until the last week of May, 2018. Since then, a model with only two sensitivity settings has been the shipping model. See SPECIFICATIONS.
Additional Troubleshooting
- What types of activities can I perform with the Charge Sensor?
- Why does the Charge Sensor value drift upward during experiments?
Specifications
- Ranges
All Units
⚬ ±2 V (±20 nC)
⚬ ±10 V (±97 nC)
Units shipped prior to last week of May 2018 only
⚬ ±0.5 V (±5 nC) - Maximum input: ±150 V
- Typical bias input current: 0.005 pA
- Instrument time constant: 0.1 s
Calibration
The sensor is set to the stored calibration before shipping. There is no need for further calibration. We recommend using the zero button to zero the sensor with the leads connected to a common conductor before collecting data.
Related Products
- Electrostatics Kit (ESK-CRG)
- High-Voltage Electrostatics Kit (HVEK-CRG)
- Electrostatic High-Voltage Genecon (HVEK-GEN)
- Go Direct® Static Charge (GDX-Q)