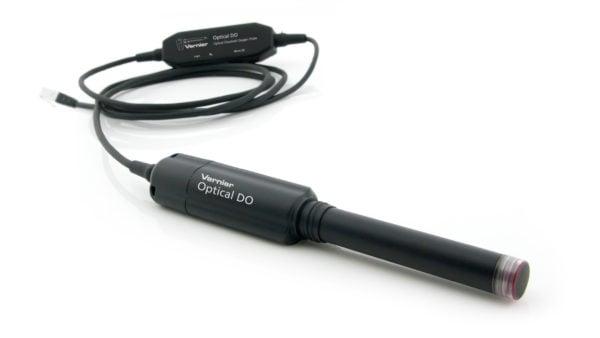
This article is for the Wired (BTA) Optical DO Probe.
For the Go Direct Optical Dissolved Oxygen Probe, see How do I replace a cap on the Go Direct Optical Dissolved Oxygen probe? (step 10).
A Calibration Reset May Be Needed in These Cases
- When the Optical DO Probe Replacement Cap (
ODO-CAP ) is replaced. - If the probe has been stored dry for a long period of time. In this case, store the probe with the clear storage bottle and damp yellow sponge for one hour before completing the reset. This will ensure the probe is at 100% humidity.
- The probe is reading values that are extremely low or extremely high at room temperature.
Calibration Reset Instructions
- Position the switch to %.
- Add distilled water to the storage bottle to the top of the sponge.
- Insert the probe into the bottle. The tip of the probe should not be touching the water or the sponge. Keep the probe in this position for at least 60 seconds.
- Use a small paper clip to press down the reset button for three seconds. The reset button is located on the bottom of the box containing the micro SD card.
- Release the button. The reading will drop to almost 0%.
- Wait for the reading to change to 100%. This may take up to 60 seconds.
- Once the reading reaches 100%, wait another 30 seconds for the reset process to complete. Note: This waiting time is important for the probe to internally save the reset information.
- The probe is now ready to use.