Troubleshooting
- Primary Test: Plug the sensor into a Vernier interface, run the data-collection program, and take a reading in a solution of known Total Dissolved Solid (TDS).
- For best results, condition the electrode in a standard solution for three to five minutes prior to use.
Additional Troubleshooting
Specifications
- Range: 0-2000 μS/cm (0-1000 mg/L TDS)
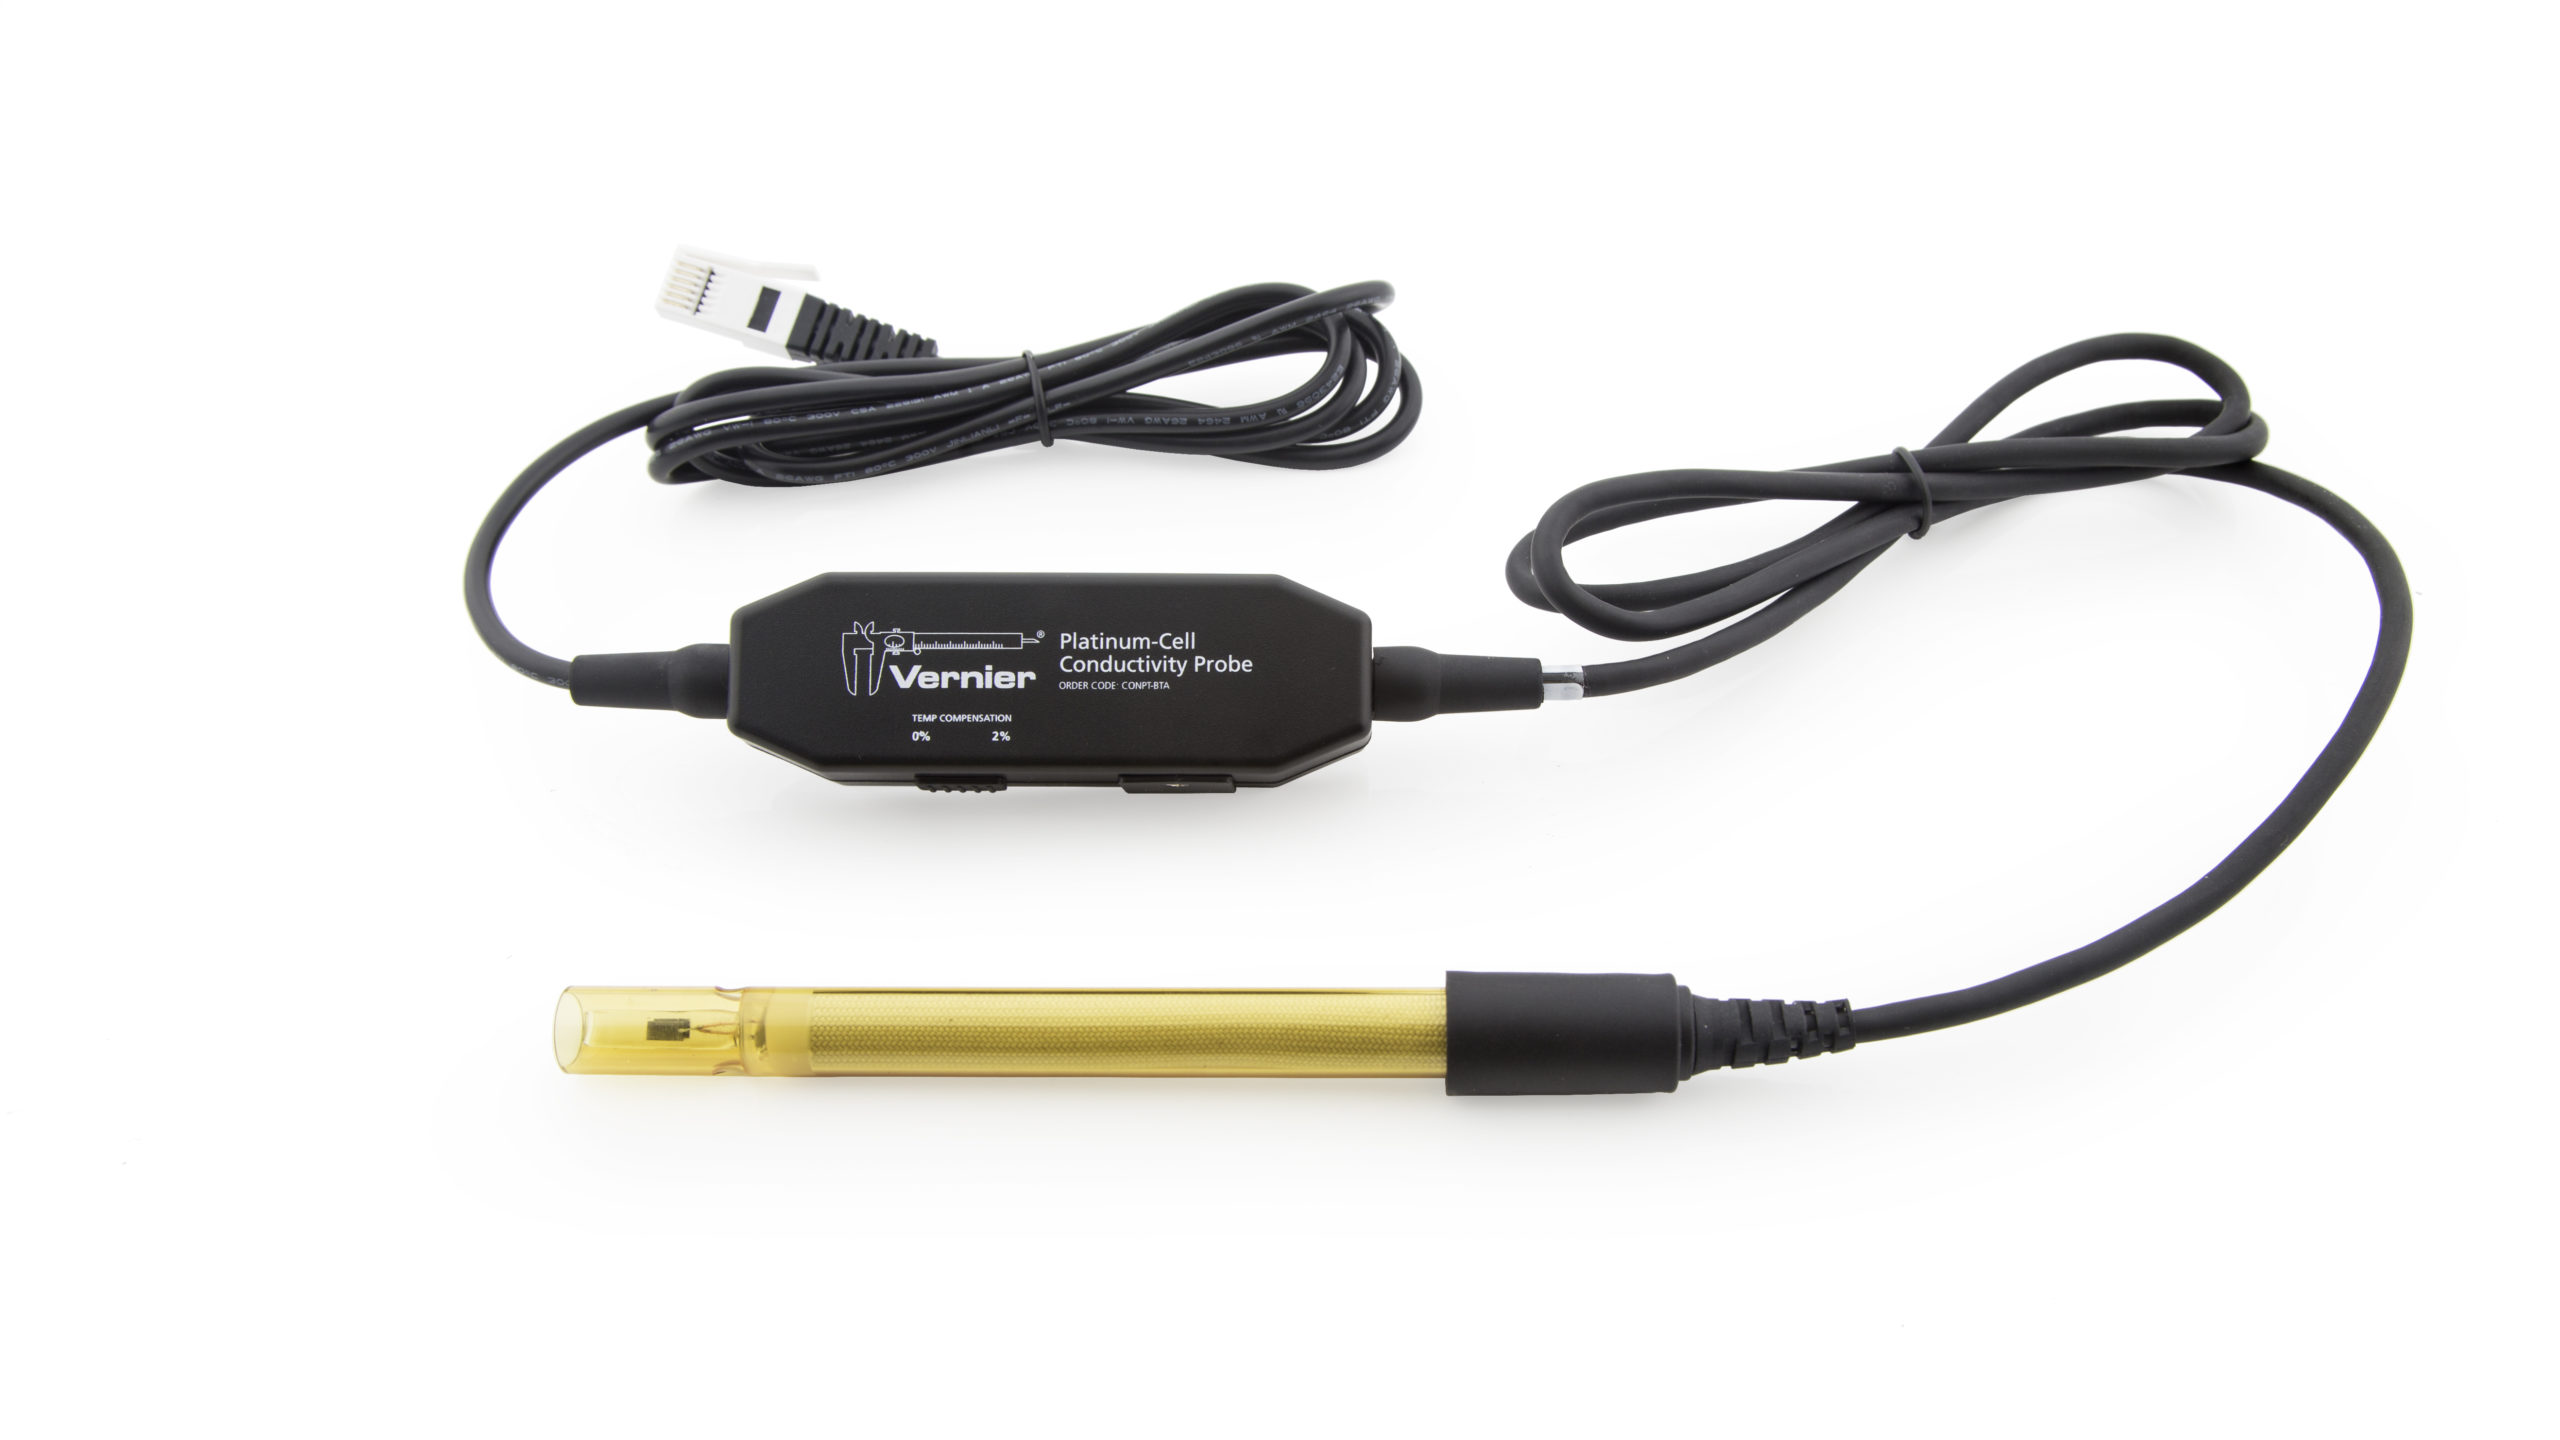
- Body description: epoxy body, 2-cell platinum element
- Accuracy using factory calibration: ±40 μS/cm
- Accuracy using custom calibration: ±10 μS/cm
- Response time: 95% of full-scale in 5 seconds
- Temperature compensation: two settings – none or 2% for 5 to 35 ºC
- Temperature range: 0 to 80 ºC
- Cell constant: 1.0 cm-1
- Shaft dimensions: 12 mm OD x 120 mm length
- Minimum submission depth: 3 cm
Calibration
Calibrate? You do not have to perform a new calibration when using the Platinum-Cell Conductivity Probe for most experiments. Each probe is programmed with a custom calibration prior to shipping. The factory calibration is set while the probe is at room temperature with the temperature compensation at 2%.
However, if your experimental application requires more accurate readings or if you are testing without temperature compensation, you should calibrate your sensor using a two point calibration.
- Make sure the temperature compensation switch is set to the desired position.
- Initiate the calibration procedure in the software. (For more information, see How do I calibrate my sensor?)
- First calibration point
- Place the Platinum-Cell Conductivity Probe into a known standard solution.
- Be sure the entire elongated hole with the electrode surfaces is submerged in the solution and that there are no bubbles along the electrode surface.
- Wait for the displayed voltage to stabilize.
- Enter the value of the standard solution in the appropriately chosen units for Reading 1.
- Click or tap Keep.
- Second calibration point
- Place the Platinum-Cell Conductivity Probe into a different standard solution.
- Be sure the entire elongated hole with the electrode surfaces is submerged in the solution and that there are no bubbles along the electrode surface.
- Wait for the displayed voltage to stabilize.
- Enter the value of the standard solution for Reading 2.
- Click or tap Keep.
- If you want to save the calibration onto the sensor (Logger Pro and LabQuest App only), click the storage tab and save the calibration to the sensor.
- Click or tap Done (or OK depending on the software) to complete the calibration process.
Note: Performing a zero-point calibration is not recommended with conductivity sensors. It is preferred that you use a low-concentration calibration standard instead of a zero point. This is particularly important if you plan to take measurements below 200 μS/cm where the low calibration point is most critical.
Storage and Maintenance
- When you have finished using the Platinum-Cell Conductivity Probe, simply rinse it off with distilled water and blot it dry using a paper towel or lab wipe. The probe can then be stored dry.
- If the probe cell surface is contaminated, soak it in water with a mild detergent for 15 minutes. Then soak it in a dilute acid solution (0.1 M hydrochloric acid or 0.5 M acetic acid works well) for another 15 minutes. Then rinse it well with distilled water and blot dry. Important: Avoid scratching the inside electrode surfaces of the elongated cell.
Related Products
- Electrode Support (ESUP)
- Low-Concentration Conductivity Standard Solution (CON-LST)
- Mid-Concentration Conductivity Standard Solution (CON-MST)
- High-Concentration Conductivity Standard Solution (CON-HST)
- Conductivity Probe (CON-BTA)
- Go Direct® Conductivity Probe (GDX-CON)
- Go Direct® Platinum-Cell Conductivity Probe (GDX-CONPT)