Strain Gage Measurements
Experiment #10 from Engineering Projects with NI LabVIEW and Vernier
- Subject
- Engineering
Introduction
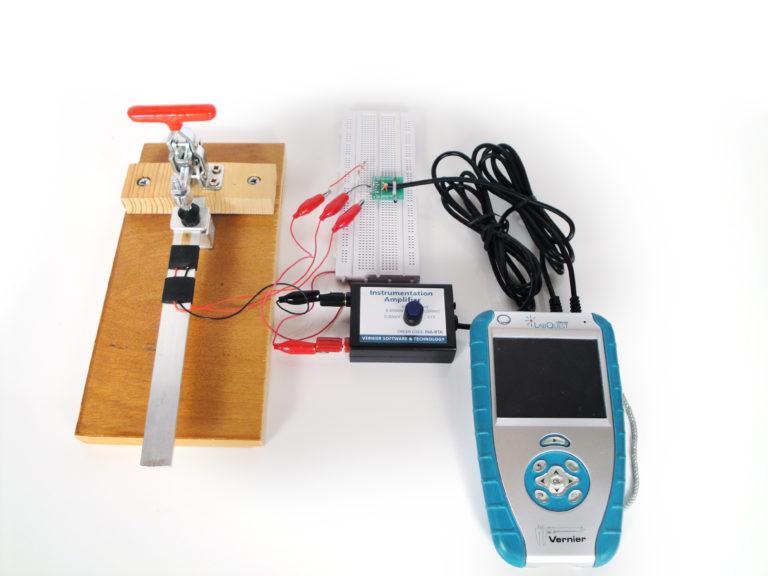
When a force is exerted on an object, the length of the object will change. The ratio of the change in length to the original length is called strain. A strain gage is a small section of very fine wire that changes electrical resistance when its dimensions are changed. Two leads (wires or terminals) are available to connect the gage to measuring instruments. In use, a strain gage is attached to the surface of the object to be measured in such a way that when the mechanism is deformed, the conducting material is also deformed. Consider two strain gages that are glued to the top and bottom of a metal cantilever beam. When a force is applied to the beam, it bends down in proportion to the force (Hooke’s Law). As the bar bends downward, the top of the bar stretches as it is placed in tension. The top strain gage is also stretched, and its resistance increases slightly because the length of gage wire increases while the width of the wire decreases. For the strain gage on the bottom of the bar, all of these effects are reversed–the bottom of the beam is placed in compression and the gage decreases in resistance. These changes in resistance are small, but they can be measured accurately with the proper circuit. A well-known circuit designed to convert small changes in resistance to changes in voltage is a Wheatstone bridge circuit.
Objectives
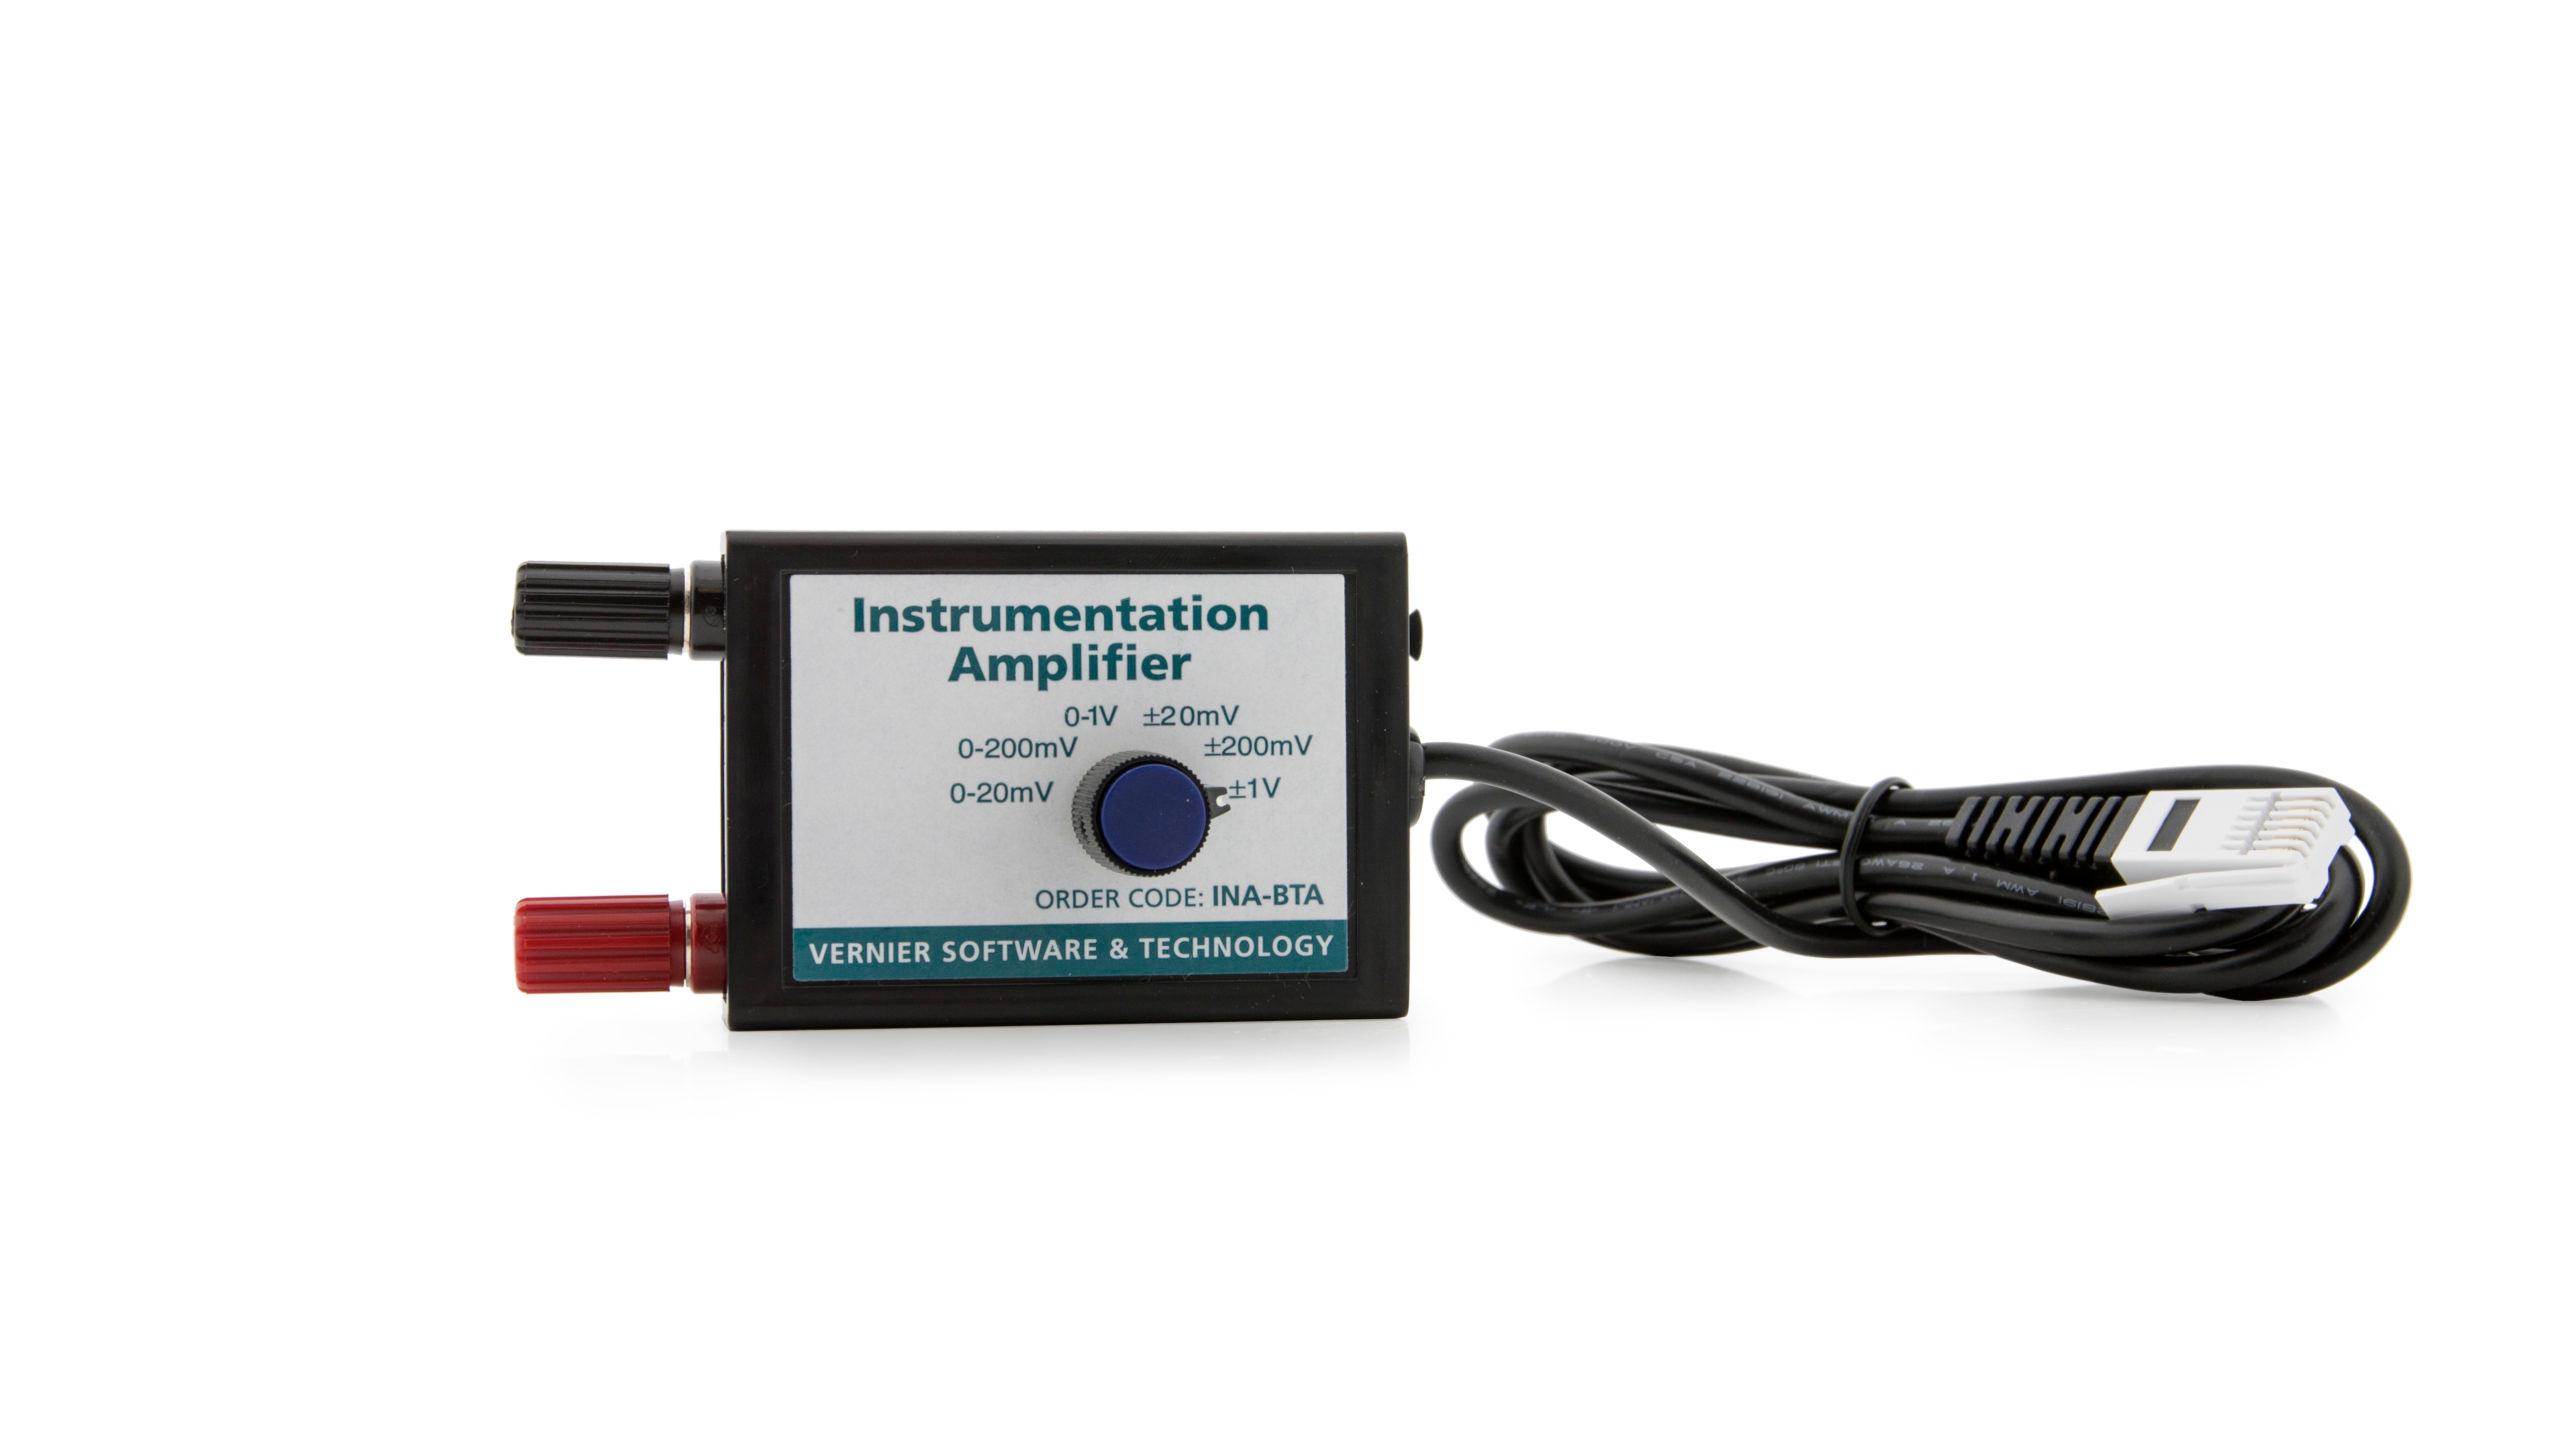
Build a Wheatstone bridge circuit with two strain gages, and use it to measure the strain on a cantilever beam as a load is applied to the end of the beam. You will write a LabVIEW program to measure the output voltage of this circuit and convert it to strain. Both voltage and strain should be displayed on the front panel as Waveform Charts. Your apparatus should incorporate a Vernier Instrumentation Amplifier to magnify the voltage readings.
Sensors and Equipment
This experiment features the following sensors and equipment. Additional equipment may be required.

Ready to Experiment?
Ask an Expert
Get answers to your questions about how to teach this experiment with our support team.
- Call toll-free: 888-837-6437
- Chat with Us
- Email support@vernier.com
Purchase the Lab Book
This experiment is #10 of Engineering Projects with NI LabVIEW and Vernier. The experiment in the book includes student instructions as well as instructor information for set up, helpful hints, and sample graphs and data.