First, an overview of the difference between WeatherLinkIP (discontinued in 2019) and WeatherLink Live (introduced in 2019):
When you use a Davis weather station with a WeatherLink Console and a WeatherLink-IP, sensors (usually on the roof) sends the data to your Console, where they are displayed. The WeatherLink-IP, is plugged into the side of the WeatherLink Console and also connected to an Ethernet connector to the local network. It sends your weather data from the console to the Davis Website so anyone on the internet can view the data.
Davis WeatherLink Live (DWL-LIVE) is a newer, better option for connecting the Davis weather sensors to the internet. It connects wirelessly to your sensors (on the roof) and, via either Ethernet or WiFi, to your local network so data can be displayed on the internet. In addition, the WeatherLink Live device has, built into it, temperature, humidity, and pressure sensors. It will report these readings.
Advantages of WeatherLink Live over WeatherLink-IP include:
– it is less expensive that WeatherLink IP was.
– you do not need to have it connected via ethernet
– you can connect up to 8 devices to WeatherLink Live
-Weatherlink Live integrates nicely a Davis Air Quality sensor, AirLink.
– you do not even have to buy a WeatherLink Console; you can purchase just the sensors that go on the roof and connect to them. See What are the least expensive options you offer for collecting weather data with a Davis Weather Station?.
Here is a short video overview on the setup of WeatherLink Live: Weatherlink Live: From Box to Setup
Here is the main Davis web page on WeatherLink Live:
https://www.davisinstruments.com/weatherlinklive/
Here are some Frequently Asked Questions about WeatherLink Live:
https://support.davisinstruments.com/category/ri2u0y4r5t-weatherlink-live
We are using a WeatherLink Live at our Vernier S&T weather station. You can access it by name Vernier S&T in the WeatherLink app or from weatherlink.com or you can access it at:
https://www.weatherlink.com/embeddablePage/show/b595e4af2b864746ae330c6d930e07ff/wide
Note that these URLs display a small fraction of the weather data. To get a summary of our weather data, go to:
https://www.weatherlink.com/embeddablePage/show/96ebf25f6afd4dc082b4edc2c45d395f/summary
To access all the data and see graphs, use the WeatherLink app or access it from weatherlink.com
After the station is set up you should see data reported on the weatherlink.com screen. You can always log on with your account and get the weather information there along with graphs, charts, and maps with other Davis weather station information. Other people with a free weatherlink.com account can also access your weather data that way.
You also will probably want to give others access to your weather station data via the web without using the WeatherLink App or weatherlink.com. You can do this by clicking on the Share & Uploads button on the weatherlink.com web page.
On this screen, if you select Embed, you will be offered embeddable links that you can use to embed your weather station data in your school website. Actually, you will have several choices. They display the same information, but with a slightly different screen layout. Try them all an decide which one you like.
Instead of selection Embed you can select Summary. This will offer you a link to a nice summary of the weather data for the day at that station.
Here is a link which shows how to do this: https://www.youtube.com/watch?v=0hl5Rtn5x_k
Here is a link to a video from Davis Instruments which gives an overview of the WeatherLink.com 2.0 web site.
Note that you can share the urls which link to your station with as many people as you want. People accessing your weather data that way see the current conditions, but not graphs and historical data. If you pay Davis Instruments a monthly fee, you can become a Pro or a Pro+ user and give specific users access to all your historical data and graphs. In February 2019 the Pro status was $3.95/month and the Pro+ status was $8.95/mo. Here is a table of what you get for those levels of upgrade:
level # of users you can share with
Pro 6
Pro+ 10
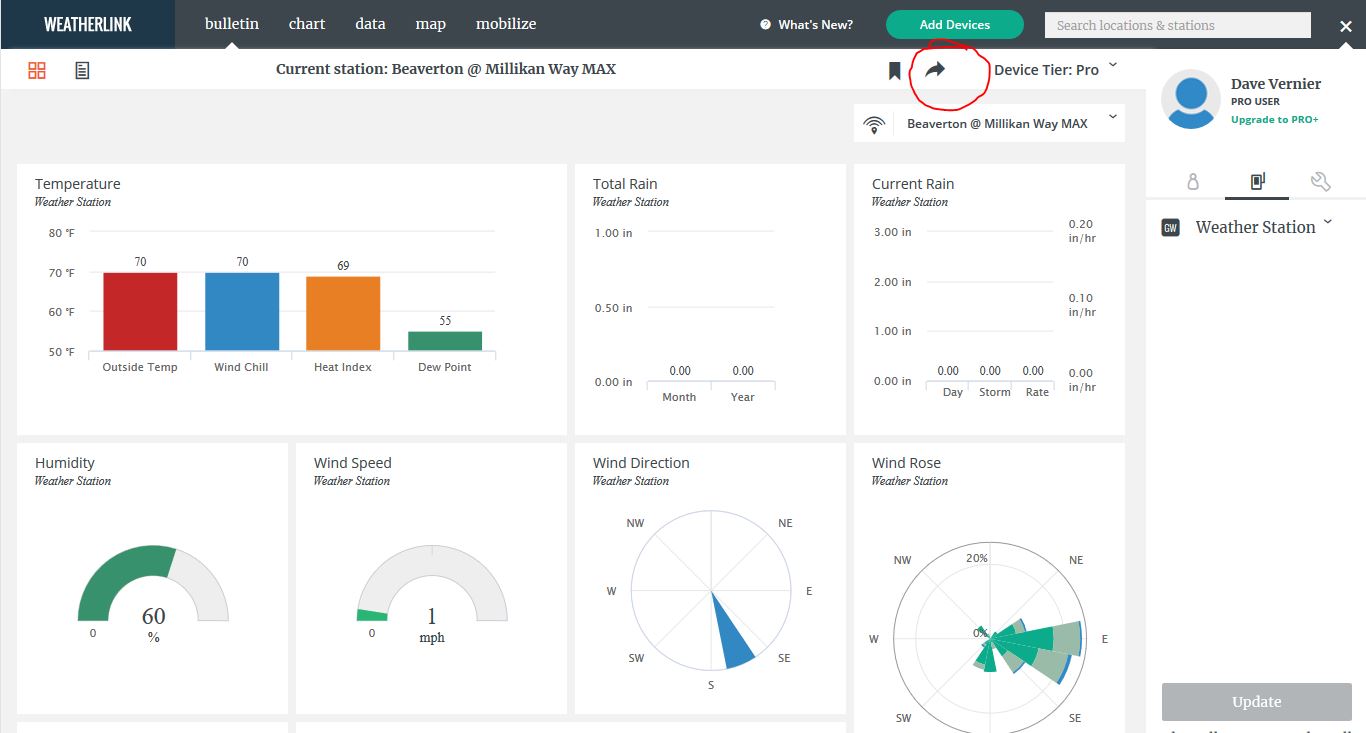
You also make your weather station part of the Weather Underground network of weather stations, Globe, or other collections. To do that click on the arrow, at the top of the bulletin screen.
On the next screen, click on “Upload”. On the next screen click on “Select a Service to Upload To”. You should then have a choice of CWOP (The Citizens Weather Observer Program, GLOBE, or Weather Underground.
For Davis Tech Support, call 510 732-7814 (M-F. 7am to 5:30 pm Pacific Time)
Or email support@davisinstruments.com
See also: www.davisinstruments.com