Vernier Video Analysis® makes studying two dimensional motion, circular motion, and multiple objects moving in two dimensions easy and accessible. The Progressive Web App version is available at VideoAnalysis.app with no installation (runs in Chrome™ browser). A license key is required.
Logger Pro is no longer under development and will not receive further updates. As of December 31, 2024, we are no longer be selling new licenses for Logger Pro. Click here for more information.
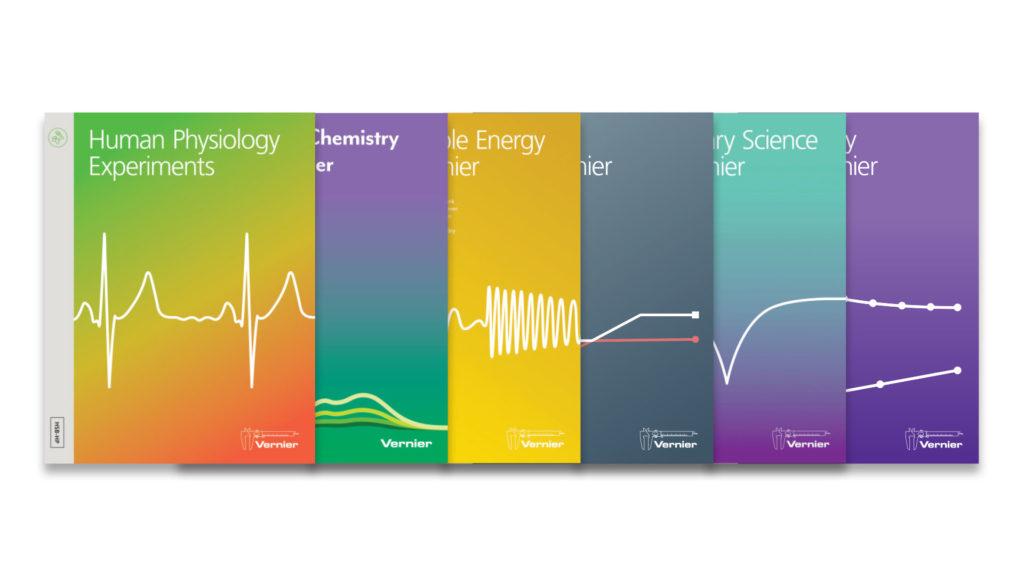
Already have a license for Logger Pro 3, LabQuest Viewer, or Vernier lab books? To access this material, log in to your Vernier account and visit the “My Downloads” page, where all your licensed material is housed, to begin downloading.