Data sharing between a computer or Chromebook is typically done using a Wi-Fi connection. If you are unable to access a Wi-Fi network and need to move your LabQuest 3 data to a computer or Chromebook, follow these steps:
On the LabQuest 3
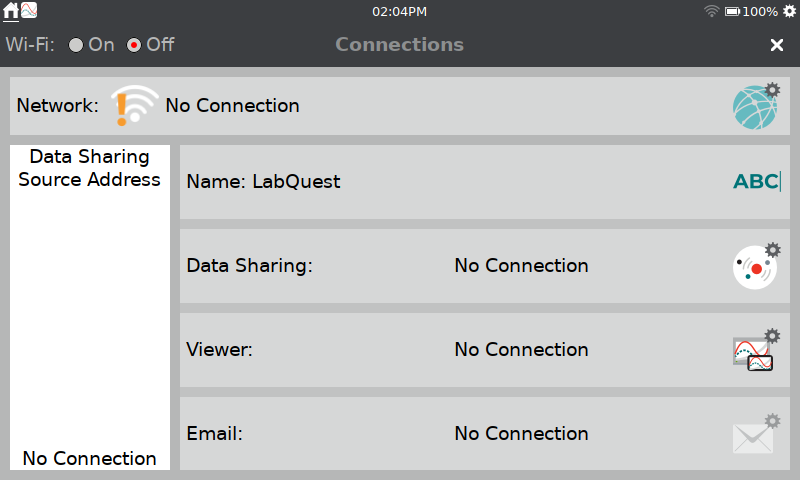
- From the Settings screen,
 , select the Connections App,
  .
. - Tap Data Sharing,
 . Make sure the Data Sharing option is On, then tap Close.
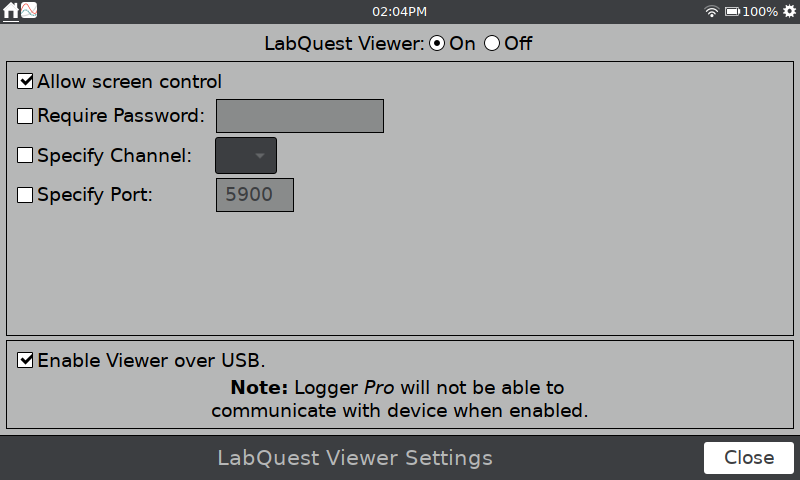
 - Tap Viewer,
 . Make sure the Viewer is On.
 - Check the Enable Viewer over USB option.
Note: While enabled, this option prevents your LabQuest from working as a USB interface with Logger Pro, Graphical Analysis, or Graphical Analysis Pro. - Close the Viewer settings and exit the Connections app.
This will set up the LabQuest as an Ethernet device when connected via USB.
Connect your LabQuest to your Computer or Chromebook
- Connect the micro end of the USB cable to your LabQuest 3.
- Connect the other end of the USB cable to your computer or Chromebook.
Using Graphical Analysis or Graphical Analysis Pro (Computer only)
- On your computer, launch Graphical Analysis or Graphical Analysis Pro. Note you need to be using the installed version of these apps, (not the Web version from https://graphicalanalysis.app/ ).
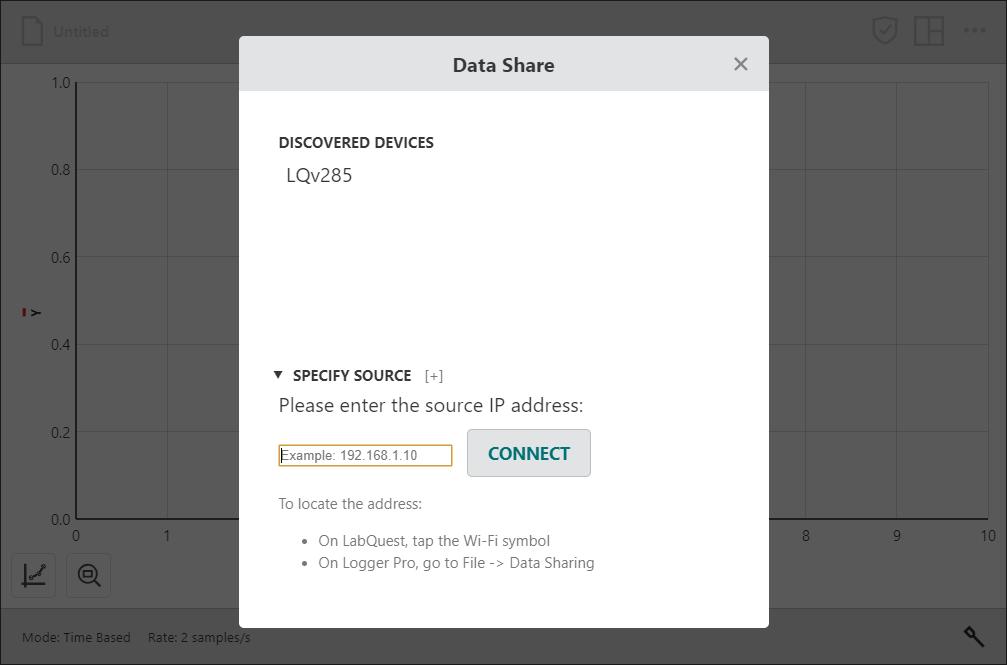
- Click or tap Data Sharing,
 , and select the Local tab.
 - Select Specify Source and enter the IP address appropriate to your device.
- Windows computer: 192.168.234.1
- macOS computer: 192.168.235.1
- Click or tap Connect to connect to your LabQuest.
Using the Data Share Web App (Chromebooks or Computers)
- On your computer or Chromebook, launch a browser window (e.g., Chrome, Firefox, Safari, Edge).
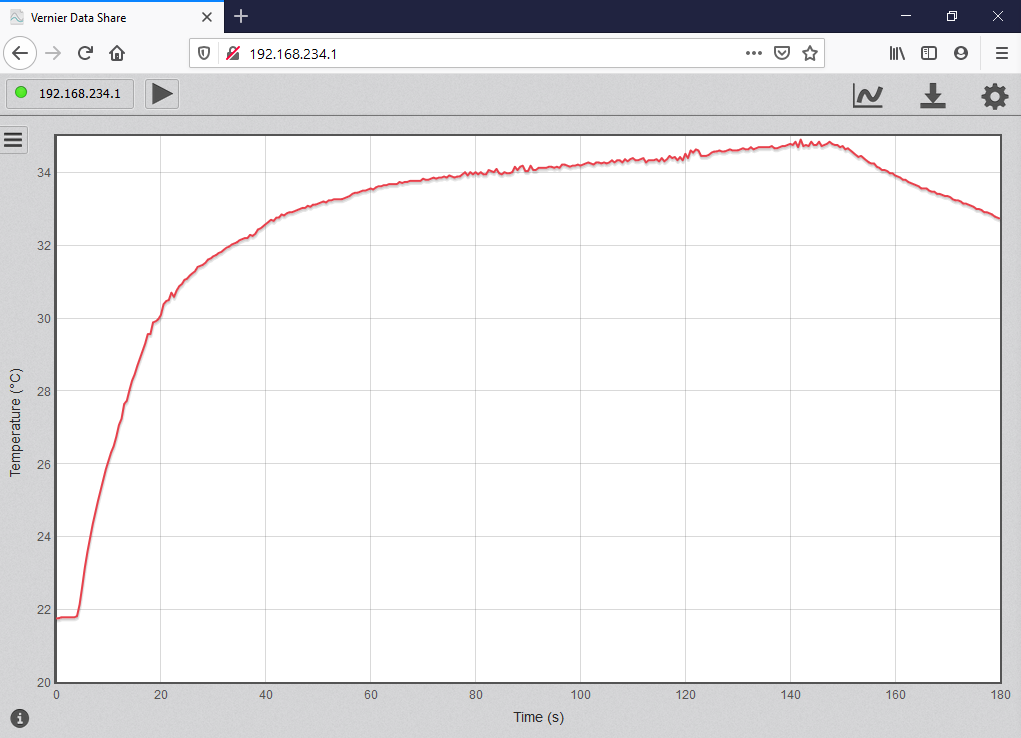
- Enter the IP address appropriate to your device in the address line.
- Chromebook or macOS computer: 192.168.235.1
- Windows computer: 192.168.234.1
- Press Enter to access the Data Sharing Web app.