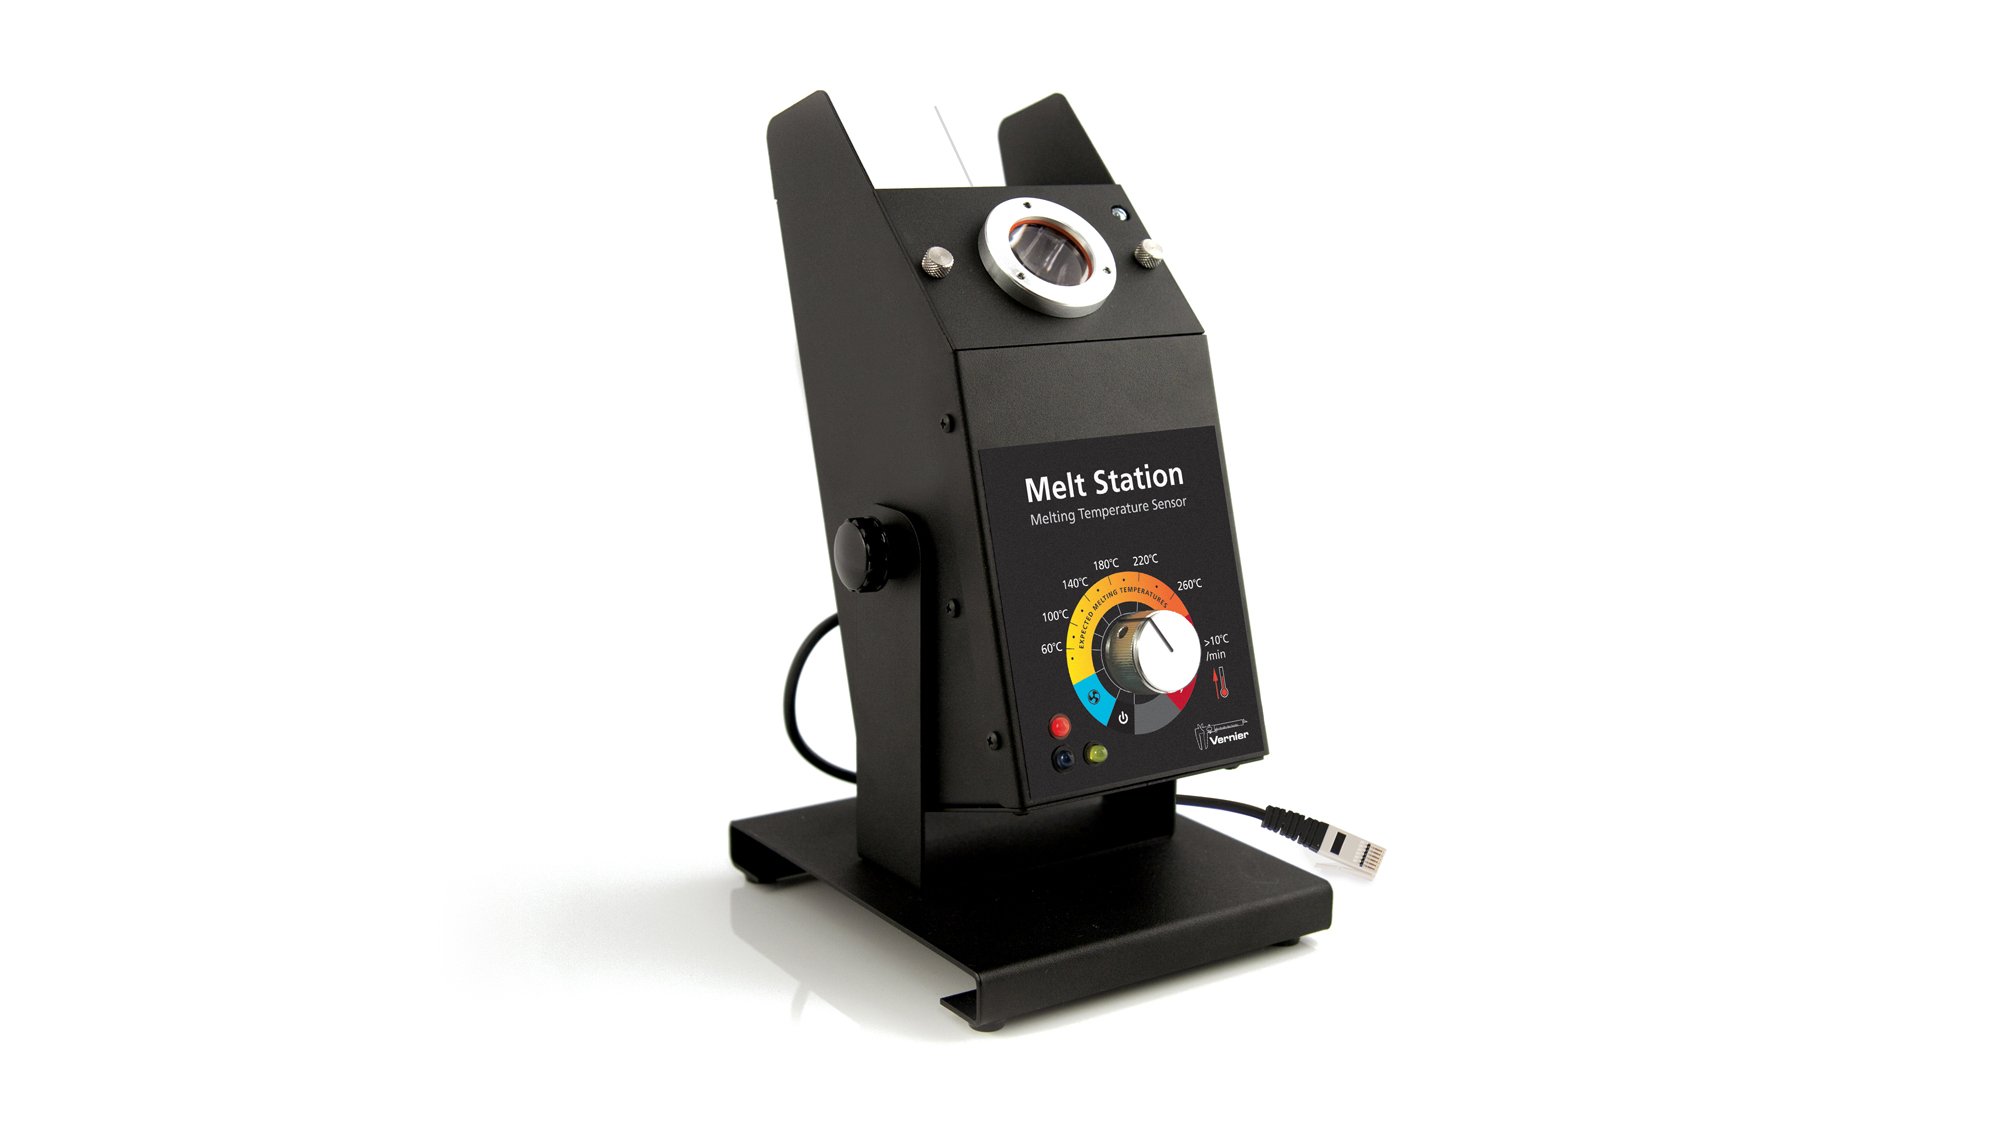
Melt Station (MLT-BTA )
Troubleshooting
- Primary Test: Power the Melt Station using its AC adapter. Connect the Melt Station’s BTA plug to a data collection interface. Run the data collection software. The Melt Station should auto-ID and a reading of the approximate room temperature will be displayed. Turn the control dial on the Melt Station to any temperature setting, or Rapid Heat, and start the data collection. The temperature readings should increase.
- Secondary Test: Power the Melt Station using its AC adapter. Turn the control dial to any temperature setting. If the Melt Station is working properly, the red LED will come on to indicate that the heating block is warming.
Additional Troubleshooting
- The control knob on my Melt Station is loose. How can I tighten it?
- How do I remove a broken capillary tube from a Melt Station?
Specifications
- Temperature Sensor: Class A, Platinum Resistance Temperature Detector (RTD)
- Range: Ambient to 260°C
- Resolution: 0.10°C
- Accuracy: ±(0.31+0.0006∙T), where T is the temperature in Celsius
⚬ Typical values: ±0.4°C (<200°C); ±0.5 deg C (>200°C) - Safety shut down: The heating block is automatically powered down after approximately 60 minutes of heating.
- Capillary tubes: 1.4–1.8 mm outside diameter, 100 mm length
- Capillary tube slots: 3
- Viewing lens: 27 mm diameter (functional), 30 mm (actual)
- Lighting of capillary slots: 3 white LEDs
- Lighting of control dial:
⚬ Red LED (indicates heating mode)
⚬ Blue LED (indicates cooling mode with cooling fan running)
⚬ Yellow LED (safety shut off activated) - Dimensions
⚬ Base: 13 cm × 15 cm × 1.5 cm
⚬ Body: 9 cm × 9 cm × 24 cm - Weight: 1.0 kg (2.2 lbs); with AC adapter: 1.2 kg (2.6 lbs)
- Power Supply
⚬ universal AC adapter 100–240 VAC, 50–60 Hz input
⚬ Output: 24VDC to unit
⚬ Power consumption: 40W max., <0.5A @ 110V
Calibration
Calibrate? No. The temperature sensor embedded in the aluminum heating block of the Melt Station will never need to be calibrated. The sensor is carefully calibrated before it ships, and this unique calibration is stored on a smart chip in the sensor. Note: There is no method to perform a calibration of this sensor in any of our software programs.
Related Products
- Melt Station Capillary Tubes (
MLT-TUBE ) - Replacement Melt Station Power Supply (
MLT-PS ) - Go Direct® Melt Station (
GDX-MLT )