Troubleshooting
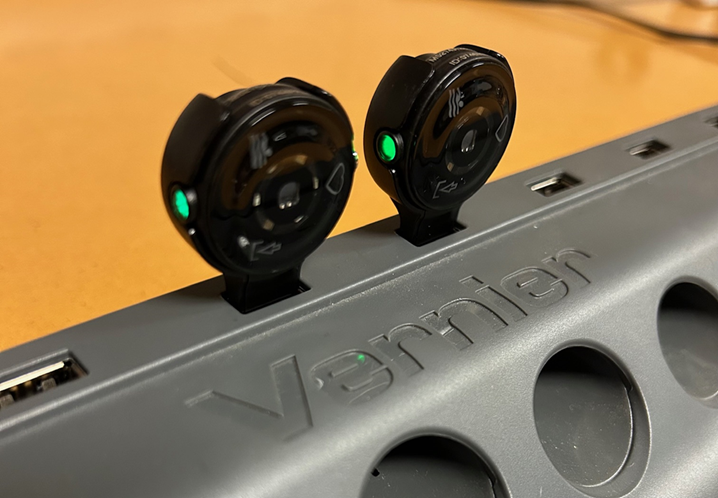
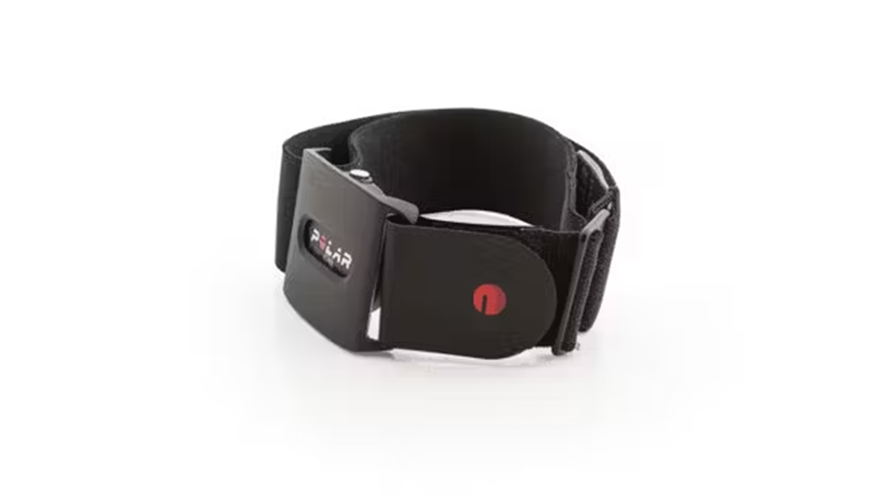
General: Press the button on the side of the Go Wireless Optical Heart Rate once to power the sensor on. The green lights should begin to flash. Connect your sensor as described in the Getting Started instructions for your device. The ID for this sensor is found on the side of the Polar Transmitter Module. This is a unique sequence of numbers and/or letters (e.g., ID:XXXXXXXX).Slip the sensor onto your arm with the green lights facing the skin of the inside of your arm. Adjust the band for a comfortable fit.
Primary Test: Connect the sensor to the software as described above. Verify that heart rate is displayed and is stable (small fluctuations are normal). Tap collect to begin data collection.
Note: When finished using this sensor, press the button on the side until the sensor powers down (the green lights disappear).
If the sensor does not power on, it may require charging:
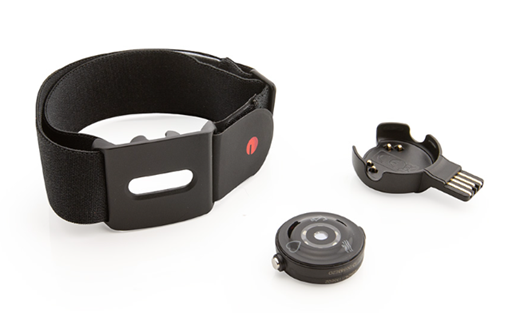
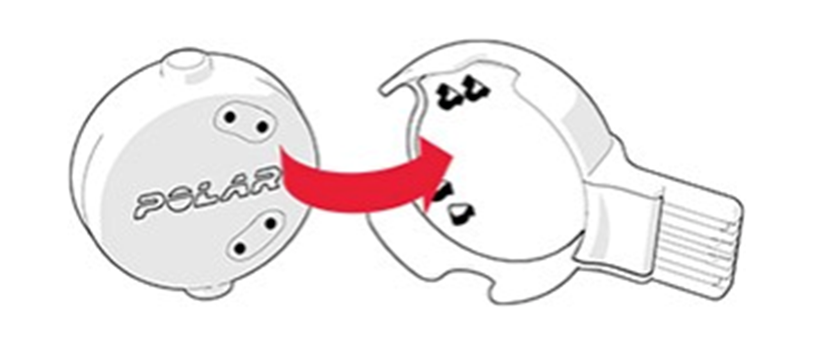
1. Place the sensor into the USB adapter with the lens facing up so that the contacts on the sensor and USB adapter meet.
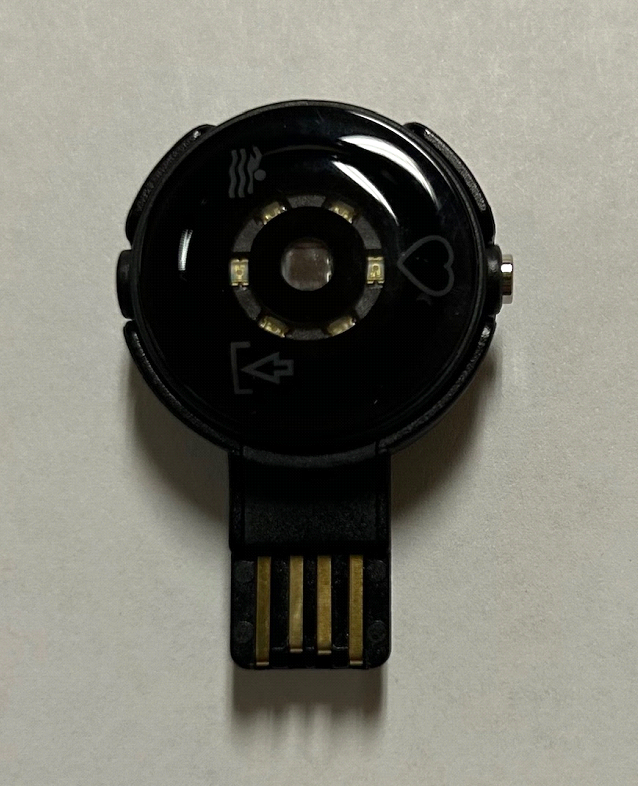
2. Plug the USB adapter into a computer USB port or USB power wall outlet.
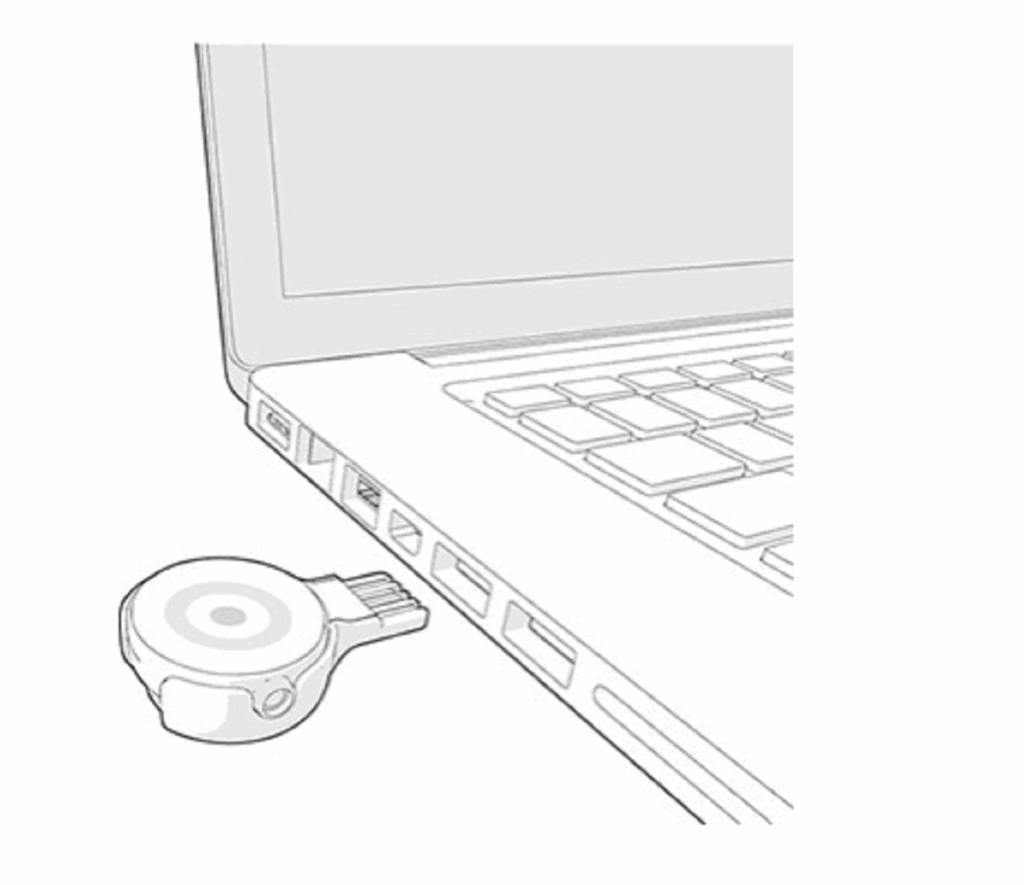
The orientation of the USB charging dongle is important to ensure the sensor is charging. When charging, the status LED blinks certain colors to indicate the battery status of the sensor:
- Red: 0-9%
- Orange: 10-29%
- Yellow: 30-79%
- Green: 80-99%
- Green LED is continuously on when the battery is full