It is not possible to use our software to perform a typical custom calibration on any of our spirometers. But you can adjust the calibration to make them more accurate. You will need a 2L (or larger) calibration syringe to perform the calibration adjustment. A 2L calibration syringe can be acquired from several sources. We recommend A-M Systems (www.a-msystems.com)
Go Direct Spirometer
If you have a Go Direct® Spirometer (
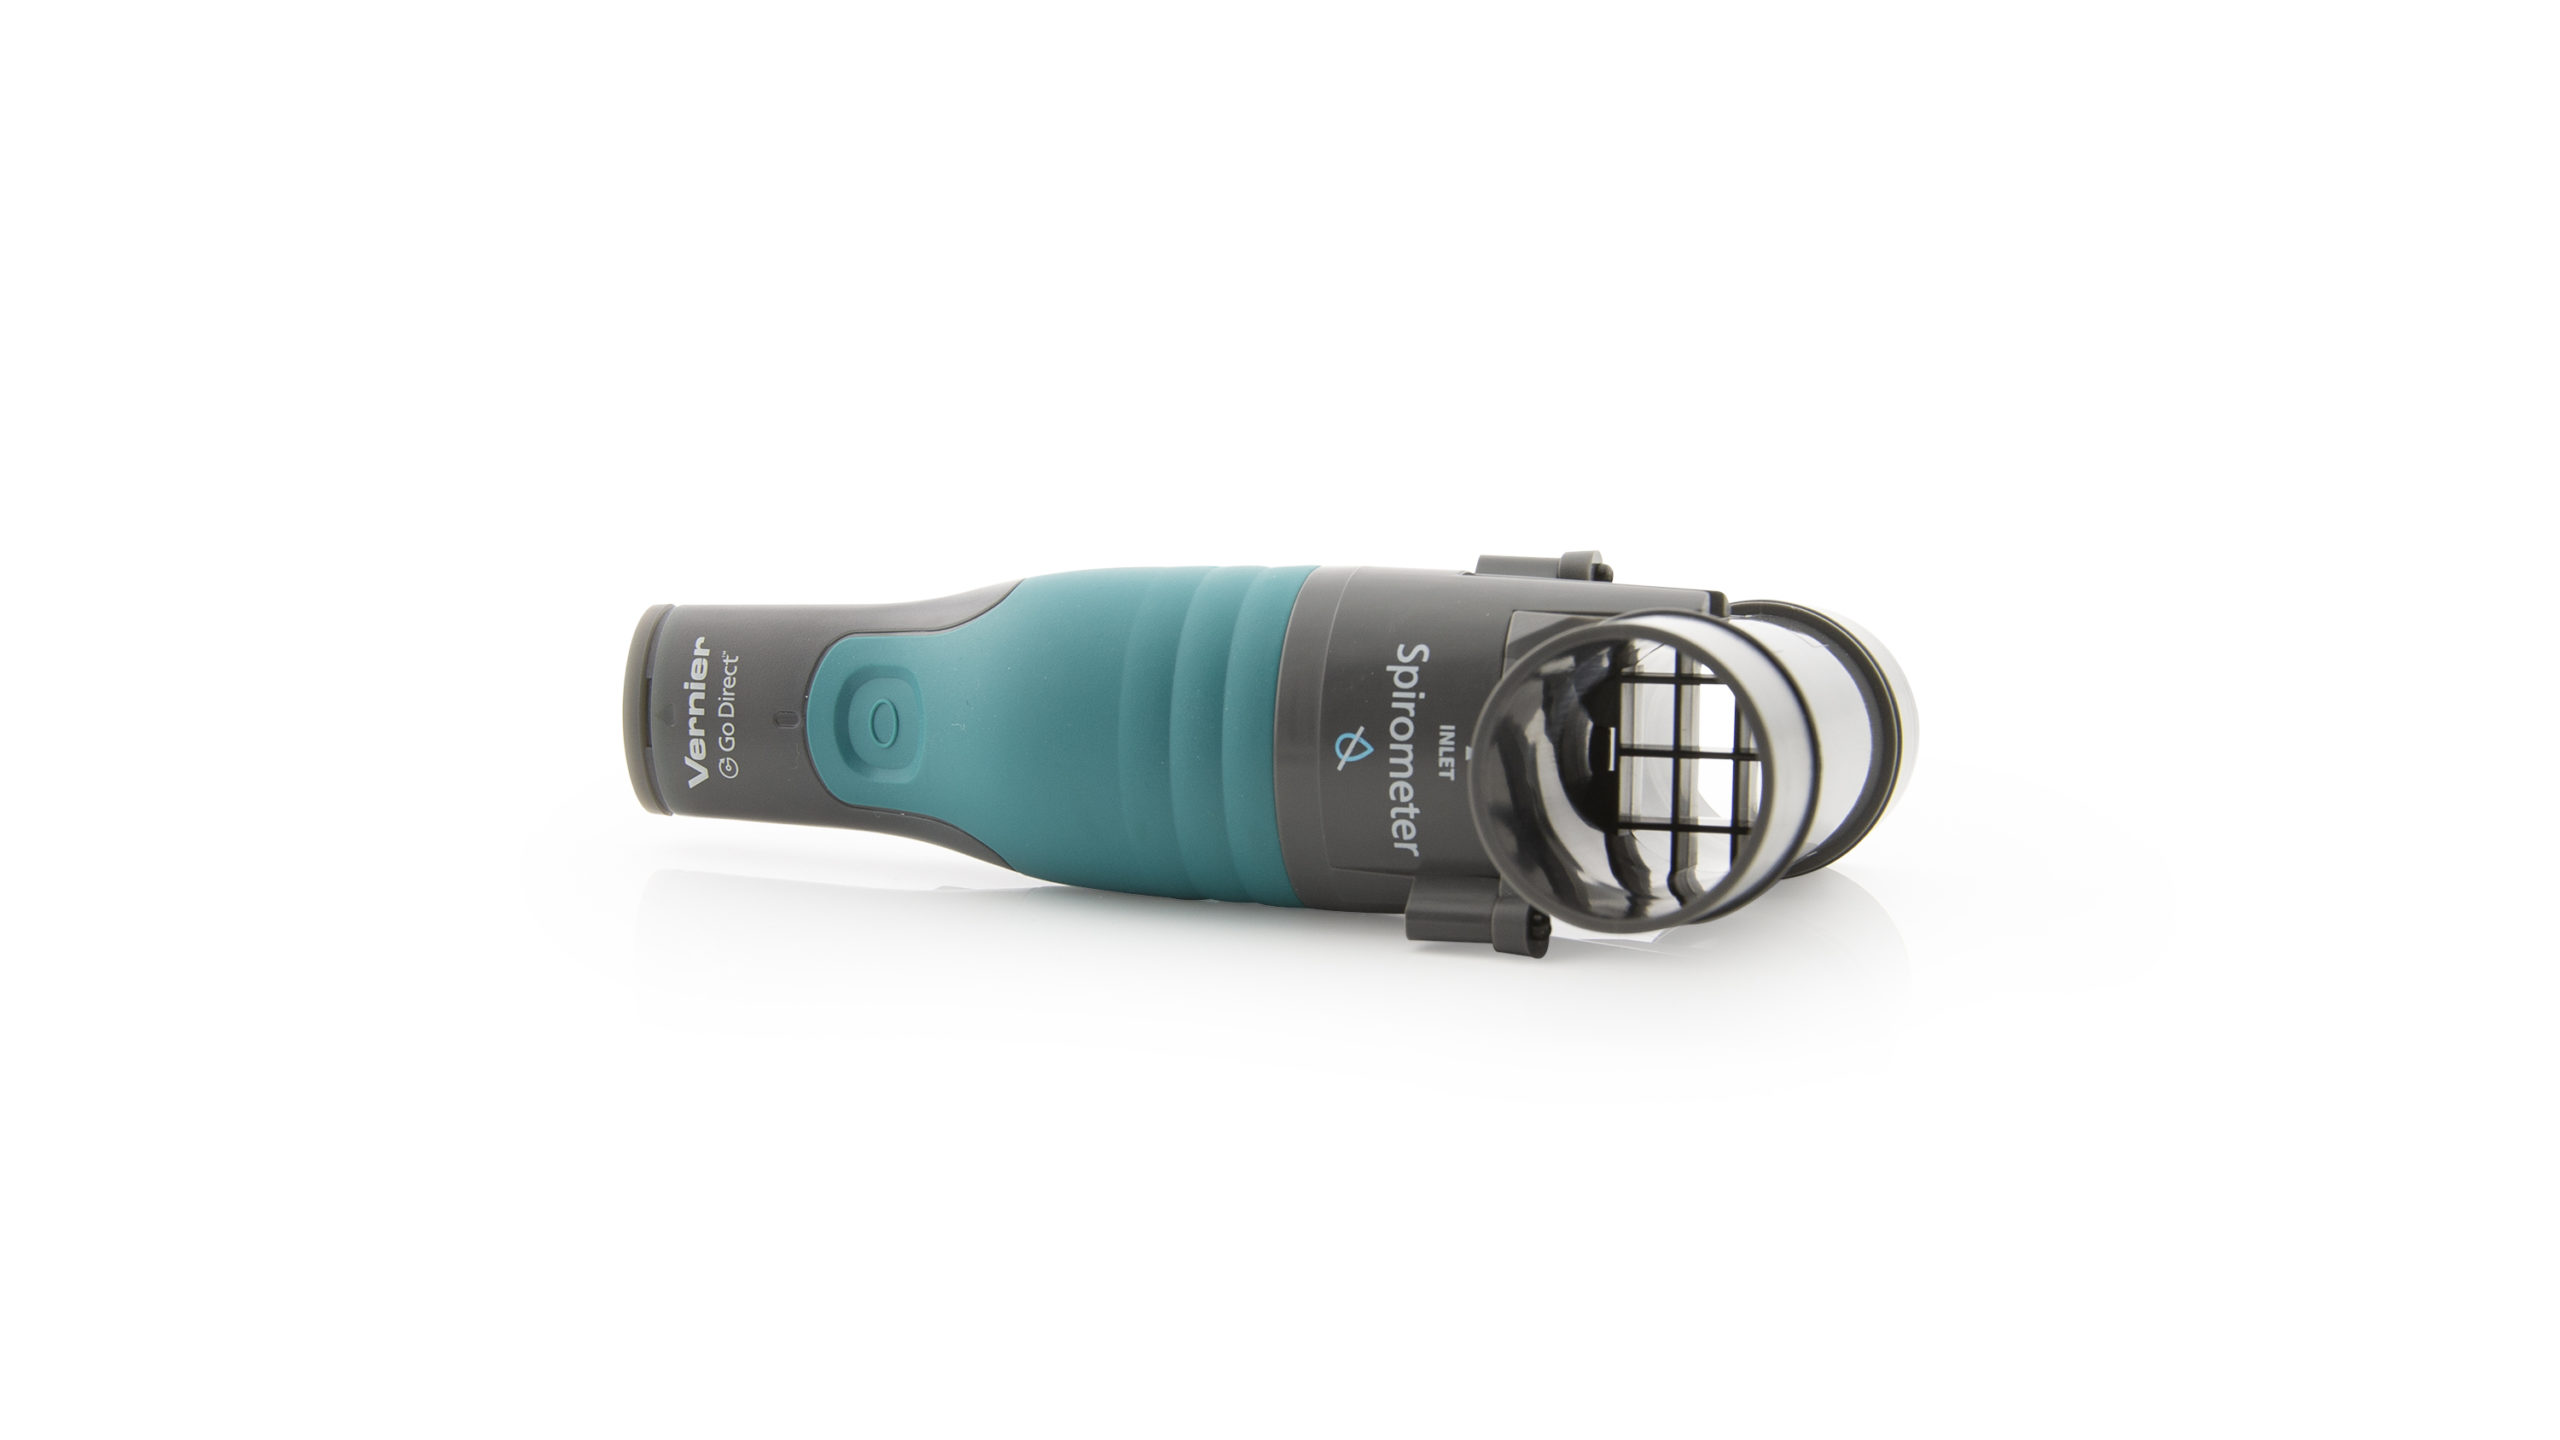
- Attach the calibration syringe to the spirometer and collect data. Push the syringe all the way in and out several times during data-collection.
- Measure the volume for each cycle and determine the percent error of your measurement.
For example, if you delivered 2L to the spirometer and the software measured 1.90 L, you would have an error of 5%. - Next, click or tap on the sensor meter in the bottom bar of application window.
- Click or tap device information button,
 , located next to the sensor ID. This will launch the device information dialog.
 - Select Advanced at the bottom of the window. Change the volume correction factor to account for the error in measurement.
The default correction factor is 1. From the example above, to correct for 5% error in volume that is too low, increase the correction factor by 0.05 to 1.05. - Click or tap save after you have adjusted the correction factor. You are now ready to collect data.
Spirometer (SPR-BTA)
If you have a Spirometer (
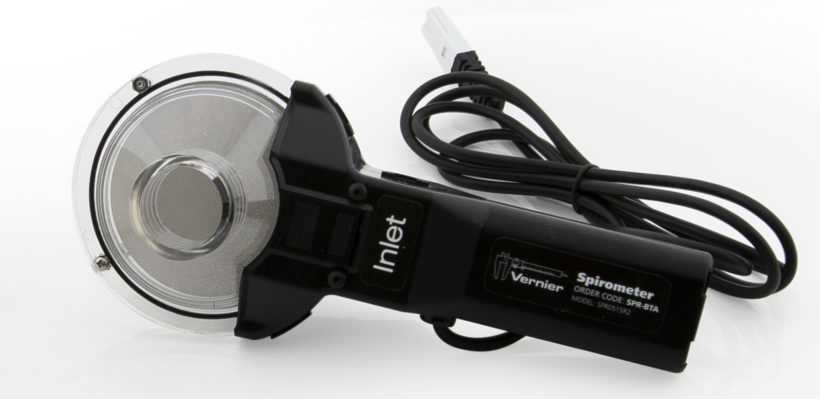
- Attach the calibration syringe to the Spirometer and collect data. Push the syringe all the way in and out several times during data-collection.
- Measure the volume using Logger Pro or LabQuest App. Determine the percent error in your measurement.
- Go to the Calibration dialog and click on or select Equation.
- Increase or decrease the slope of the calibration equation to get rid of the error.
- You are now ready to collect data. Remember to zero the sensor before collecting data.