Troubleshooting
Primary Test: Press the power button on the sensor to turn it on. Connect your sensor as described in the Getting Started instructions for your device.
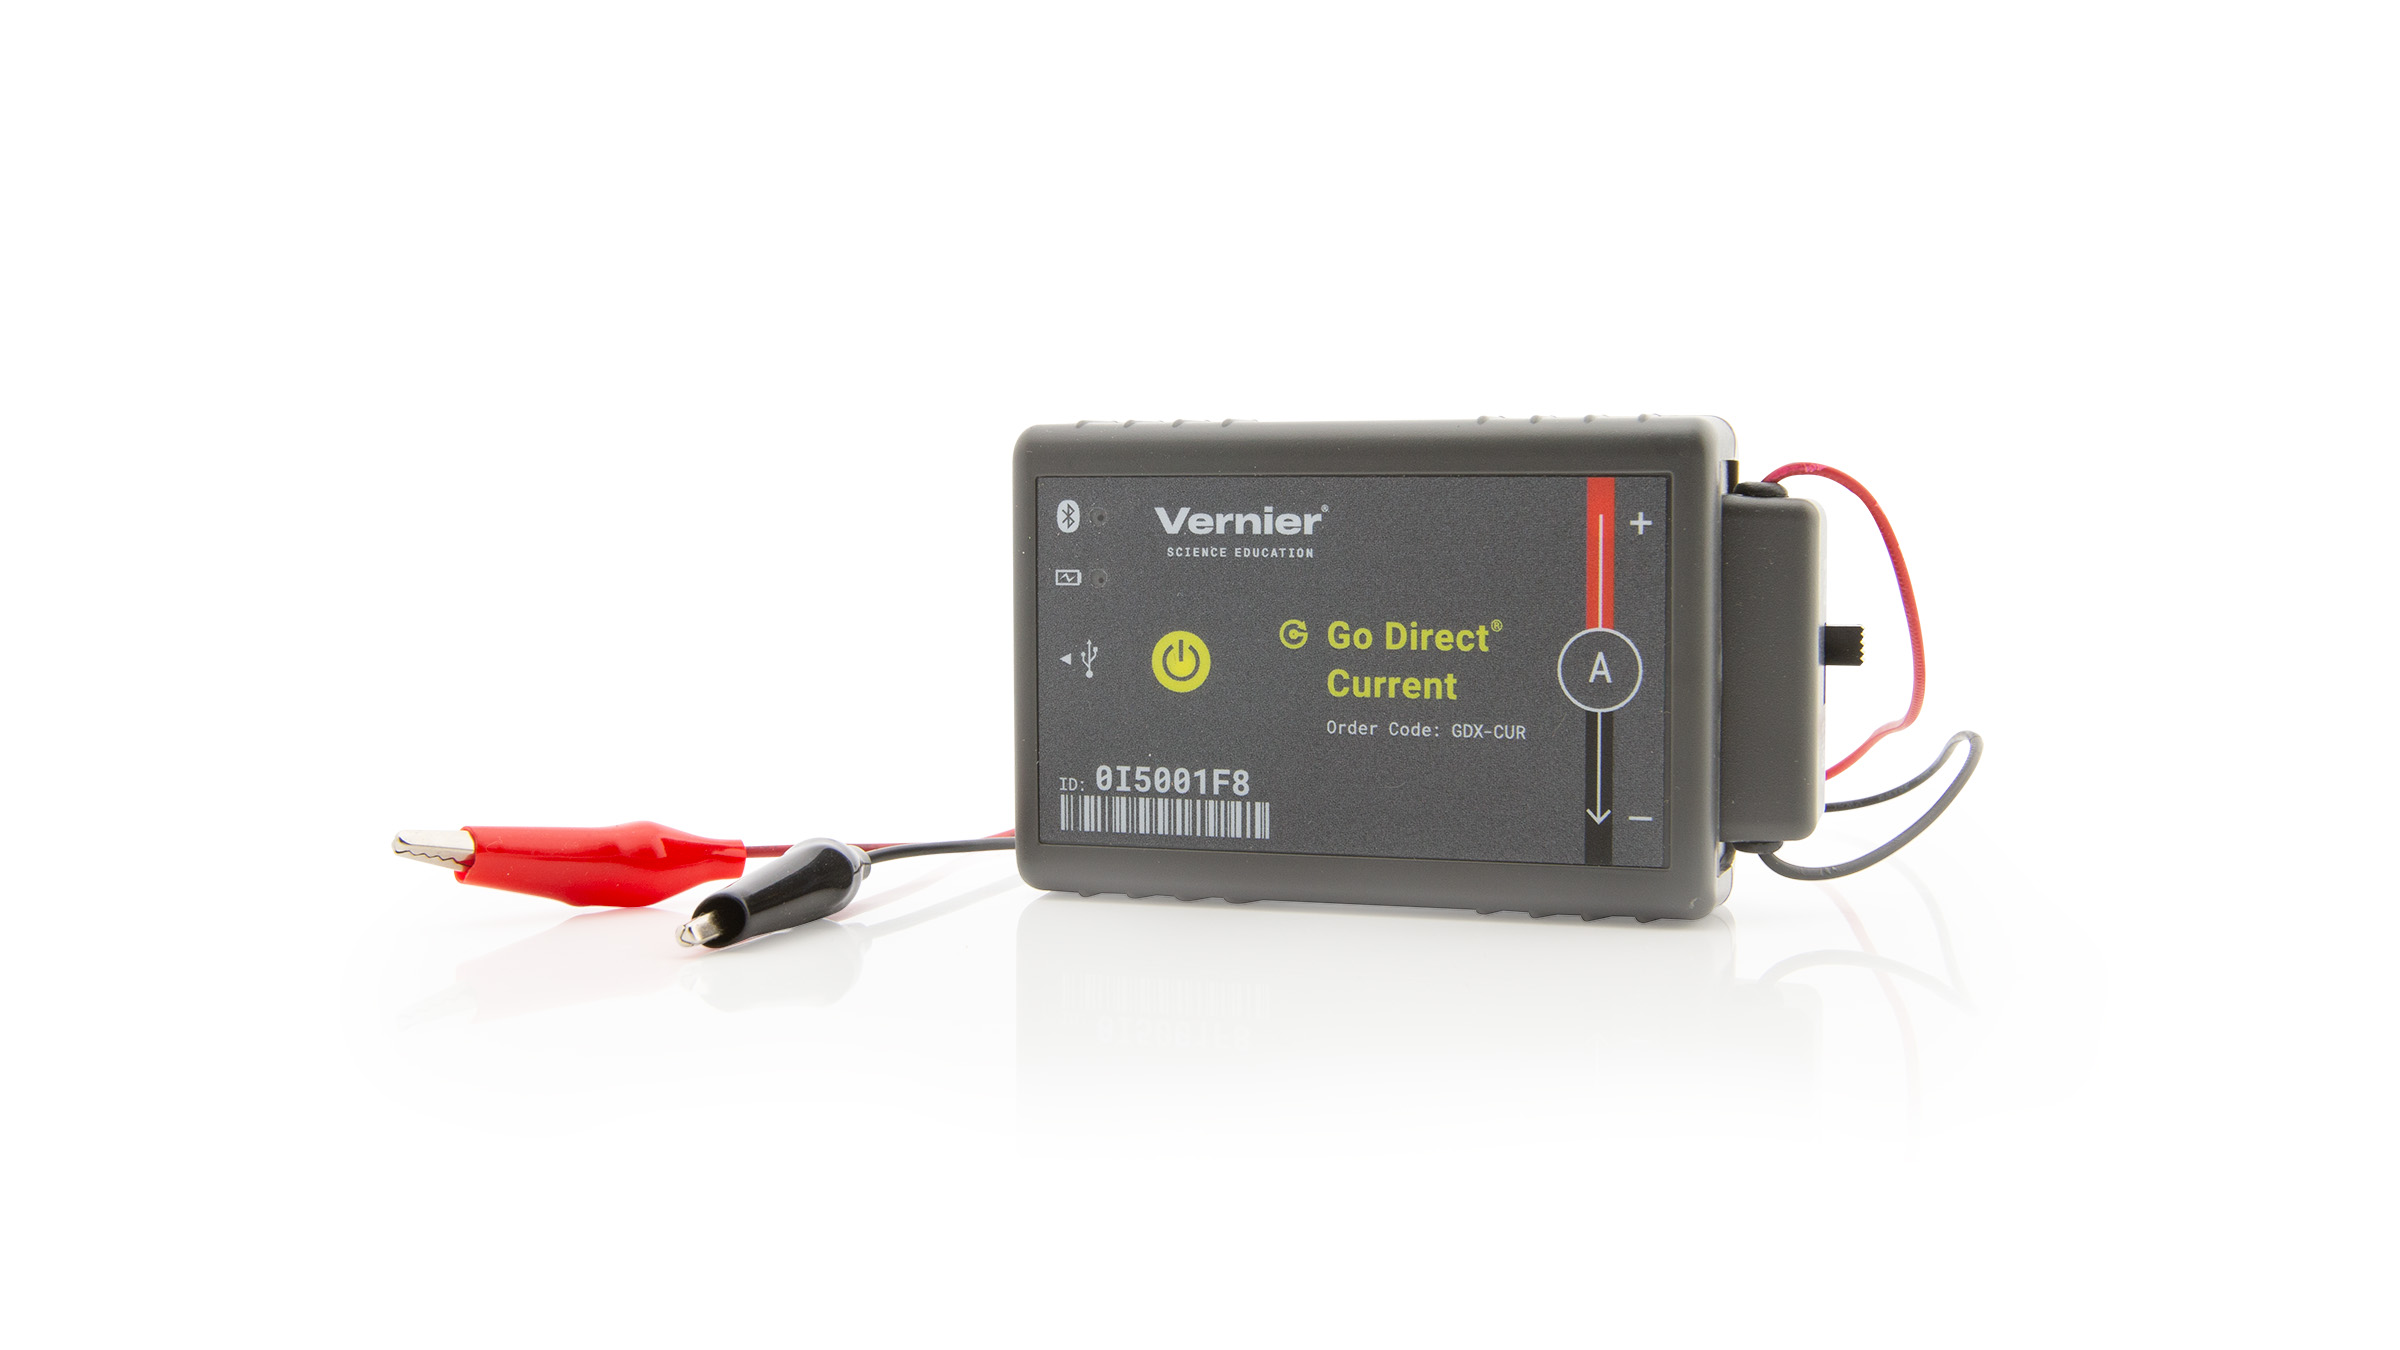
- Connect the probe’s wire leads to a DC supply in series with a known resistance.
- Use a voltage probe or voltmeter to measure the voltage of the supply.
- Compare the measured current against the current calculated from Ohm’s Law.
A battery is recommended for this test, since some DC power supplies may not deliver clean DC voltage.
Additional Troubleshooting
- The readings from my Current and/or Voltage Probe are erratic, but if I measure the voltage with a multimeter instead, I get a solid reading. What is wrong with my sensor?
- How can I measure currents outside the range of the Vernier Current Probe?
- How do I measure currents larger than 0.6 amperes?
- Is the Go Direct Current Probe protected against short circuits?
- What are the temperature limitations on the Go Direct 300 mAh battery?
- Go Direct sensor does not connect to LabQuest 2 via Bluetooth.
- How do I remove or replace a Go Direct battery?
- Troubleshooting Bluetooth Connections with Go Direct Sensors
- What can I do if a Go Direct sensor's Bluetooth LED flashes red and green when I try to connect to it and the connection fails?
- Will my device work with Go Direct Sensors via Bluetooth?
- How do I know if my LabQuest will work with Go Direct Sensors and Go Wireless devices?
Specifications
- Range: ±1 A and ±0.1 A
- Maximum non-damaging current: 1.5 A and 0.5 A
- Maximum voltage on any input: ±10 V
- Typical resolution
⚬ ±1 A range: 0.031 mA
⚬ ±0.1 A range: 0.003 mA - Input impedance
⚬ between inputs: 0.1 Ω
⚬ to ground: 10 MΩ - Linearity: 0.01%
- Connections:
⚬ Wireless: Bluetooth® v4.2 (wireless range 30 m unobstructed)
⚬ Wired: USB 2.0 full speed - Battery: 300 mA Li-Poly
⚬ Battery Life (single, full charge): ~24 hours continuous data collection
⚬ Battery Life (lifetime): 2 – 5 years (typical)
Calibration
Calibrate? No. The Go Direct Current Probe cannot be calibrated. However, you may consider “zeroing” the sensor before the start of an experiment. This is done by shorting out the leads of the sensor, then choosing the Zero option in the data-collection software.
Battery Troubleshooting
- If the sensor can be turned on when connected by USB but not when disconnected from USB, the battery either needs charging or has reached its end of life and can no longer hold a charge.
⚬ First, try charging the sensor for several hours. - If the sensor still won’t turn on when disconnected from USB, try swapping the battery with a working sensor to see if the problem follows the battery or stays with the sensor.
⚬ If the problem stays with the sensor, the battery is probably not the issue.
⚬ If the problem follows the battery, the battery has likely reached its end of life. - If you intend to use this sensor wirelessly, its battery will need replacing.
Go Direct® 300 mAh Replacement Battery (GDX-BAT-300 ) - See How do I remove or replace a Go Direct battery? for more information (including a video).
Rechargeable batteries are covered by a one-year warranty.
Batteries should last two to five years in typical use.
Related Products
- Micro USB to USB-C Cable (
CB-USB-C-MICRO ) - Go Direct® Charge Station (
GDX-CRG ) - Vernier Circuit Board 2 (
VCB2 ) - Vernier Variable Load (
VES-VL ) - Extech Digital DC Power Supply (
EXPS ) - Power Amplifier (
PAMP ) - Go Direct® Energy Sensor (
GDX-NRG ) - Go Direct® Voltage Probe (
GDX-VOLT ) - Current Probe (
DCP-BTA )
Replacement Parts
- Go Direct® 300 mAh Replacement Battery (
GDX-BAT-300 ) - Micro USB Cable (
CB-USB-MICRO )