In this video, you’ll learn how to assemble the Lateral Force Accessory with a Go Direct® Force Plate.
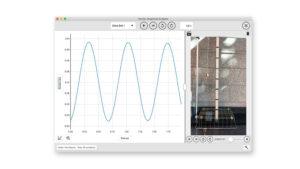
The Lateral Force Accessory can be combined with either the Go Direct Force Plate or the Vernier Force Plate to create a versatile tool for measuring both lateral and normal forces. This add-on expands single-axis force analysis for students to investigate 2-axis force interactions, vector components, and friction forces to model complex, real-world applications. The Vernier Graphical Analysis® app works on all devices and operating systems commonly found in the classroom.
Assembly steps shown in this video:
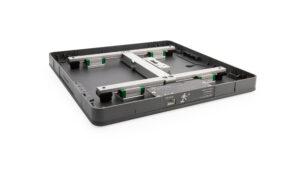
- Turn your Go Direct Force Plate upside down and remove the feet.
- Turn the Lateral Force Accessory upside down and stack it on the force plate, aligning the labels. A slight jiggle will help seat the embedded screws from the Lateral Force Accessory into the screw holes in the force plate.
- Use the Torx® wrench (included with the Lateral Force Accessory) to start each of the 4 screws. Tighten in an alternating pattern until all four screws are snugly in place.
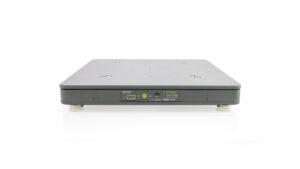
- Once all four screws are tightened, flip the force plate right side up.
To learn how to properly orient your Lateral Force Accessory and Go Direct Force Plate for experiments, watch this video: how-to-orient-the-go-direct-2-axis-force-plate-for-experiments