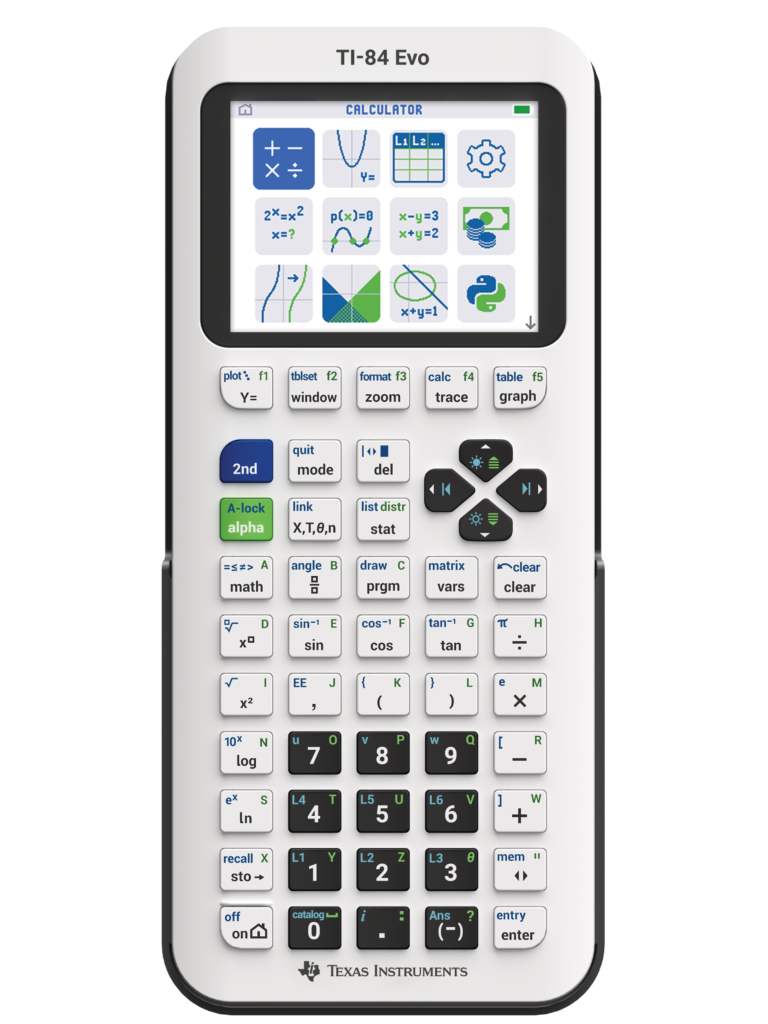
Getting started with Go Direct sensor data collection on a TI-84 Evo calculator.
- Make sure your TI-84 Evo Calculator (TI-84EVO) is charged, and verify it has the EasyData app.
- Press Home (ON key) and scroll through the apps to locate EasyData,
 .
.
- If it is not there, you need to update the calculator — version 7.1 or newer is required. See https://connectevo.ti.com/ticevo/en/
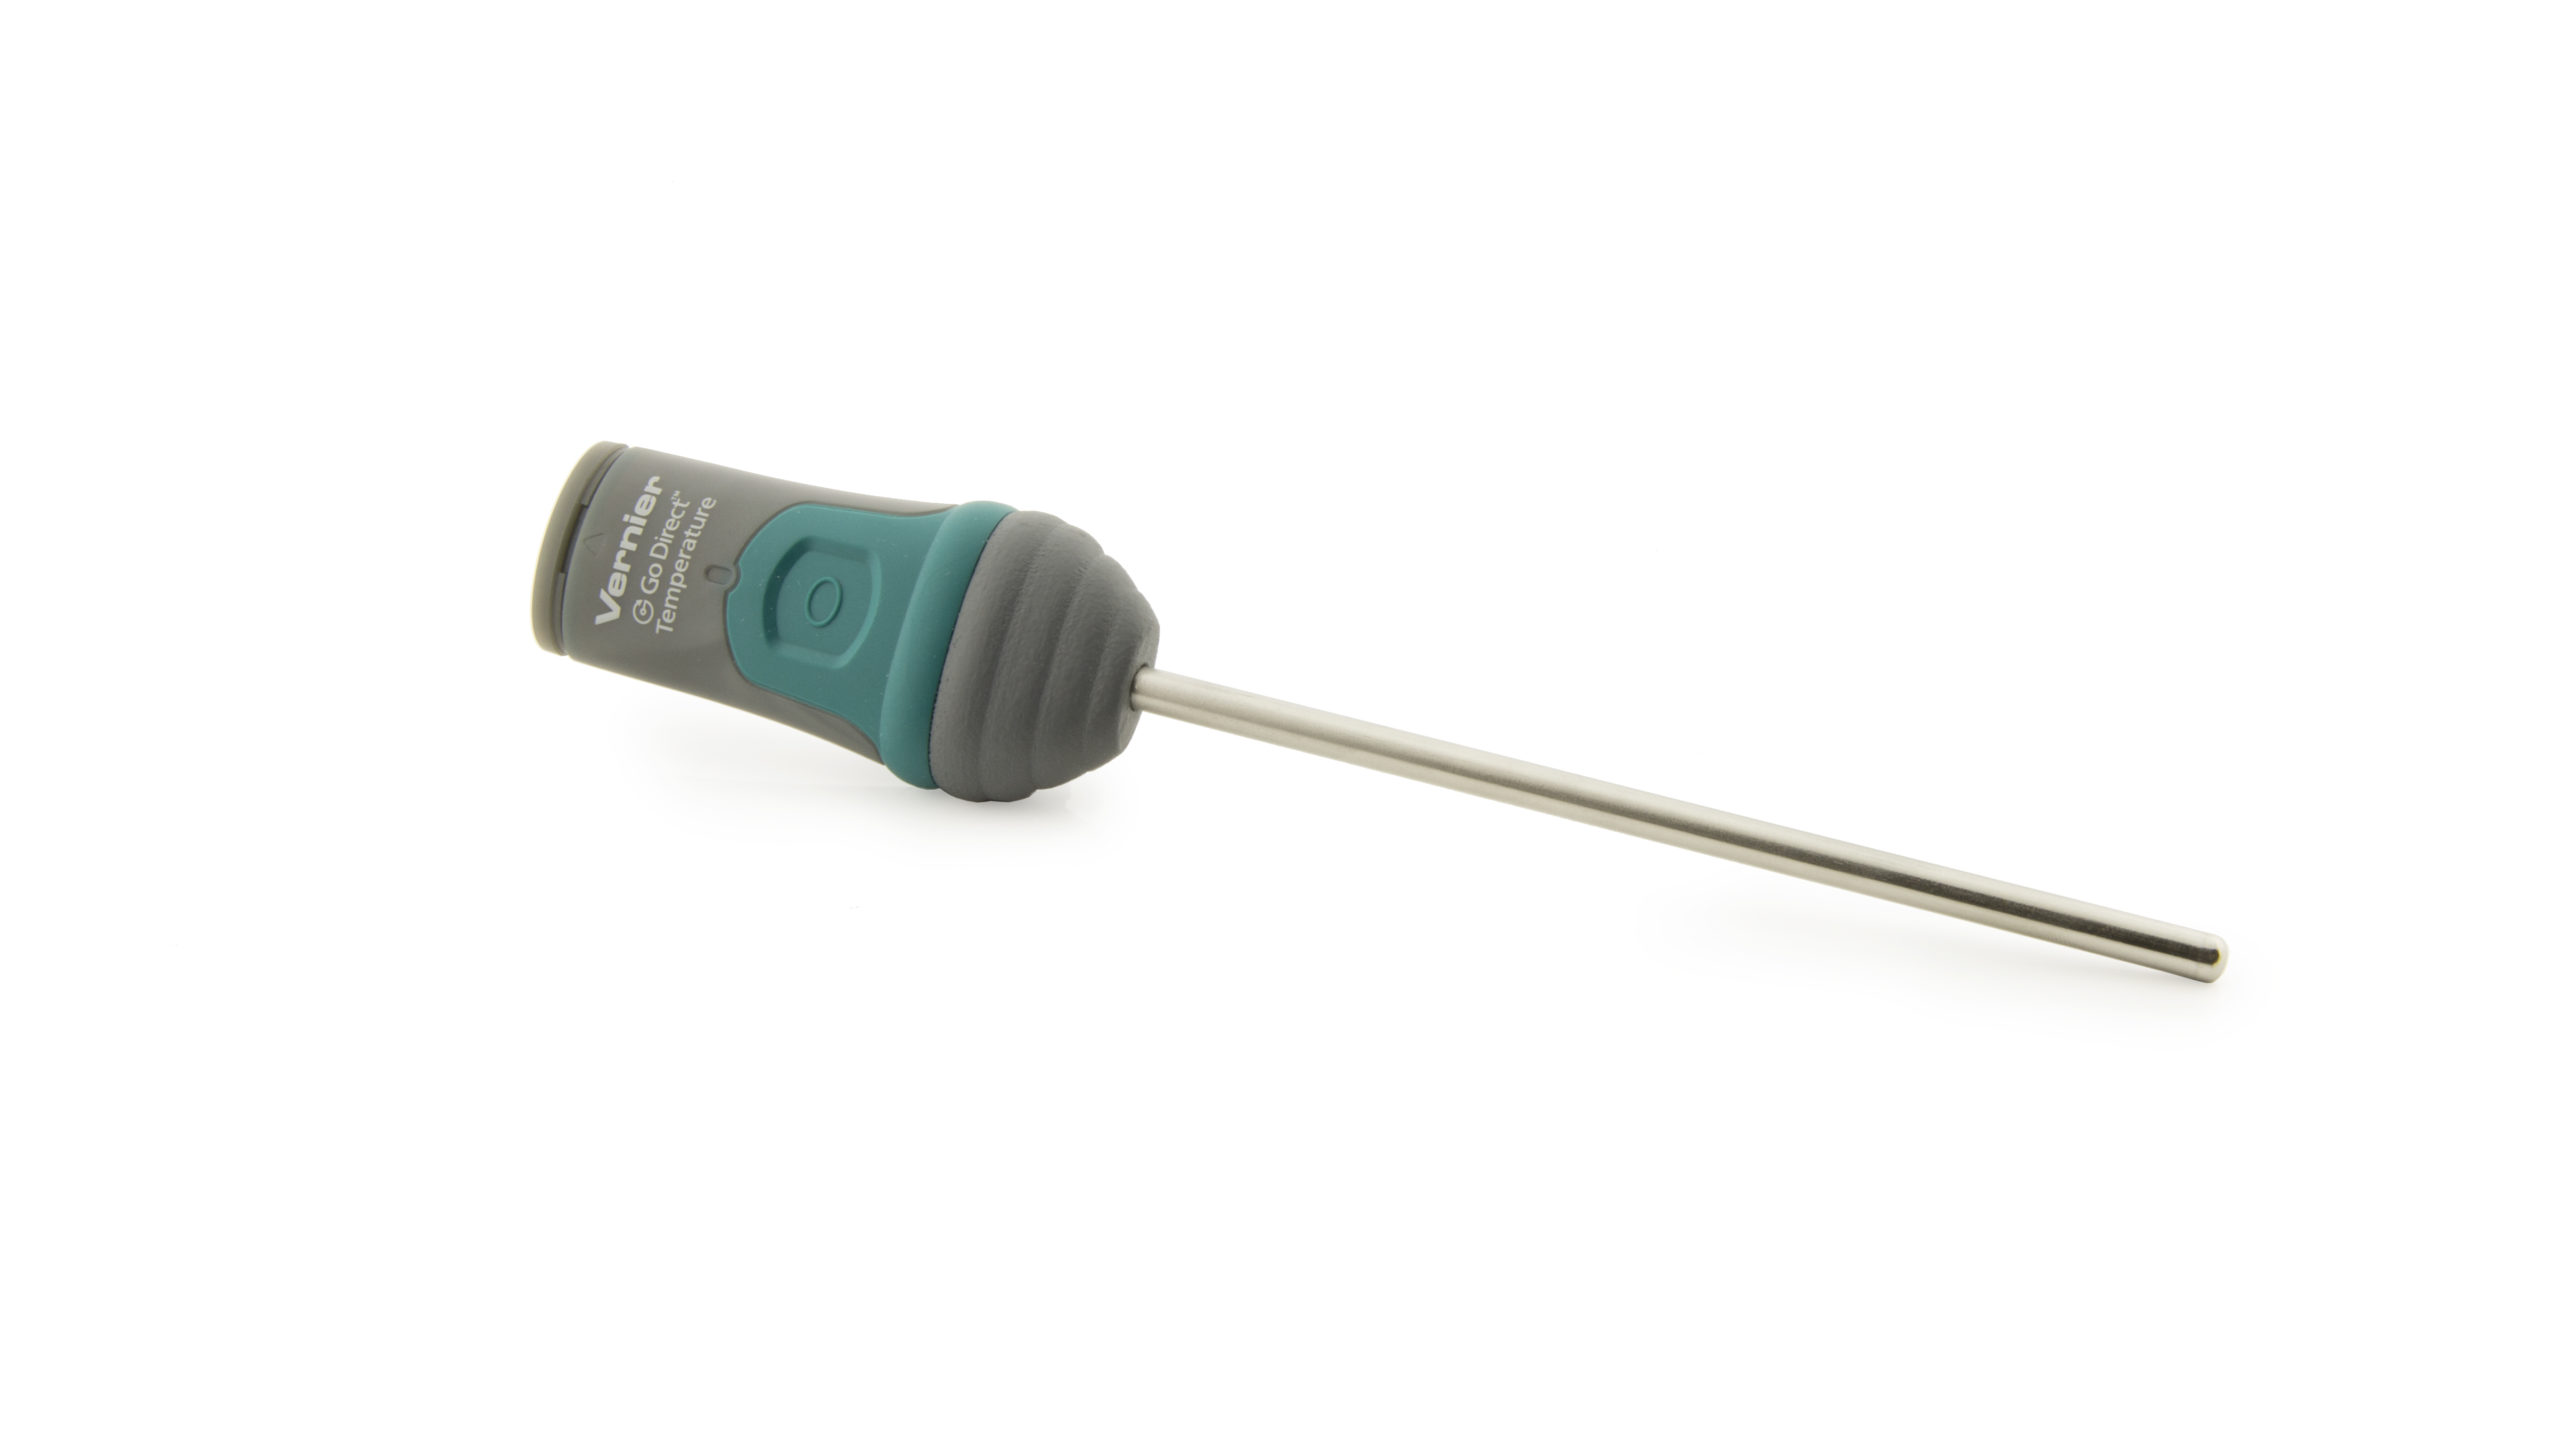
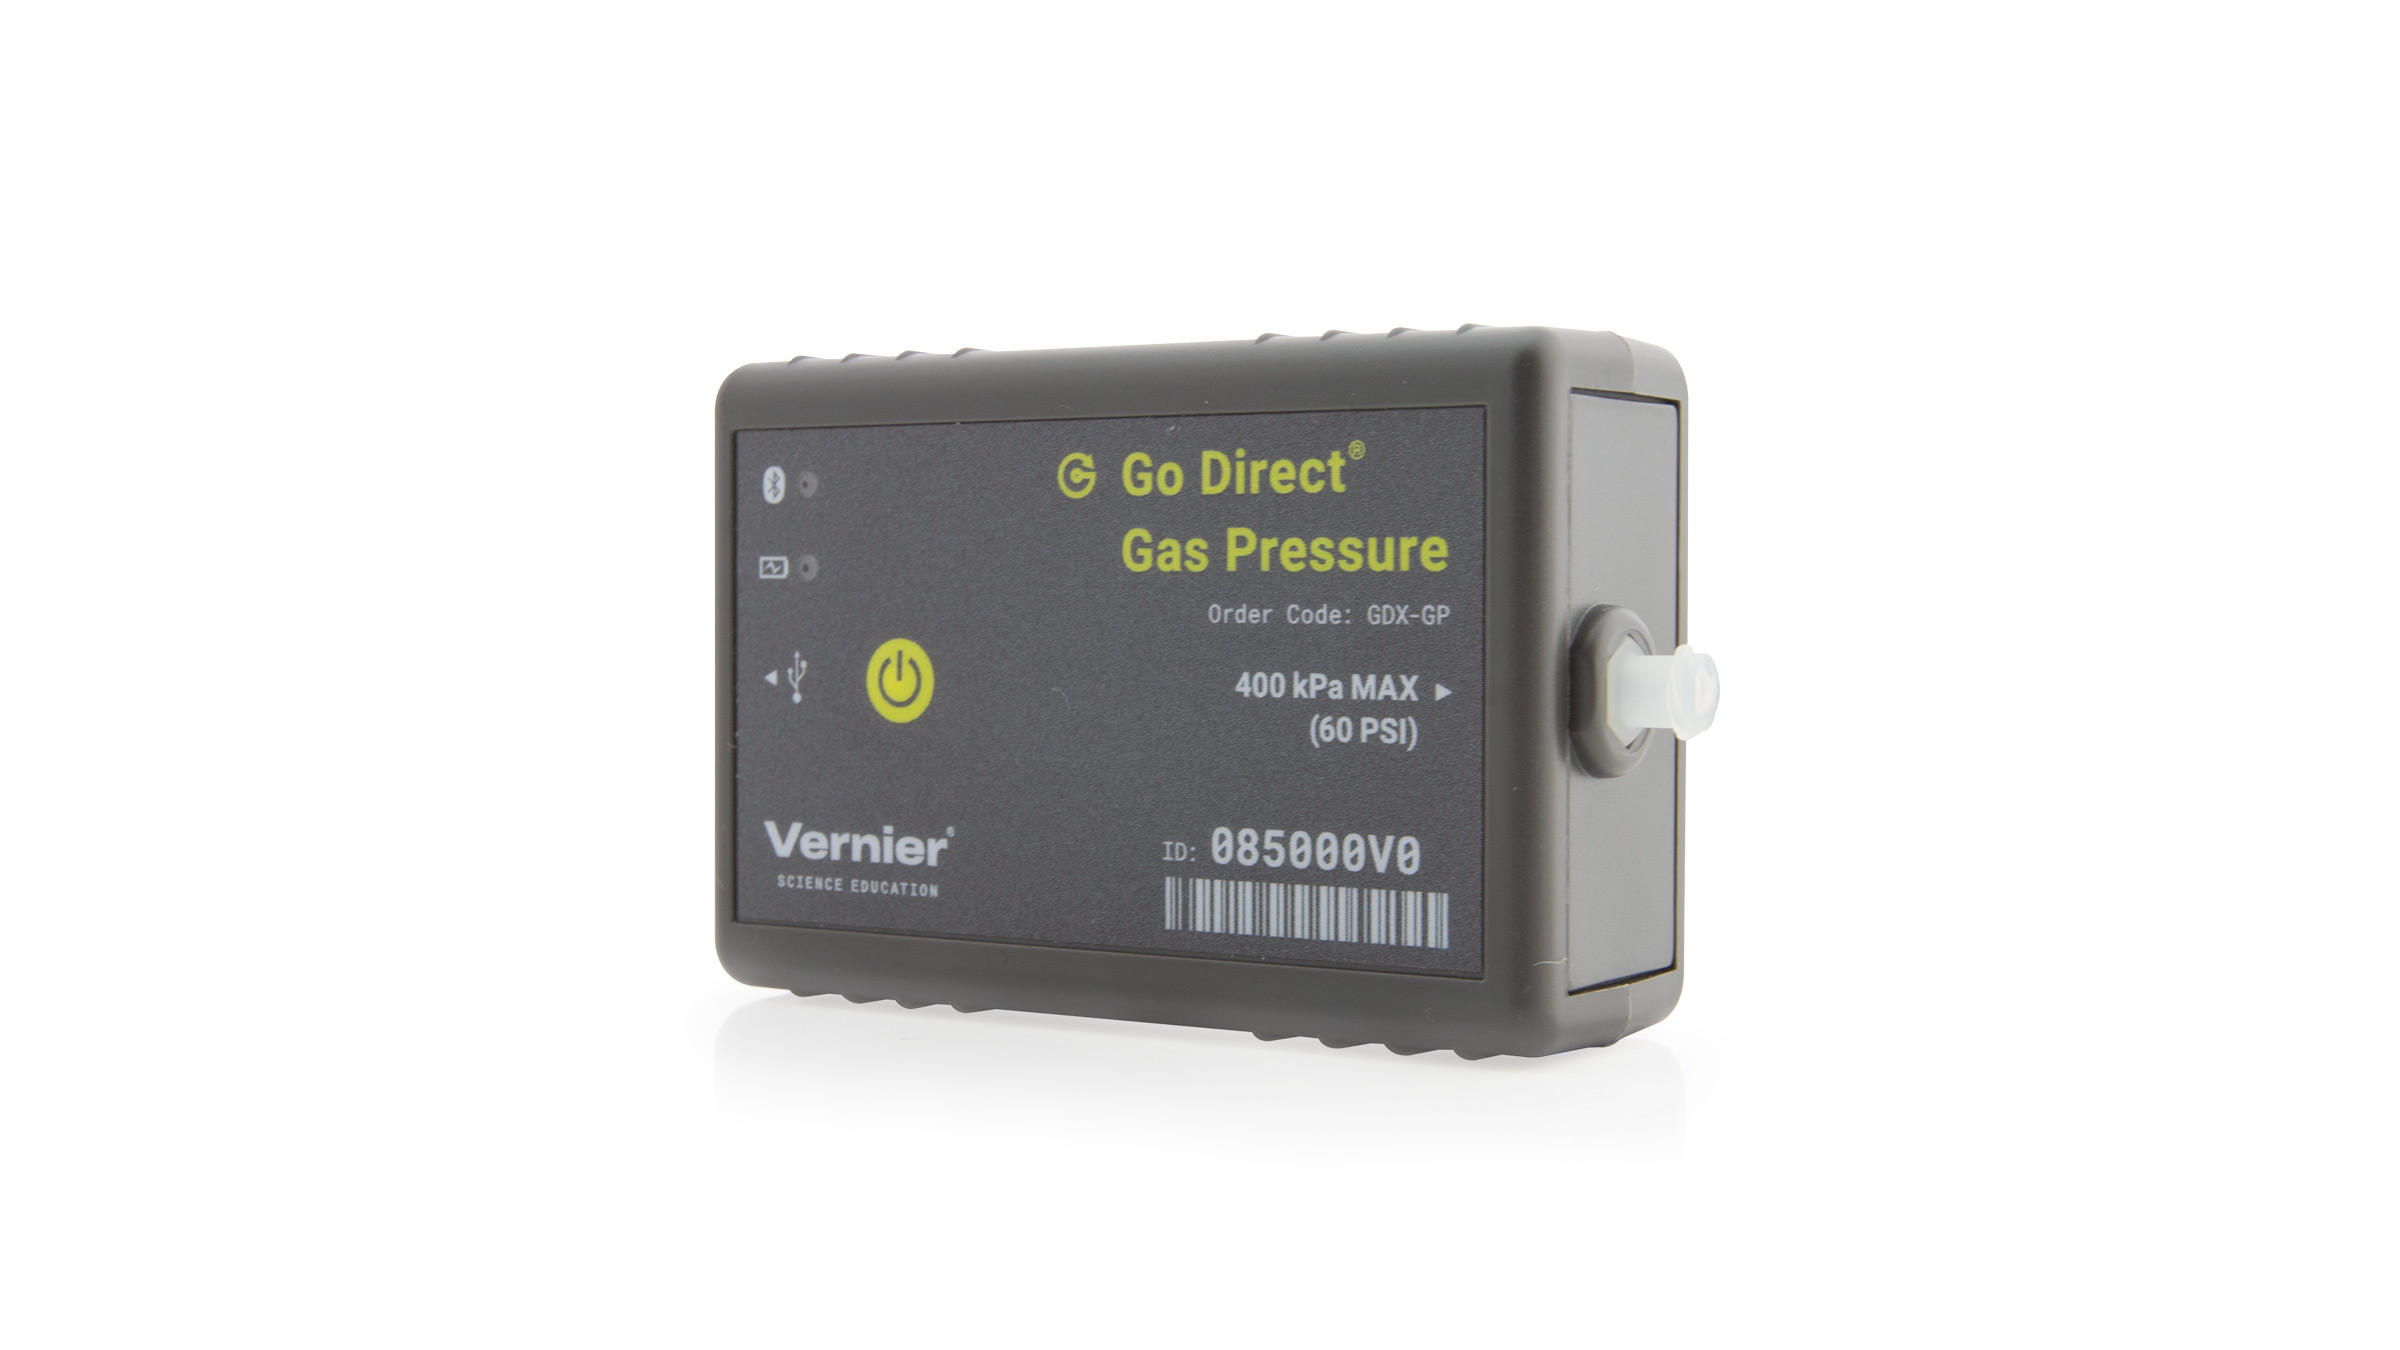
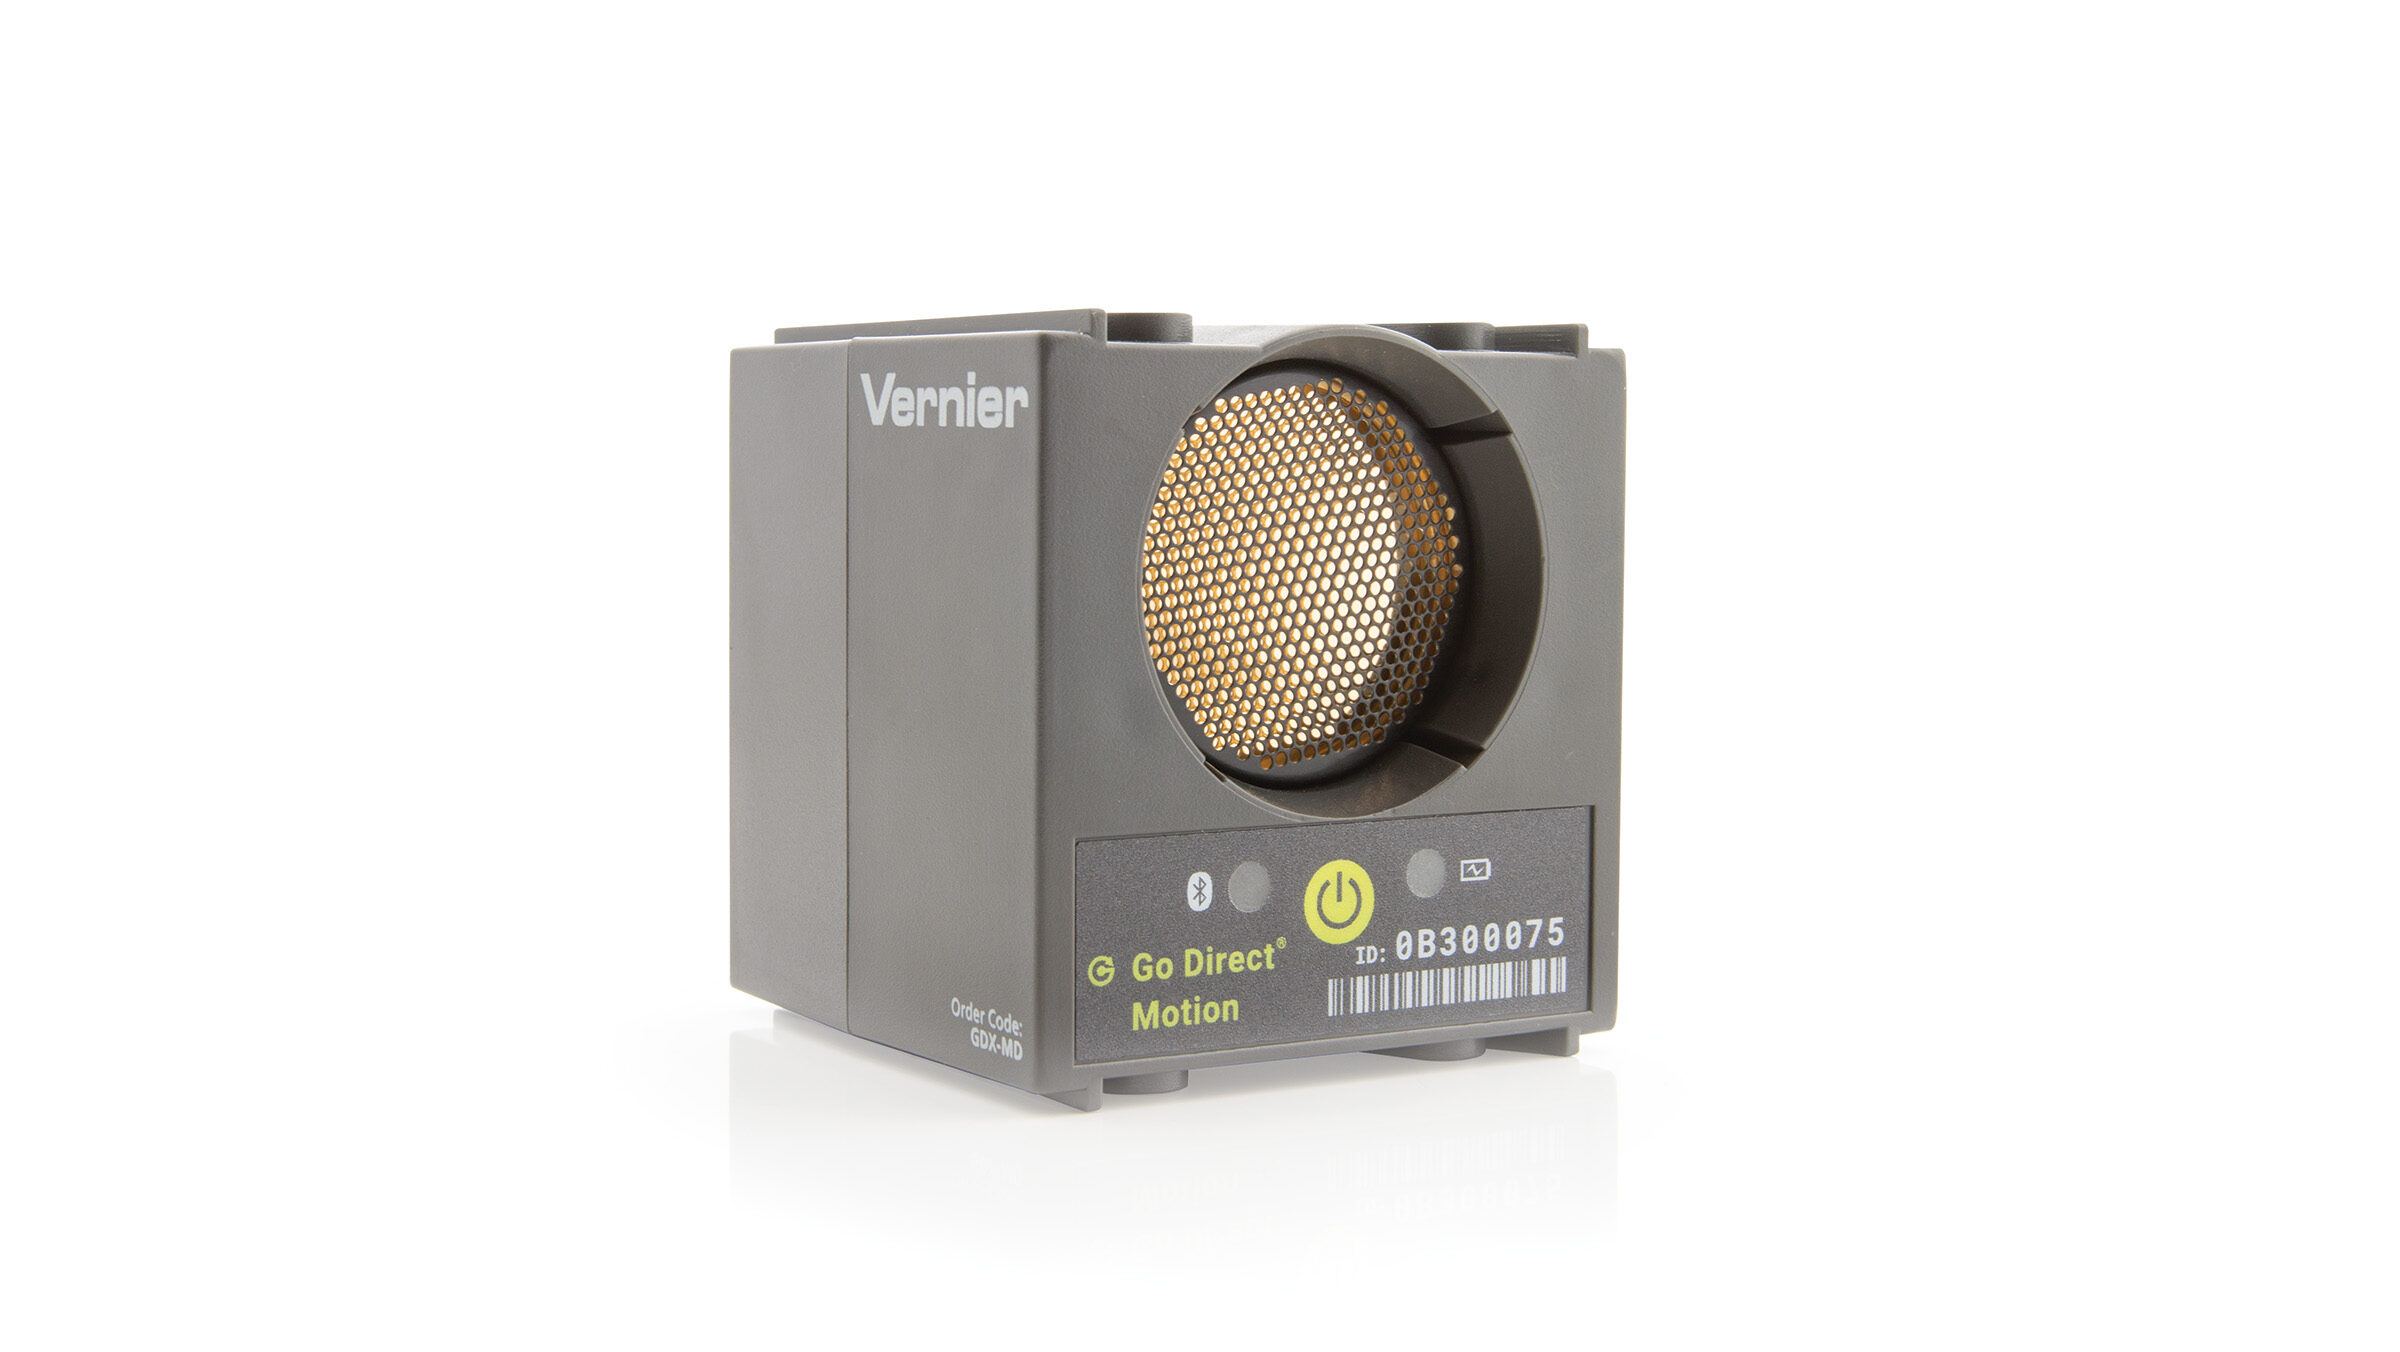
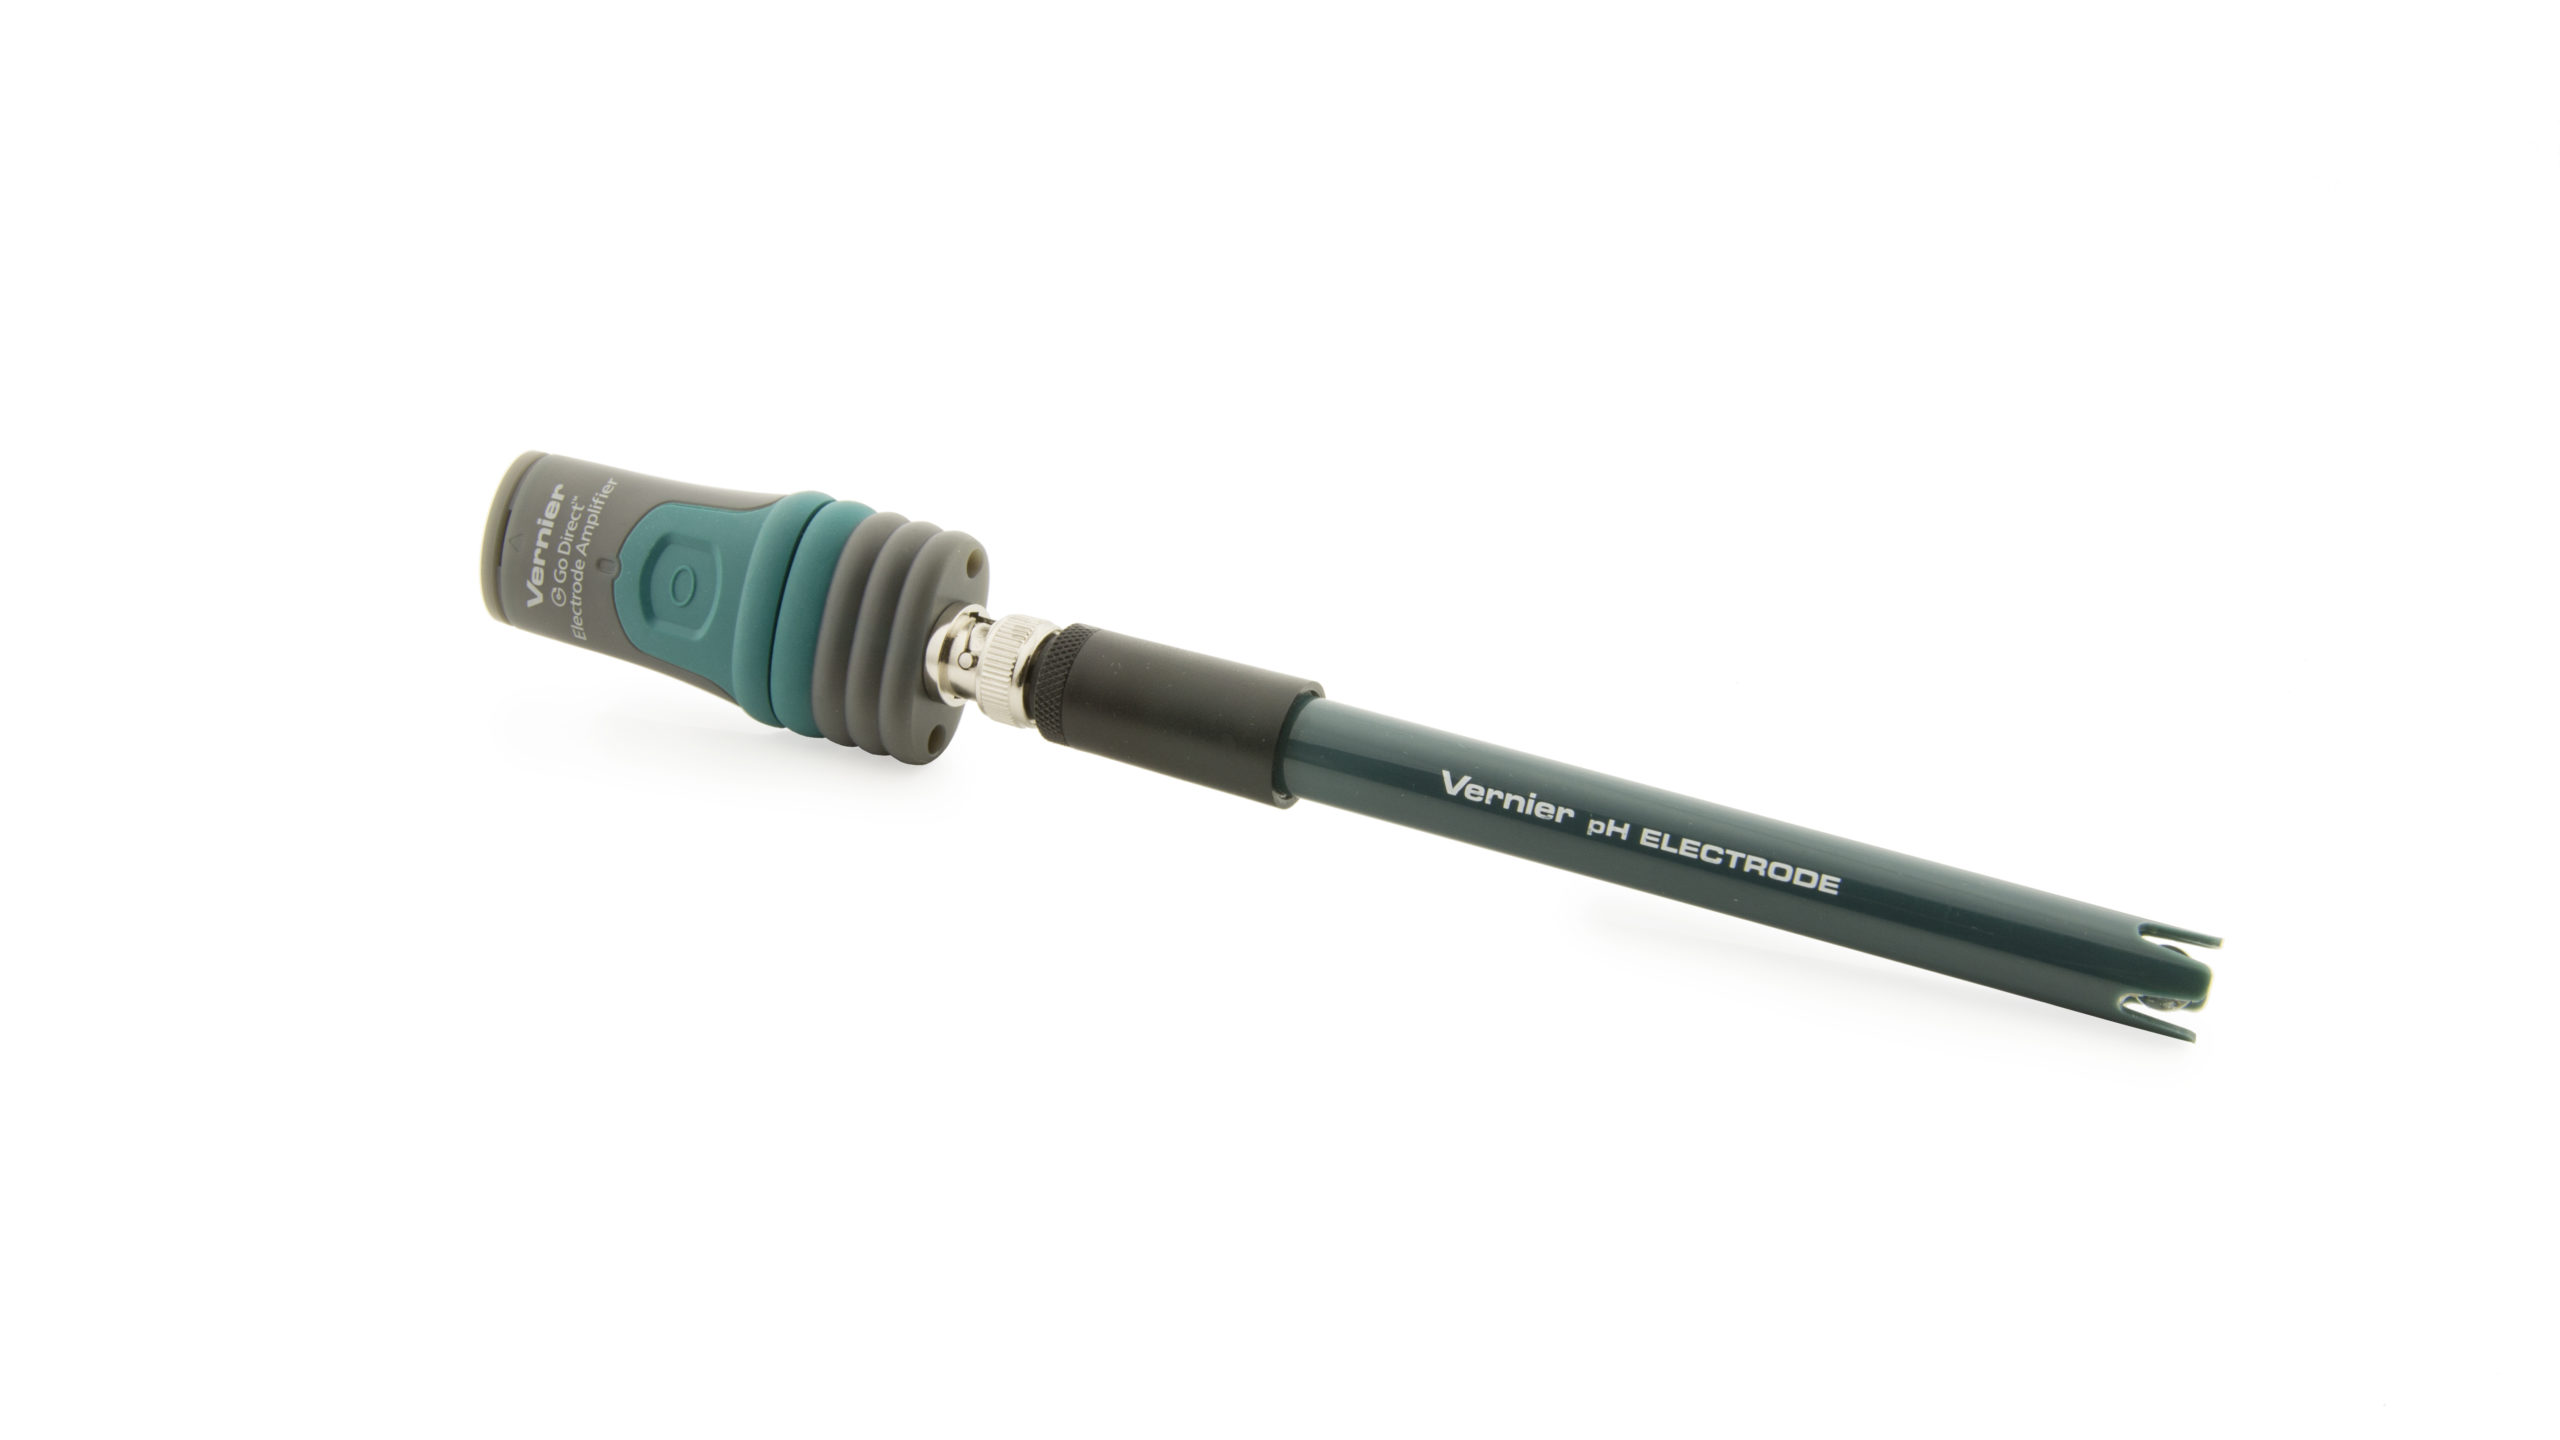
- Get your sensor and make sure it is charged. Supported sensors include Go Direct® Temperature Probe (GDX-TMP), Go Direct® Gas Pressure Sensor (GDX-GP), Go Direct® Motion Detector (GDX-MD), and Go Direct® pH Sensor (GDX-PH).
- Locate an adapter and/or cable that lets you connect the sensor to the calculator’s USB-C port. (These cables and adapters are not included with the calculator or the sensor. For information on which charging port a particular Go Direct sensor has, see Which Go Direct sensors have a USB-C port?)
- All sensors
- USB-A (female) to USB-C (male) adapter — use the adapter with the charging cable included with the sensor.
(We have tested the ANKER brand adapter.)
- Sensors with a Micro USB port
- Sensors with a USB-C port
- USB-C to USB-C cable — the cable must support data transfer and not just charging. (The unit-to-unit USB-C cable that comes with TI-84 Evo Teacher Packs can work for this.)
- Turn the calculator on, then connect the sensor to the calculator. (The sensor will turn on and the EasyData app will launch.)
- Press any key (except ON) to continue with EasyData. (Pressing ON will exit the app.)
- Optional: Change the Sensor Channel the sensor uses (Go Direct Motion and Go Direct pH only).
- Press SETUP, then select the sensor – the first option in the list.
- Select CH.SEL, then change the Sensor Channel as desired.
- Only one sensor channel at a time is supported in EasyData.
- For Go Direct Motion, you must uncheck the selected sensor channel before selecting the new one.
- Press OK to return to the EasyData main screen.
- Press SETUP to modify the data collection settings.
- To change the Time-based settings
- Choose 2: Time Graph.
- Press EDIT, then make adjustments as desired.
- Press OK to verify the setup, then press OK again to return to the EasyData main screen.
- To use other data collection modes, such as Events with Entry and Distance Match, select the desired mode from the list. (Available options depend on the connected sensor.)
- Press START to collect data.
Related Articles
Published: August 11, 2026. Updated: September 9, 2026.