Troubleshooting
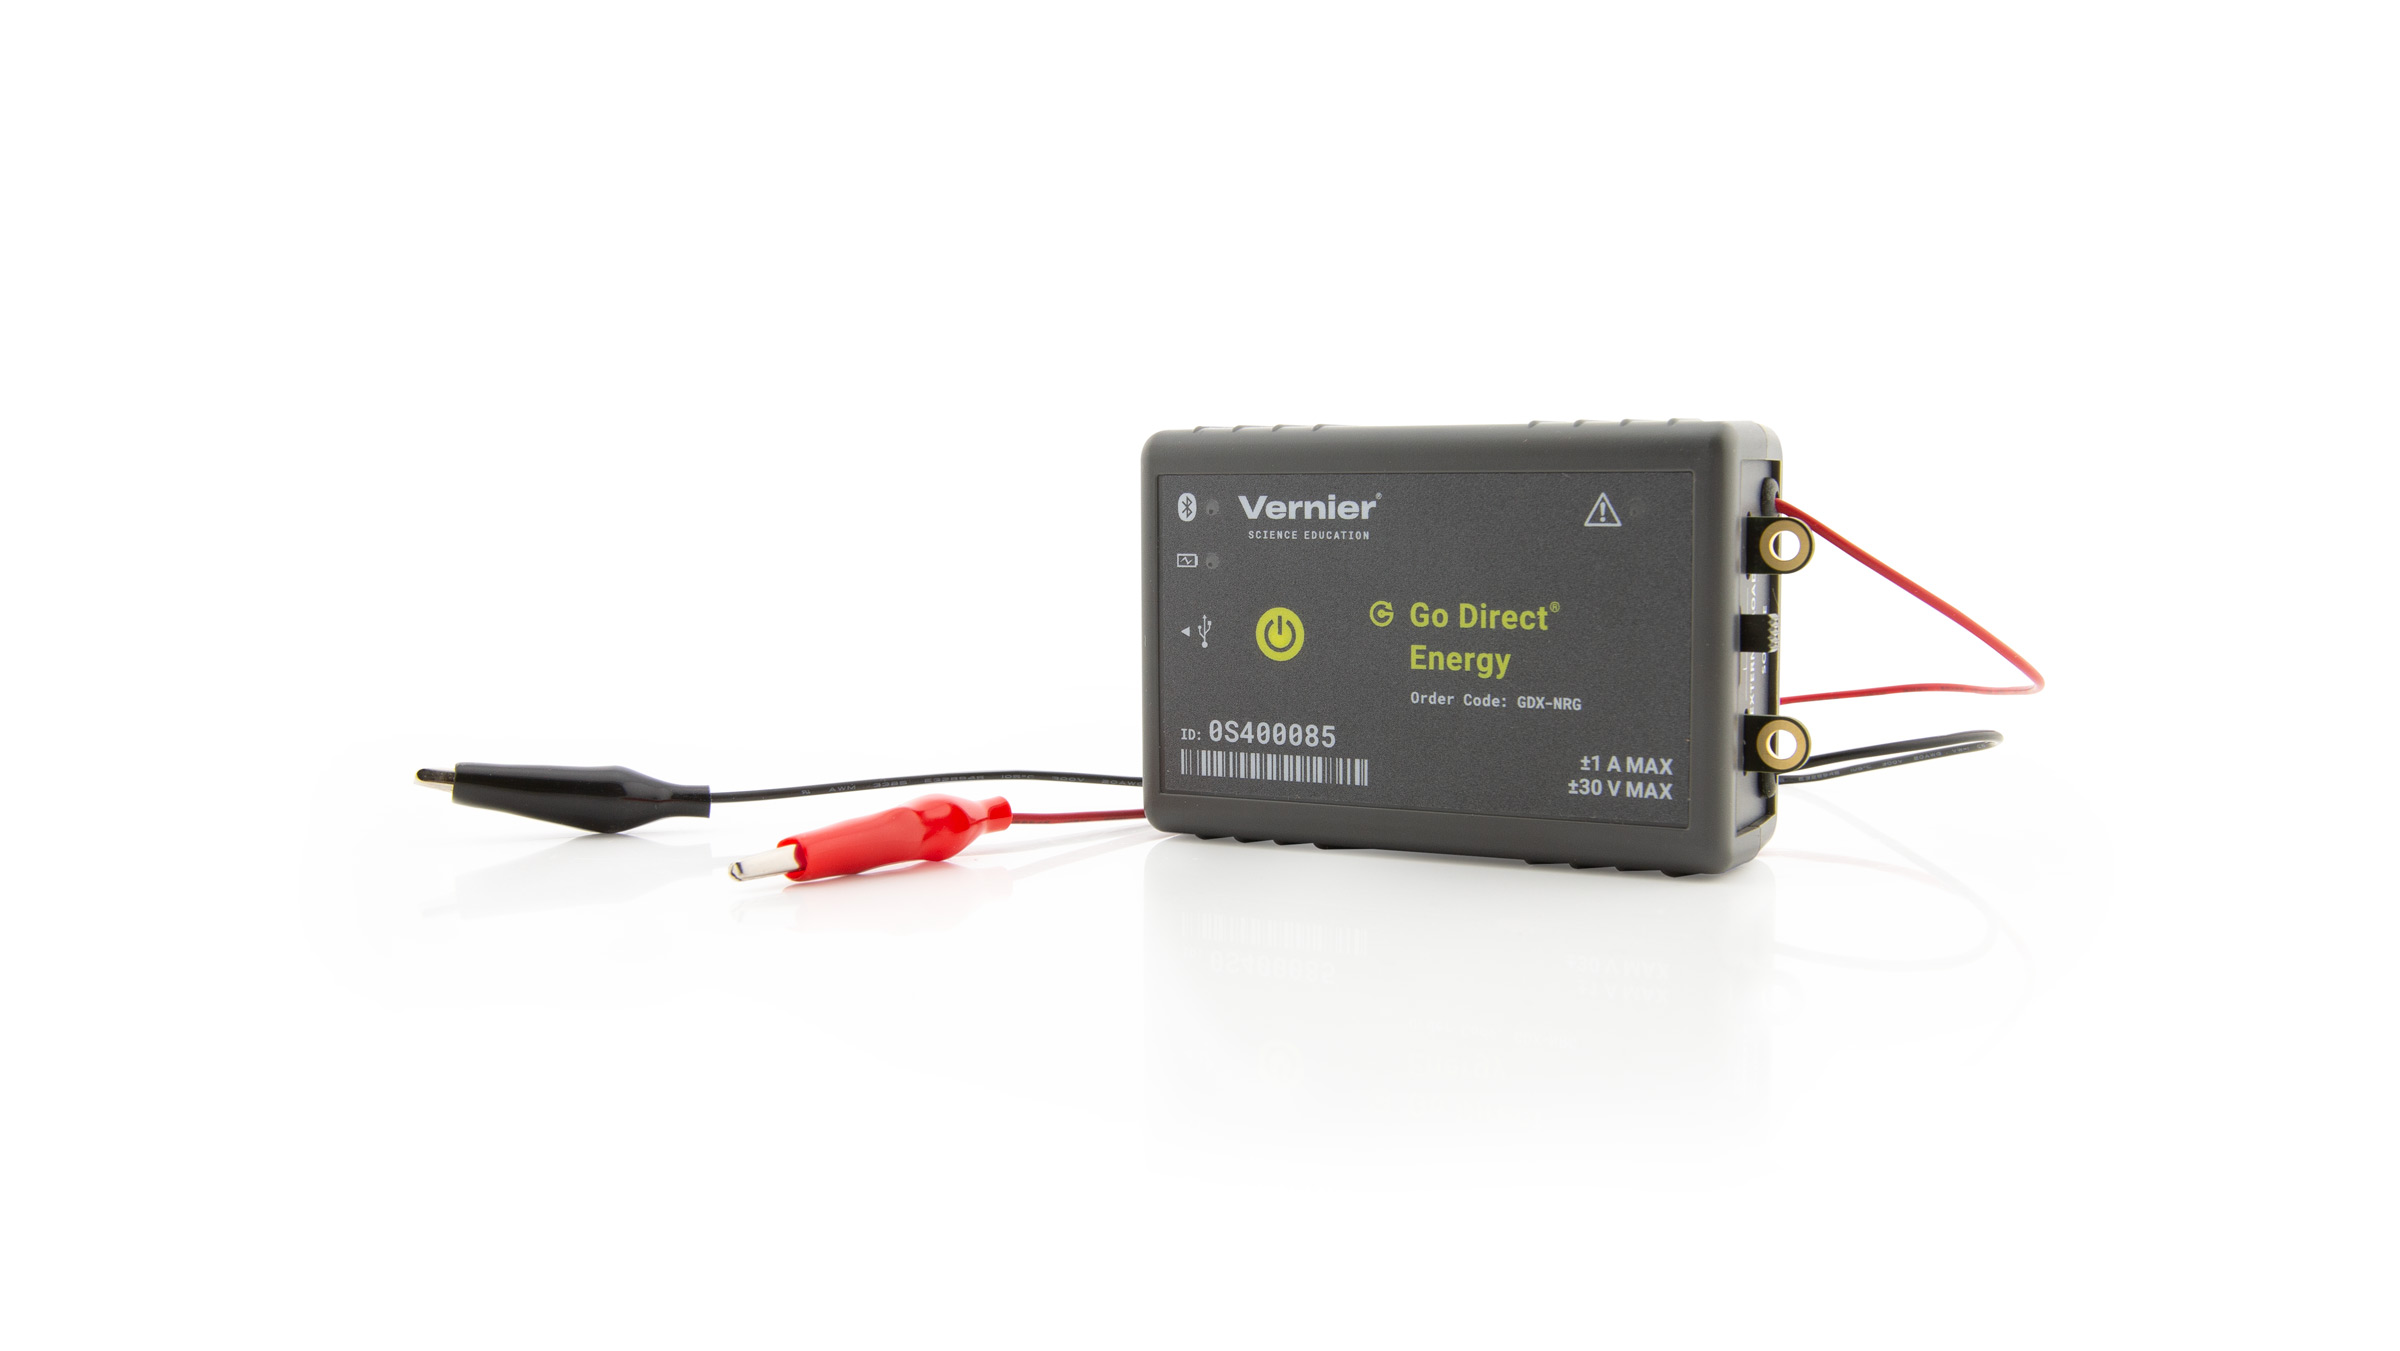
General Test: Press the power button on the sensor to turn it on. Connect your sensor as described in the Getting Started instructions for your device.
When connected to Graphical Analysis, choose Sensor Data Collection. Two graphs should appear on the screen: Potential vs. Time and Current vs. Time. In addition, you should see five meters at the bottom of the screen: Energy, Potential, Current, Power, and Resistance.
- Primary Test: Connect the sensor to Graphical Analysis or LabQuest. Make sure the load switch is in the “Internal 30 Ω” setting. Connect the sensor to a 1.5 V battery (AAA, AA, C, or D). The Potential should be approximately 1.5 V.
- Secondary Test: If the above steps are successful and the unit is still not behaving properly when connected to your power source, try the following:
- Check that all connections are secure and make sure the alligator clips are not touching each other.
- Check that all connections involve metal touching metal, not metal touching wire insulation or something else.
- Check that your power source is functioning properly. For example, see How do I test a KidWind generator?.
- If the three steps above don’t reveal any problems, contact Vernier technical support for assistance.
Additional Troubleshooting
- What software do I need to use a Vernier Energy Sensor?
- Readings from Vernier Energy Sensor are noisy.
- Can I use the Vernier Energy Sensor in place of other voltage or current sensors?
- Why doesn't the warning LED of my Energy Sensor come on?
- Energy Sensor gives erratic readings with custom generator.
- Go Direct sensor does not connect to LabQuest 2 via Bluetooth.
- How do I remove or replace a Go Direct battery?
- Troubleshooting Bluetooth Connections with Go Direct Sensors
- What can I do if a Go Direct sensor's Bluetooth LED flashes red and green when I try to connect to it and the connection fails?
- Will my device work with Go Direct Sensors via Bluetooth?
- How do I know if my LabQuest will work with Go Direct Sensors and Go Wireless devices?
Specifications
- Source input potential range
⚬ Internal load: ±5 V
⚬ External load only: ±30 V - Source input current range
⚬ Internal load: ± 0.18 A
⚬ External load only: ±1 A - Resolution
⚬ Potential: 1 mV
⚬ External load only: 40 μA - Input impedance: 1 MΩ
- Insertion resistance: 1 Ω
- Connections:
⚬ Wireless: Bluetooth® v4.2 (wireless range 30 m unobstructed)
⚬ Wired: USB 2.0 full speed - Battery: 300 mA Li-Poly
⚬ Battery Life (single, full charge): ~24 hours continuous data collection
⚬ Battery Life (lifetime): 2 – 5 years (typical)
Calibration
Calibrate? No. The Go Direct Energy cannot be calibrated. However, you may consider “zeroing” the current and voltage sensors before the start of an experiment. This is done by shorting out the leads of the sensor, then choosing the Zero option in the data-collection software.
Battery Troubleshooting
- If the sensor can be turned on when connected by USB but not when disconnected from USB, the battery likely needs charging.
⚬ Charge the sensor for several hours and try again. - If the sensor shows fully charged but still won’t turn on when connected via USB, then the battery has likely disconnected.
⚬ Check the battery connection. - If the sensor still won’t turn on, try swapping the battery with a working sensor to see if the problem follows the battery or stays with the sensor.
⚬ If the problem stays with the sensor, the battery is probably not the issue.
⚬ If the problem follows the battery, the battery has likely reached its end of life. - If the battery is indeed at the end of its life, the sensor cannot be used even if connected by USB, so the battery will need to be replaced. Go Direct® 300 mAh Replacement Battery (GDX-BAT-300)
- See How do I remove or replace a Go Direct battery? for more information (including a video).
Rechargeable batteries are covered by a one-year warranty.
Batteries should last two to five years in typical use.
Related Products
- Micro USB to USB-C Cable (CB-USB-C-MICRO)
- Go Direct® Sensor Cart Charge Station (GDX-CART-CRG)
- Vernier Variable Load (VES-VL)
- Vernier Resistor Board (VES-RB)
- KidWind Advanced Wind Experiment Kit (KW-AWX)
- KidWind Basic Wind Experiment Kit (KW-BWX)
- Solar Energy Exploration Kit (KW-SEEK)
- Vernier Energy Sensor (VES-BTA)
Replacement Parts
- Go Direct® 300 mAh Replacement Battery (GDX-BAT-300)
- Micro USB Cable (CB-USB-MICRO)

