- This option is available in LabQuest 3 version 3.0.3 and newer. To update your LabQuest 3 to the latest version, see https://www.vernier.com/downloads/labquest-3-updates/
- This option is available in LabQuest 2 version 2.8.7 and newer. To update your LabQuest 2 to the latest version, see https://www.vernier.com/downloads/labquest-2-updates/
| 1. Connect your LabQuest to a Wi-Fi network with internet access. a. Launch the Connections app,  , from the Settings screen. , from the Settings screen.b. Tap the icon in the upper right corner, If you don’t see the icons for accessing the Email Configuration, you may need to update the Connections app lockdown settings. See Why are there no icons/gears on the LabQuest Connections App screen? for more information. |
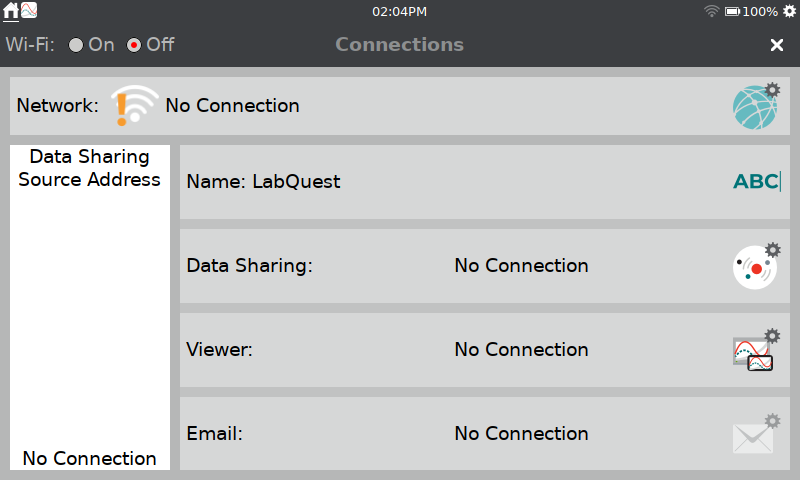 |
| c. Ensure Wi-Fi is set to On. d. Select the desired network to connect. e. Tap OK to exit the Network Settings Dialog. |
|
| 2. Set up the Email Service. a. Tap the Email settings icon, b. Verify email is On. This configuration accesses the Vernier outbound email service. Emails are sent using the email address labquest@vernier.com. |
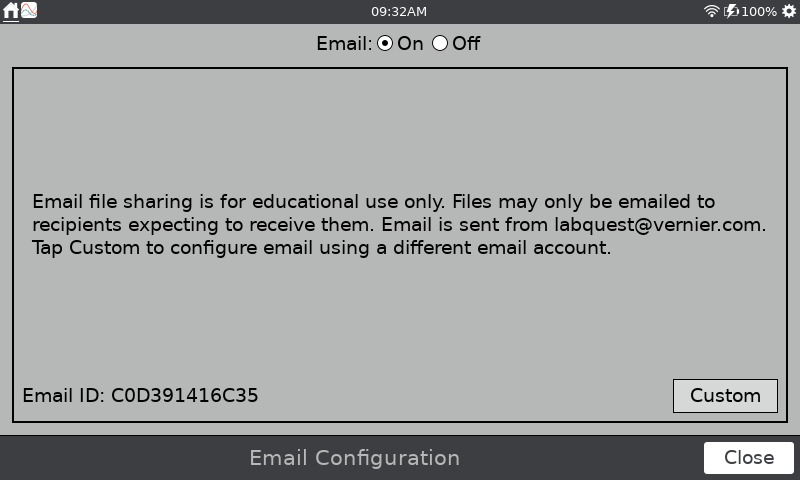 |
This feature is used to access the outbound email server associated with an email account required for sending emails. The email used here is the sending email account for the files you send. You cannot receive incoming emails on LabQuest.
If you need to set up other email services Follow the instructions below to setup your email.
How do I set up LabQuest 3 to email data with a Gmail account?
How can I setup email on my LabQuest using a Yahoo mail account?
Related Links
Is there a way to tell which LabQuest 3 sent an email?
My LabQuest 3 is not sending emails; what can I do?