CO2 Gas Sensor (CO2-BTA )
Which CO₂ Gas sensor do I have?
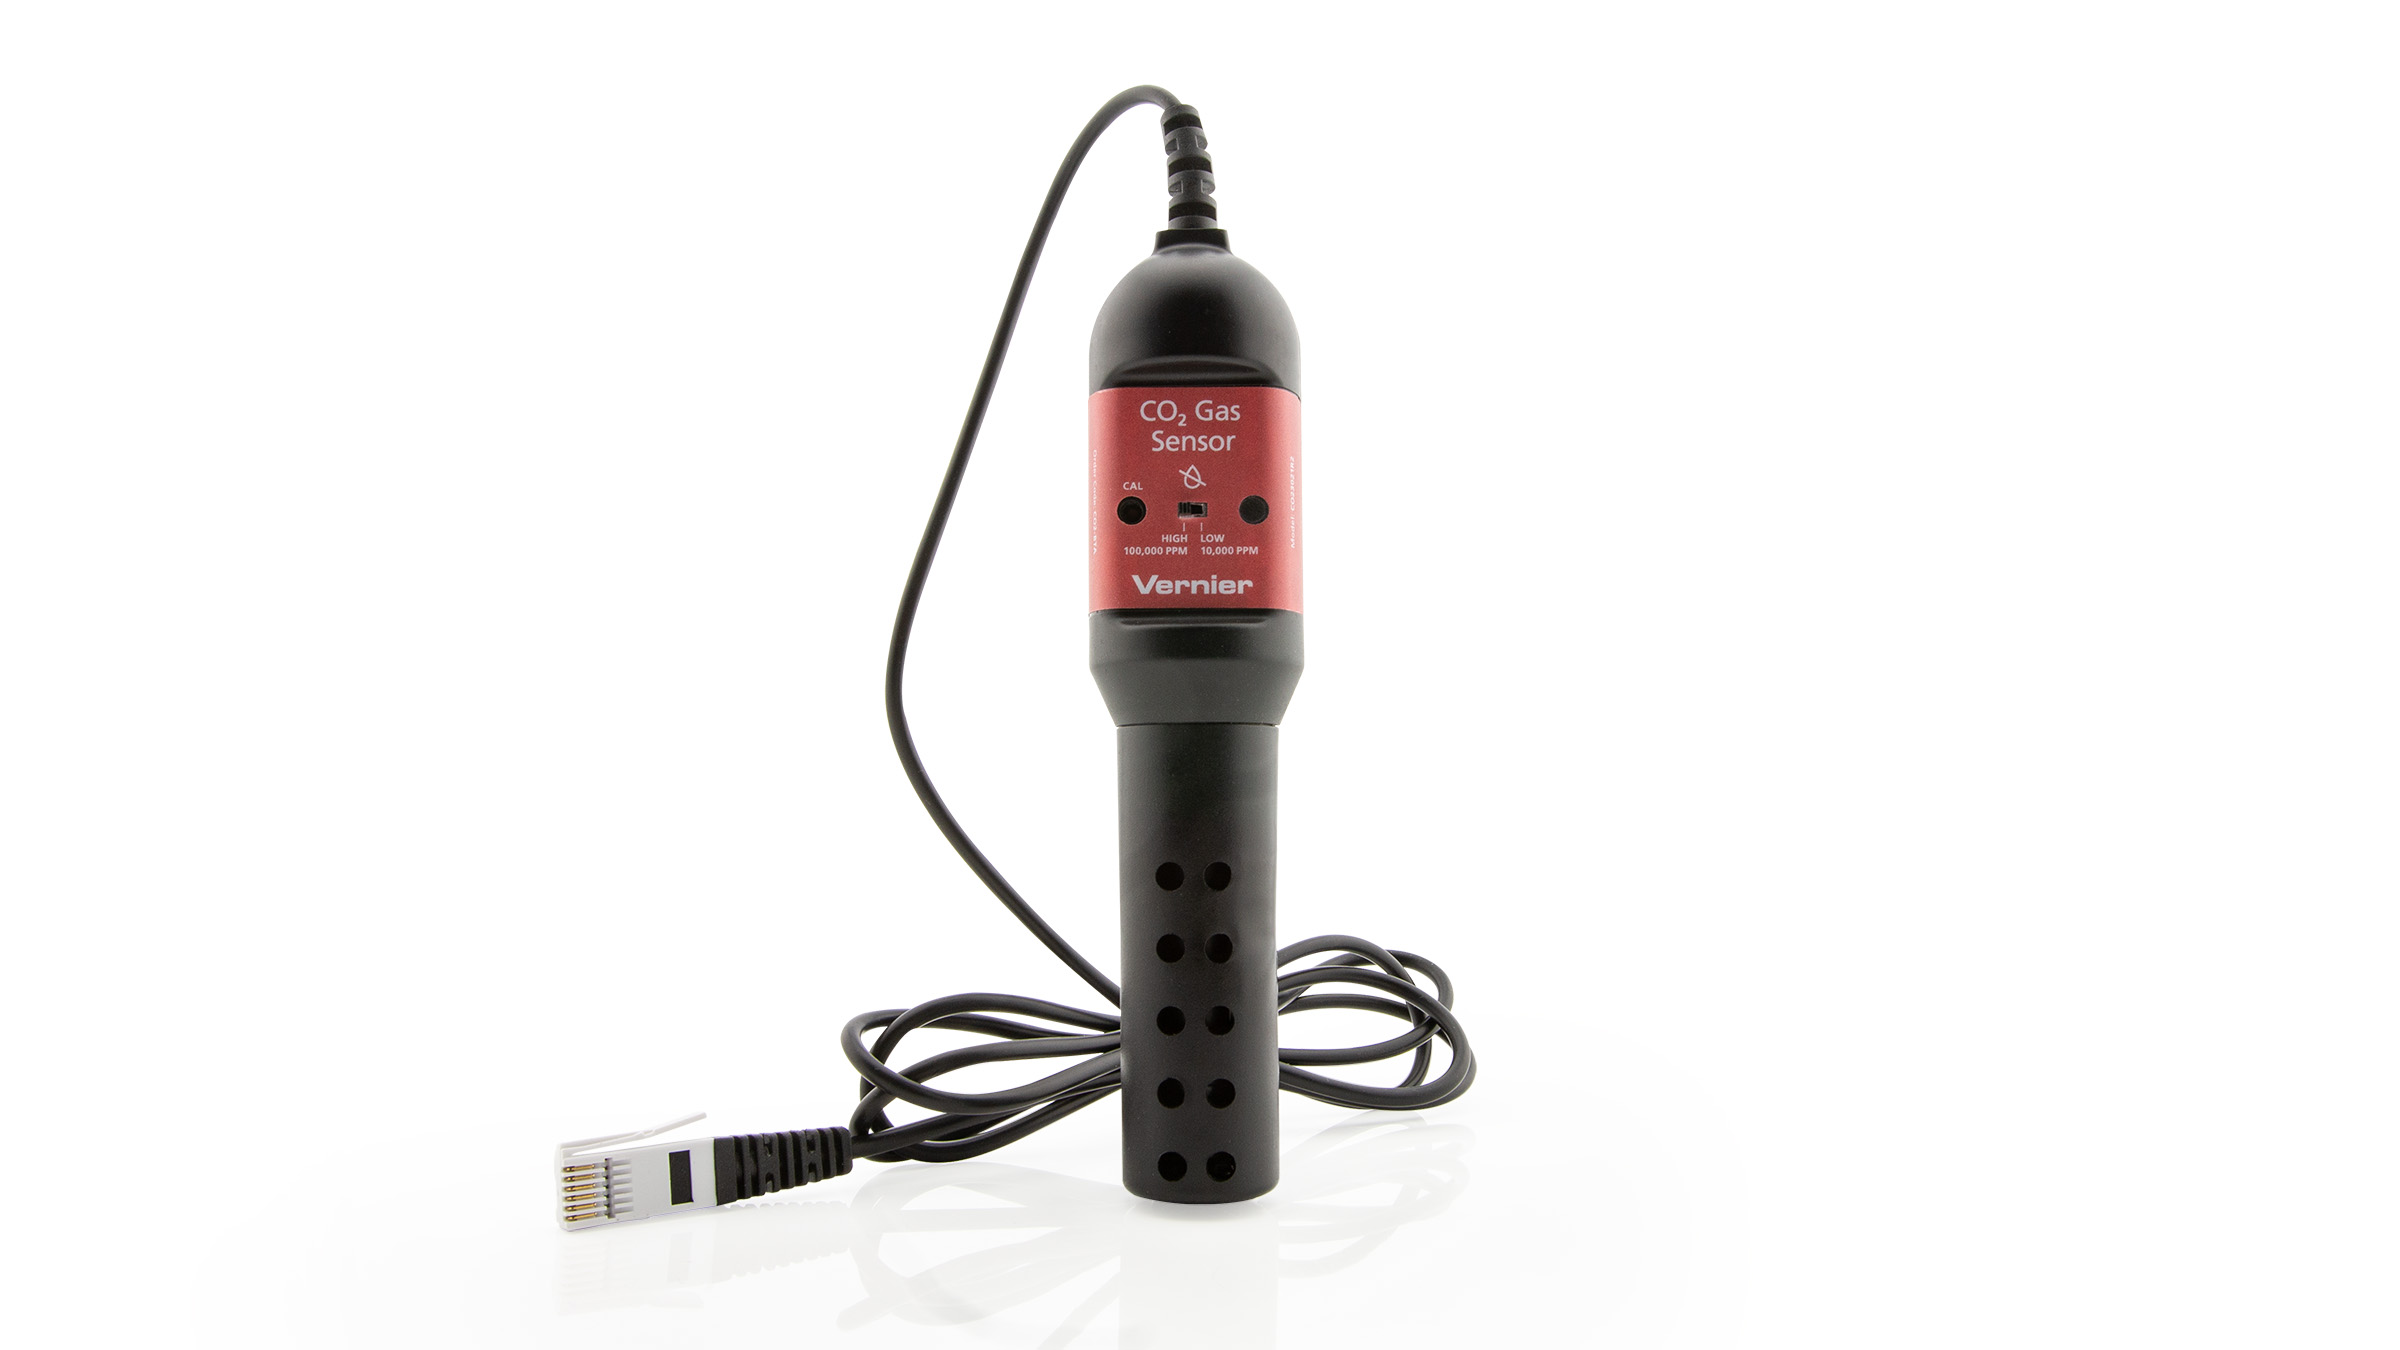
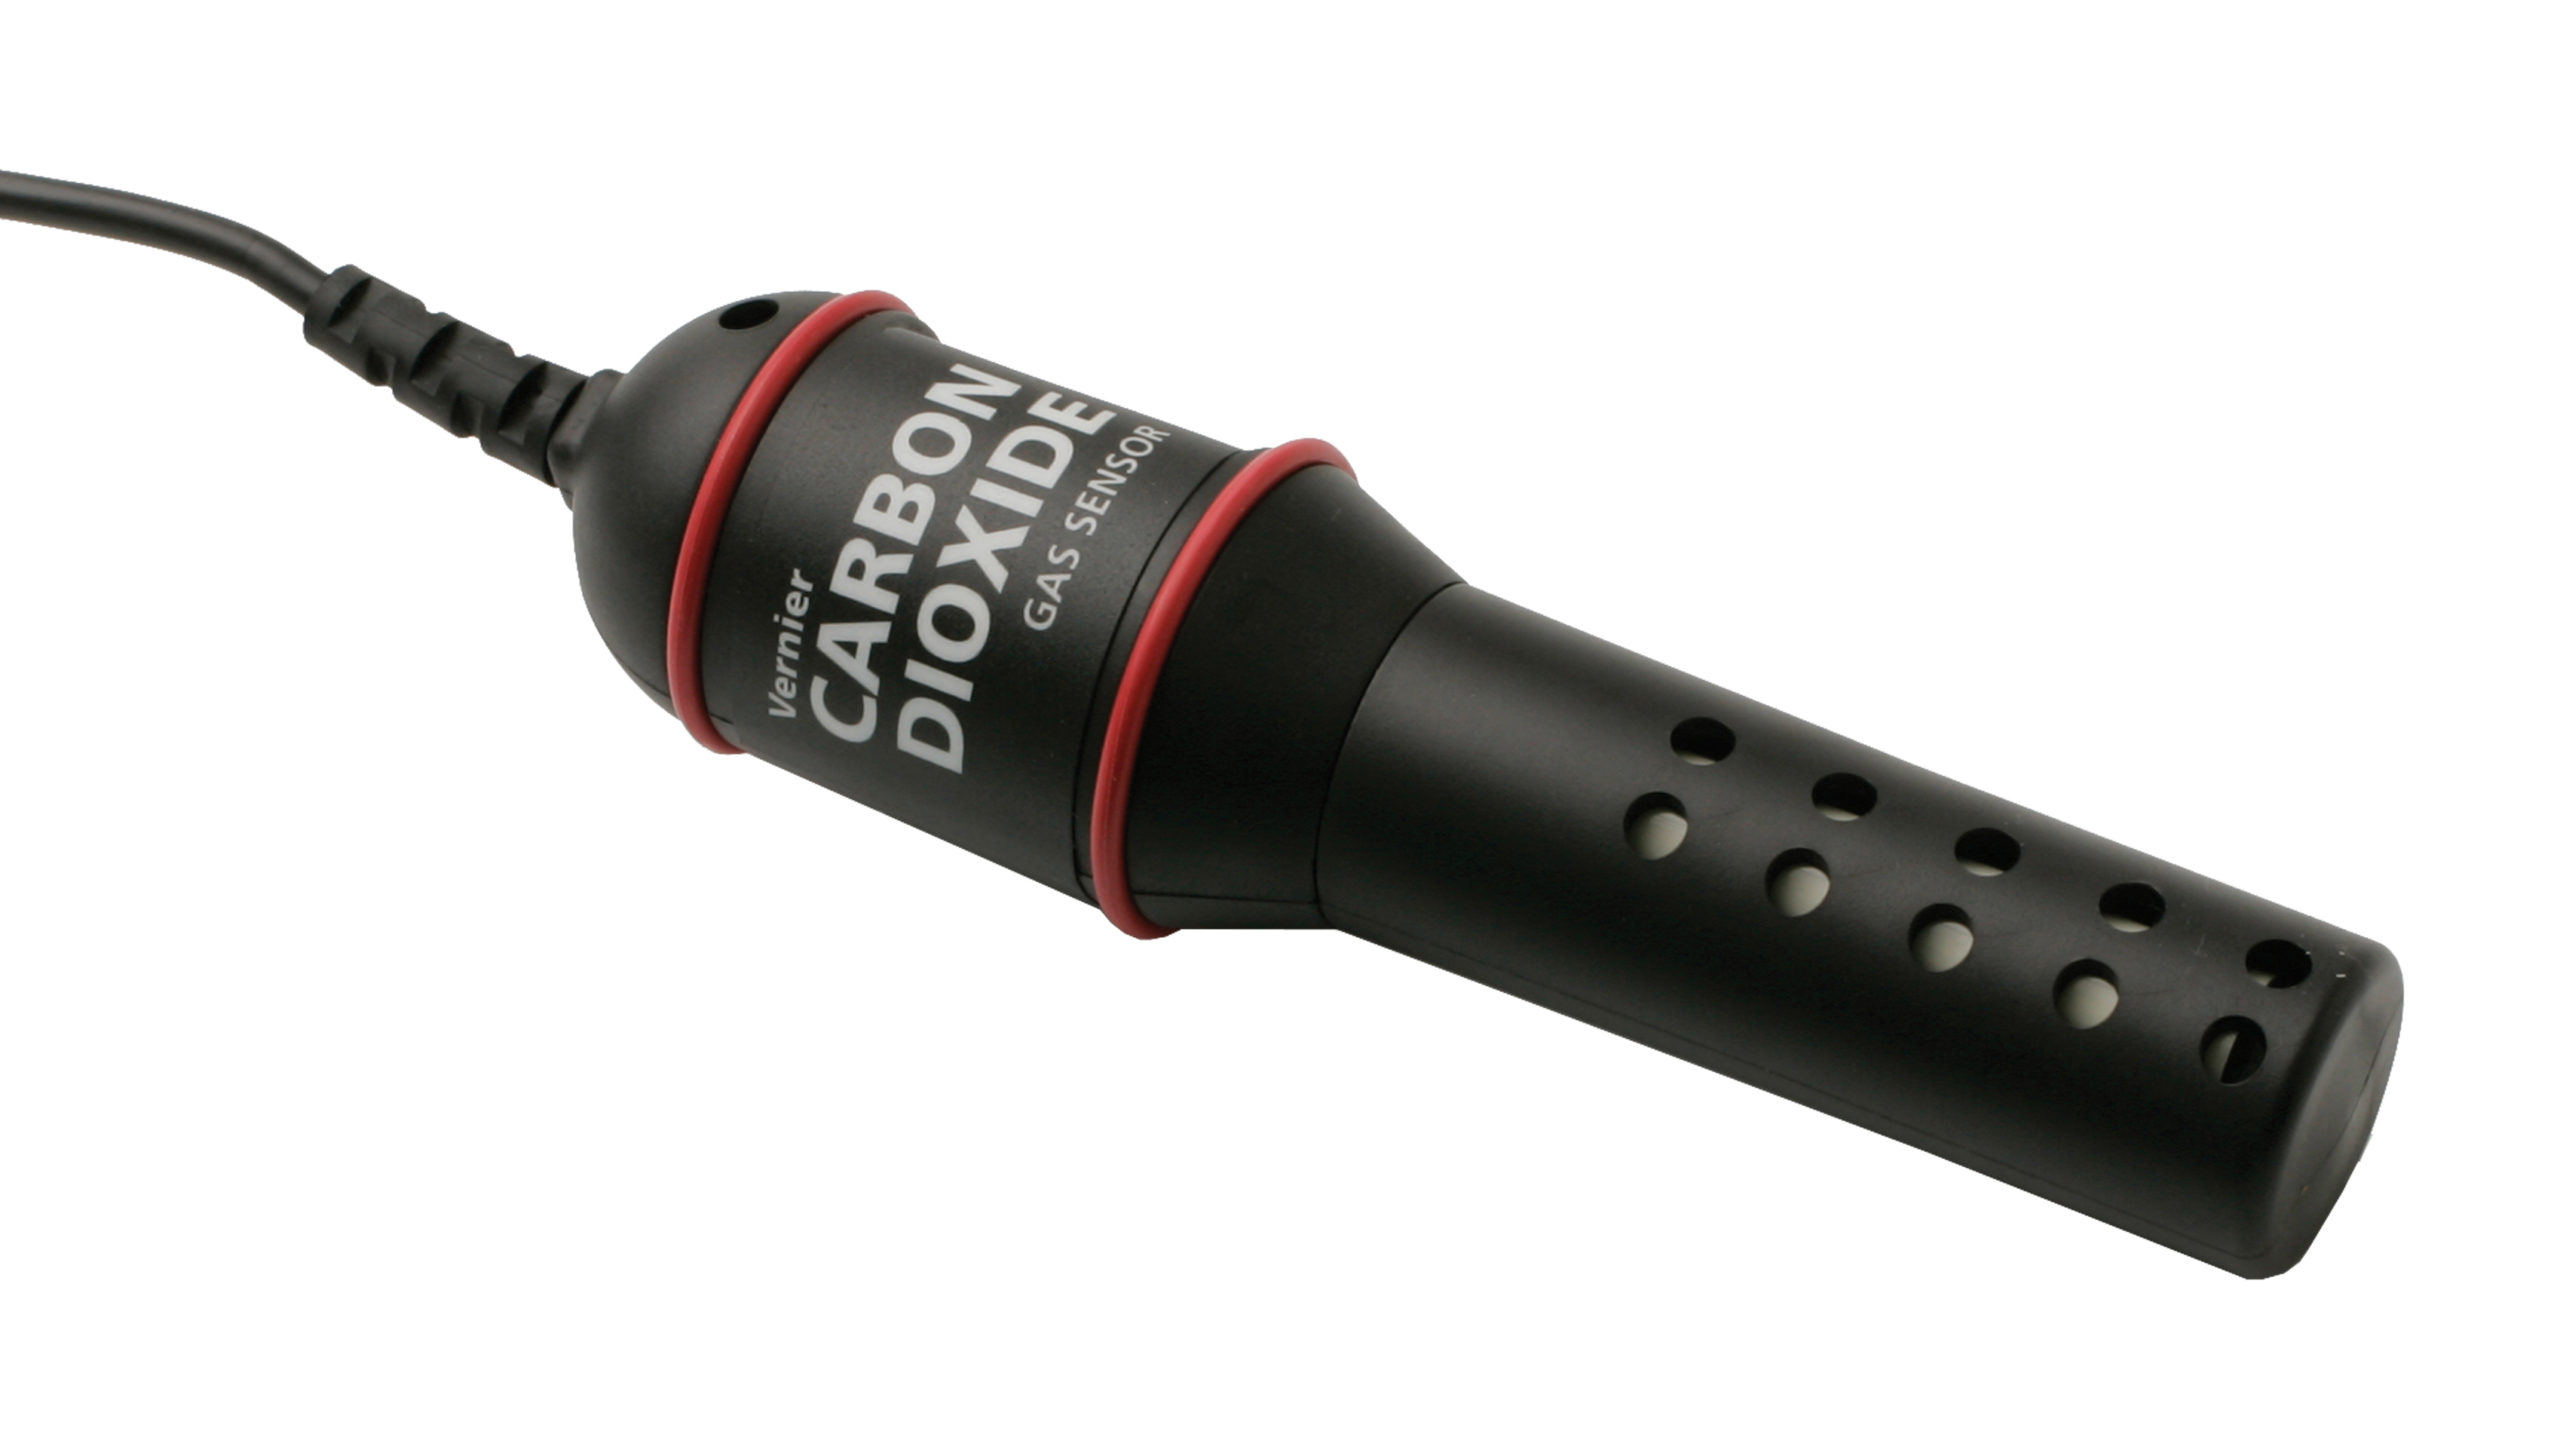
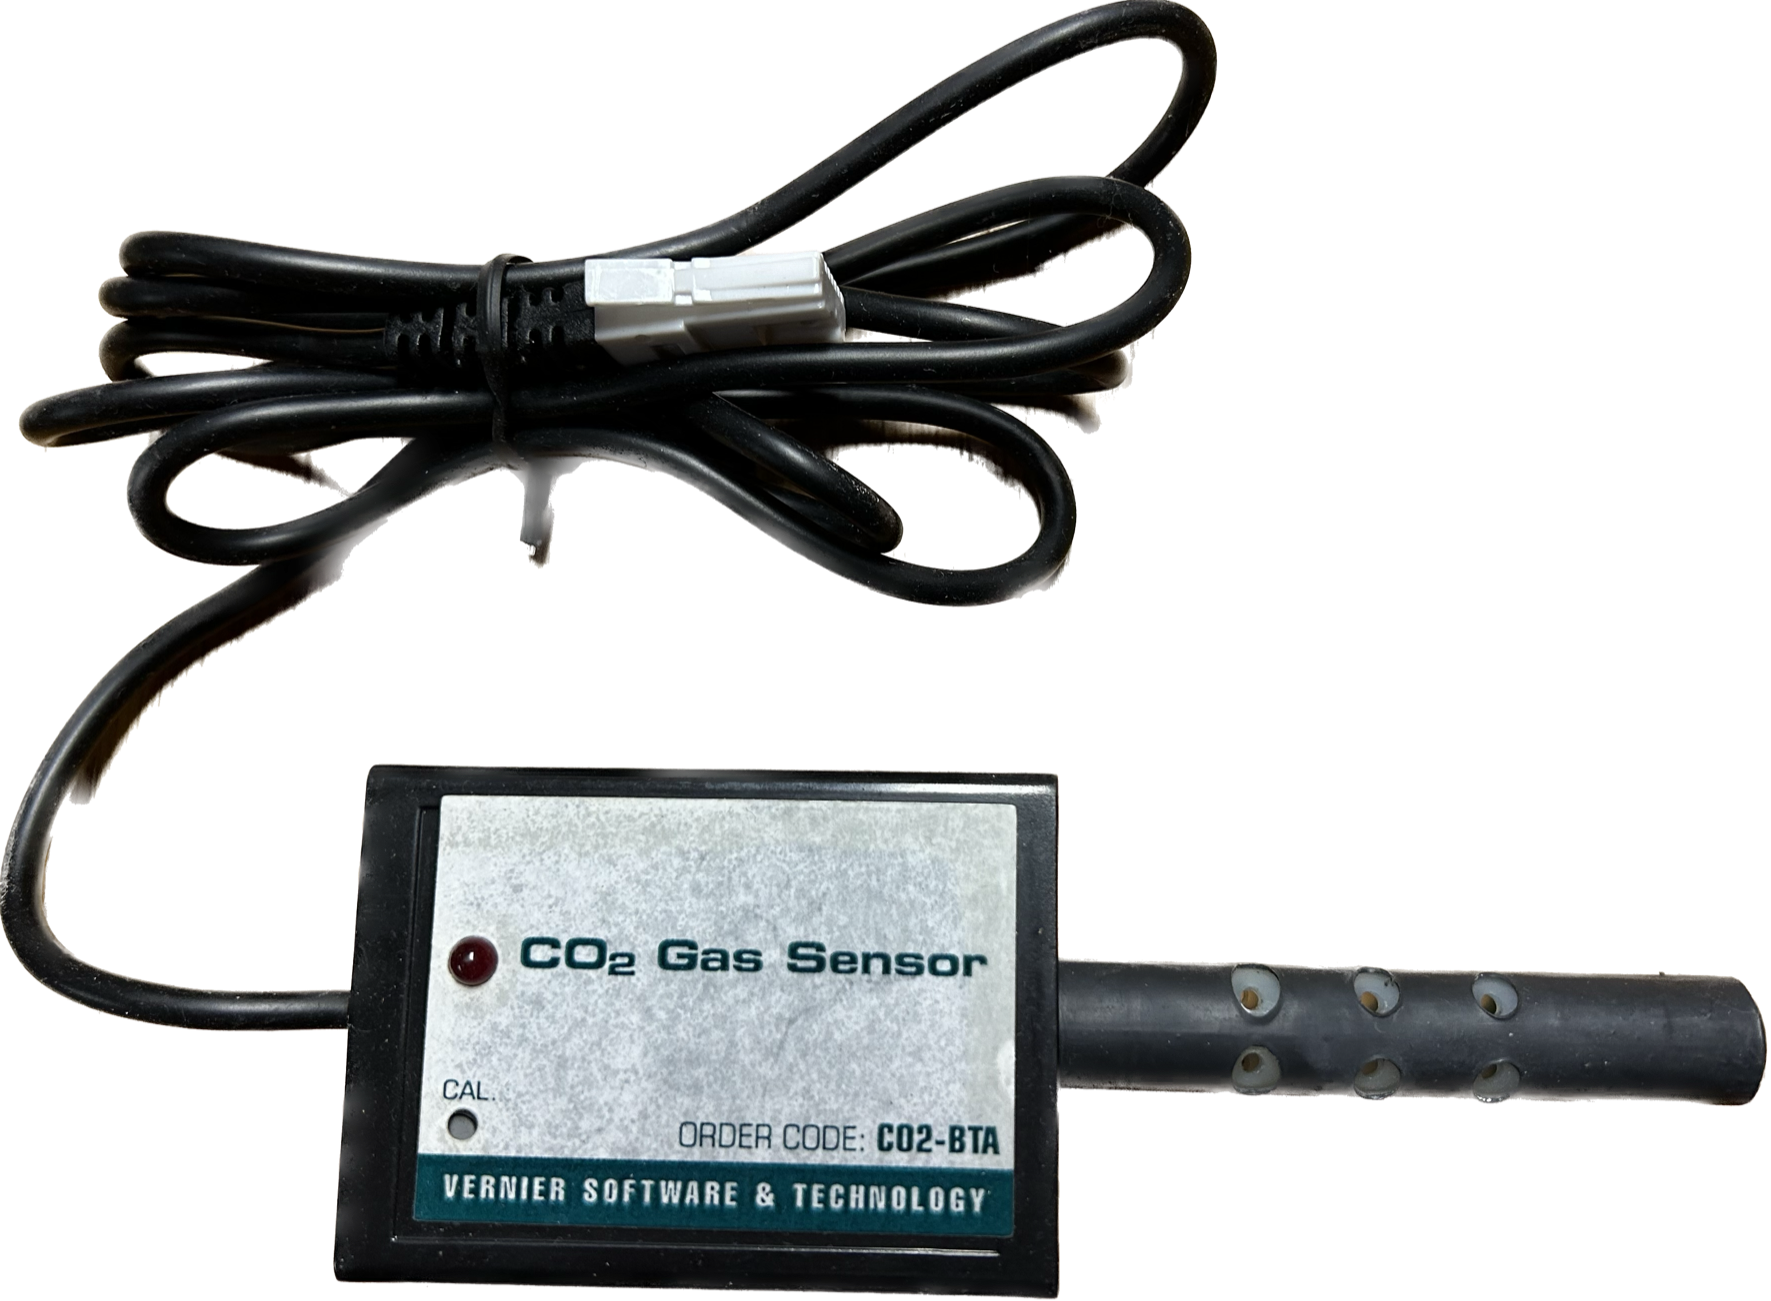
There have been three versions of wired CO₂ Gas Sensors. One model was sold up to about January 2007, then replaced with another model from 2007 until May of 2023. The newest model was introduced in June 2023. Specifications for the different models are listed below.
Troubleshooting
- Primary Test: Plug in the sensor, start the data-collection program, and allow the sensor to warm up for at least 90 seconds. Blow directly on the shaft of the sensor. You should see an increase in CO₂ levels. The pre-2007 model will max out at 5000 ppm. The post-2007 models will max out at approximately 10,000 ppm if set to the Low Range and 100,000 ppm if set to the High Range (although your breath will probably not reach 100,000 ppm).
- Secondary Test: If the CO₂ Gas Sensor is not giving reasonable readings in the Primary Test, try calibrating it. Note: If you recently blew into the sensor for the Primary Test, fan it with fresh air to clear it first.
Additional Troubleshooting
- How to get good results with photosynthesis experiments when using a CO₂ Gas Sensor.
- Can I use a dishwasher to wash the Nalgene bottle that shipped with my O2 or CO2 Gas Sensor?
- How can I insert a CO2 Gas Sensor or O2 Gas Sensor into my own container?
- The calibration button on my CO2 Gas Sensor is unresponsive.
- My CO2 Gas Sensor no longer Auto-IDs.
- Why does my CO2 sensor ID as a Current sensor when used with a Go!Link?
- Which CO₂ Gas sensor do I have?
- Can CO2 gas concentrations be expressed in units of mg/m³?
- What is the volume of gas displaced by the shaft of the CO2 and O2 Gas Sensor? What is the total volume of the Large and Small BioChambers?
- Can I autoclave the bottle that comes with my CO2 or O2 sensor?
Specifications
- Response time: 95% of full-scale reading in 120 seconds
- Warm-up time: 90 seconds
- Pressure effect: 0.19% of reading/mm of Hg from standard pressure
- Input potential: 5 V (±0.25V)
- Gas sampling mode: diffusion
- Normal operating temperature range: 25°C (±5°C)
- Operating humidity range: 5–95% (non-condensing)
- Storage temperature range: –40 to 65°C
- Measurement Range:
- ⚬ Low range: 0 to 10,000 ppm CO₂
- ⚬ High range: 0 to 100,000 ppm CO₂
- Typical Accuracy (at standard pressure, 1 atm):
⚬ Low range: 0 to 1,000 ppm: ±100 ppm
⚬ Low range: 1,000 to 10,000 ppm: ±10% of reading
⚬ High range: 0 to 100,000 ppm: ±20% of reading - Resolution:
⚬ 0 to 10,000 ppm CO₂: 3ppm
⚬ 0 to 100,000 ppm CO₂: 30ppm
- Measurement ranges
⚬ 0-10,000 ppm
⚬ 0-100,000 ppm CO₂ - Accuracy
⚬ ±100 ppm or ±10% of reading (low range)
⚬ ±200 ppm or ±20% of reading (high range) - Response time: 95% of full scale reading in 120 seconds
- Warm up time: 90 seconds
- Pressure effect: 0.19% of reading/mm Hg from standard pressure
- Output signal range: 0-4.0 V
- Input potential: 5 V (±0.25 V)
- Gas sampling mode: diffusion
- Normal operating temperature range: 25 ºC (±5 ºC)
- Operating humidity range: 5–95% (non-condensing)
- Storage temperature: −40 to 65 ºC
- Resolution:
⚬ 0 to 10,000 ppm CO₂: 3ppm
⚬ 0 to 100,000 ppm CO₂: 30ppm
- Measurement range: 0-5000 ppm CO₂
- Accuracy (at standard pressure, 1 atm)
⚬ ±100 ppm in the range of 0–1000 ppm
⚬ ±10% of reading in the range of 1000–5000 ppm - Typical resolution: 20 ppm
- Response time: 95% of full-scale reading in 120 seconds
- Warm-up time (connected to powered interface): 90 seconds
- Output signal range: 0–2.5 V
- Output impedance: 1 kΩ
- Input potential: 5 V (±0.25 V)
- Gas sampling mode: diffusion
- Normal operating temperature range: 25 ºC (±5 ºC)
- Storage temperature range: −40 to 65 ºC
Calibration
Calibration is usually not necessary, but if needed, it is best to calibrate outdoors in fresh air.
To calibrate, use a paper clip to press and release the “Cal” button on the sensor. The red LED should begin to flash. If you hold it so long that it is a solid red, you have reset the factory calibration. If this happens, simply press and release again. You may have to repeat this two or three times for the CO₂ value to adjust to around 400 ppm. Remember that the accuracy is ±100 ppm at this range, so it may not read exactly 400 ppm. While calibration is best performed in outside air, which is around 400 ppm in unpolluted air, it can be done in inside air for a quick test of the sensor. Note: If the button feels like it’s not depressing and the red light does not flash, the button may be stuck under the edge of the plastic. Use the paper clip to free the button and try calibrating again.
Related Products
- 250 mL Nalgene Bottle w/Lid (
CO2-BTL ) - BioChamber 250 (
BC-250 ) - BioChamber 2000 (
BC-2000 ) - Grommets for CO2 Gas Sensor (
CO2-GROM ) - Go Direct® CO2 Gas Sensor (
GDX-CO2 )