Note: This information is for the Go Direct CO₂ Gas Sensor. For information regarding the CO2 Gas Sensor (CO2-BTA), see CO₂ Gas Sensor Troubleshooting and FAQs
Troubleshooting
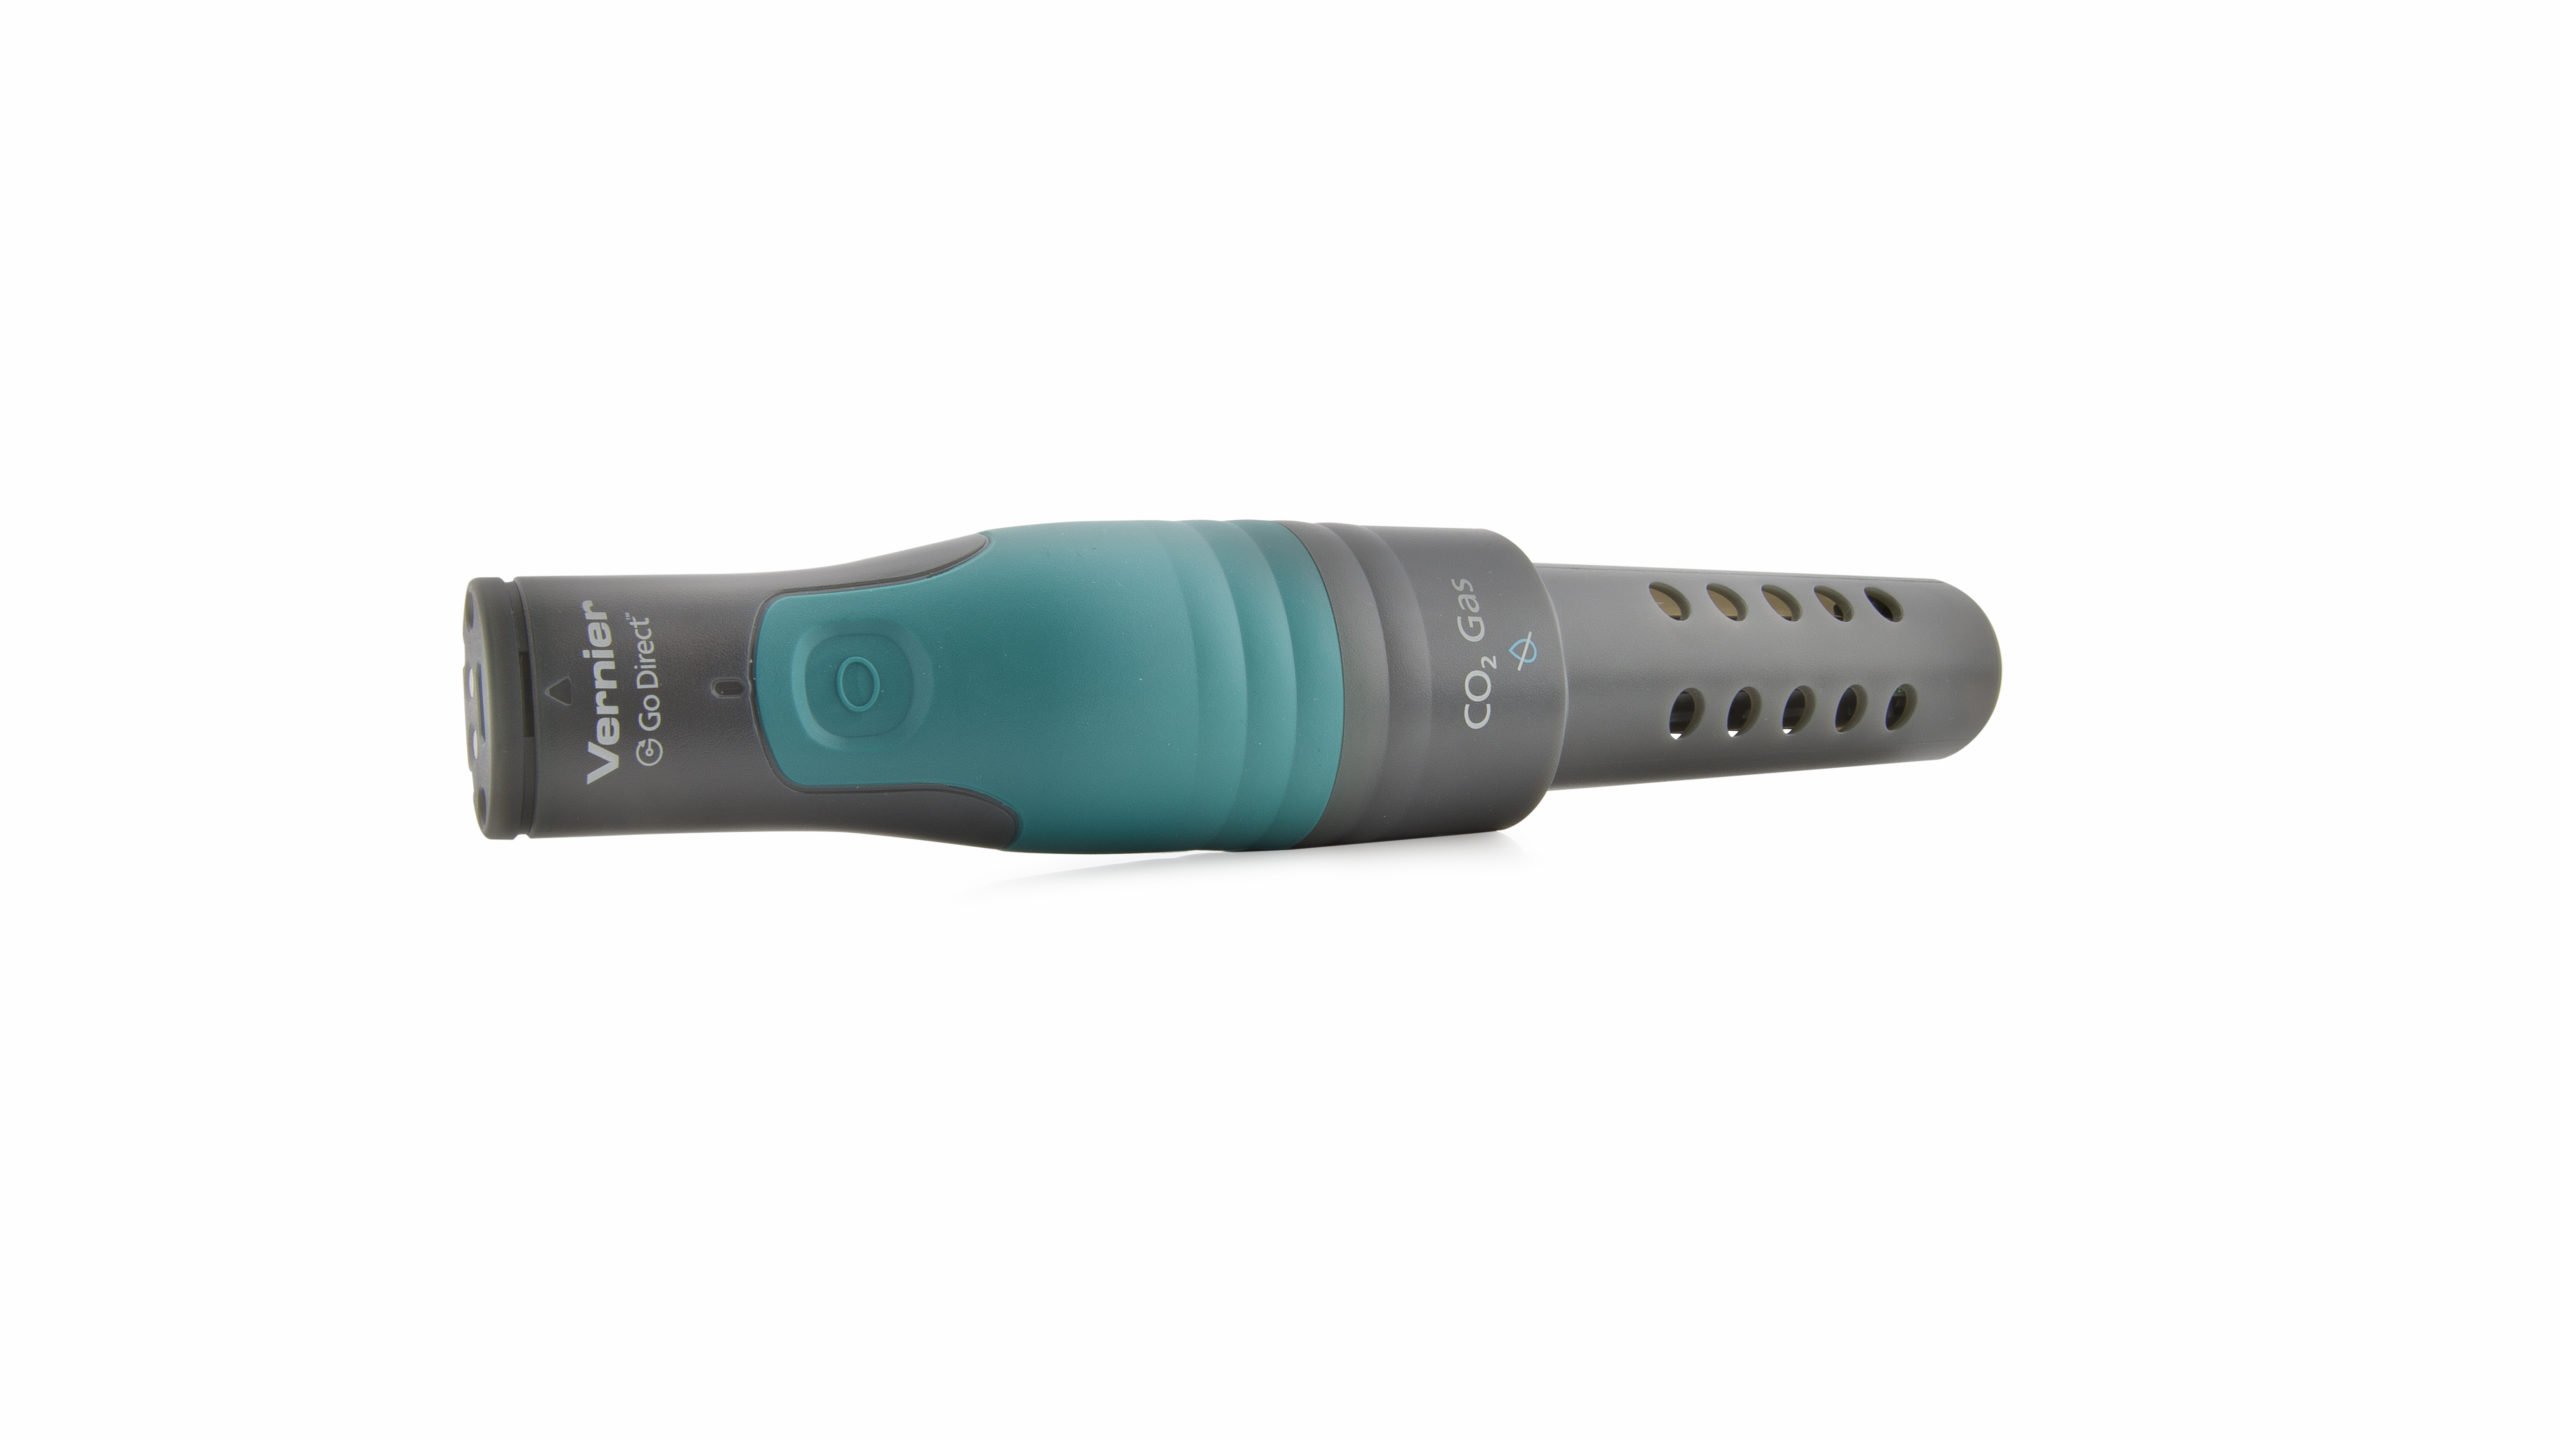
General: Press the power button on the sensor to turn it on. Connect your sensor as described in the Getting Started instructions for your device. (The green LED will flash to indicate the sensor is connected.)
- Primary Test: Start the software and identify your sensor, if necessary. Let the sensor warm up for at least 180 seconds before continuing. Blow directly on the shaft of the sensor. You should see an increase in CO₂ levels.
- Secondary Test: If the CO₂ Gas Sensor is not giving reasonable readings in the Primary Test, try calibrating it. This should ideally be done outside in fresh air (which should be close to 400 ppm).
Additional Troubleshooting
- Can I place the CO₂ sensor into a water sample? Does your CO₂ sensor measure dissolved CO₂? Do you have a dissolved CO₂ sensor?
- How should I protect my CO₂ Gas sensor or Go Direct CO₂ Gas sensor when using it with small animals or soil?
- How do I get good CO₂ and O₂ gas data during photosynthesis?
- Which CO₂ Gas sensor do I have?
- How do I use the Ethanol sensor with a CO₂ Gas sensor to measure fermentation?
- Will my device work with Go Direct Sensors via Bluetooth?
- How do I know if my LabQuest will work with Go Direct Sensors and Go Wireless devices?
- Go Direct sensor does not connect to LabQuest 2 via Bluetooth.
Specifications
- CO₂ Sensor
⚬ Type: NDIR
⚬ Range: 0–100,000 ppm
⚬ Accuracy
◆ 0 to 1,000 ppm: ±100 ppm
◆ 1,000 to 10,000 ppm: 100 ppm ± 5% of reading
◆ 10,000 ppm to 50,000 ppm: ±10% of reading
◆ 50,000 to 100,000 ppm: ±15% of reading
⚬ Resolution: 1 ppm CO2
⚬ Warm-up time: 180 s
⚬ Gas sampling type: Diffusion - Temperature Sensor
⚬ Type: integrated circuit (IC)
⚬ Accuracy: ±0.5°C
⚬ Resolution: 0.1°C - Relative Humidity Sensor
⚬ Type: integrated circuit (IC)
⚬ Accuracy: ±5% or better
⚬ Resolution: 0.1% - Operating conditions (all sensors)
⚬ Normal temperature range: 20 to 40°C
⚬ Humidity range: 5 to 95% (non-condensing) - Dimensions:
⚬ Sensor shaft length: 82 mm
⚬ Sensor shaft diameter: 28 mm
⚬ Total length: 200 mm - Connections:
⚬ Wireless: Bluetooth® v4.2 (wireless range 30 m unobstructed)
⚬ Wired: USB 2.0 full speed - Battery: 650 mA Li-Poly
⚬ Battery Life (single, full charge): ~8 hours continuous data collection
⚬ Battery Life (lifetime): 2 – 5 years (typical)
Calibration
CO₂ SENSOR
Calibration is usually not necessary, but if needed, it is best to calibrate using outside fresh air.
- Fill the 250 mL Nalgene bottle to the brim with water, take it outside, and dump the water to ensure it is then filled with fresh air.
- While still outdoors, insert the sensor into the bottle that now contains fresh outside air. Take the bottle and sensor to where the calibration will be done.
- Start the software and connect your sensor. Let the sensor warm up for at least 180 seconds before continuing.
- When the sensor has warmed up (readings should have stabilized), calibrate the sensor using a one-point calibration. Enter a value of 400 ppm for the sample of air collected. Once finished, the sensor should read very close to 400 ppm.
TEMPERATURE and RELATIVE HUMIDITY SENSORS
The temperature and relative humidity sensors are factory calibrated and cannot be calibrated by the user.
Battery Troubleshooting
- If the sensor can be turned on when connected by USB but not when disconnected from USB, it is likely that the battery just needs to be charged.
⚬ Try charging the sensor for several hours. - If the sensor still won’t turn on when disconnected from USB, try swapping the battery with a working sensor to see if the problem follows the battery or stays with the sensor.
⚬ If the problem stays with the sensor, the battery is probably not the issue.
⚬ If the problem follows the battery, the battery has likely reached its end of life. - If the battery is indeed at the end of its life, the sensor cannot be used even if connected by USB, so the battery will need to be replaced. Go Direct® 650 mAh Replacement Battery (GDX-BAT-650)
- See How do I replace the battery in a Go Direct Wand-Type Sensor? for more information.
Rechargeable batteries are covered by a one-year warranty.
Batteries should last two to five years in typical use.
Related Products
- Micro USB to USB-C Cable (CB-USB-C-MICRO)
- Go Direct® Charge Station (GDX-CRG)
- BioChamber 2000 (BC-2000)
- BioChamber 250 (BC-250)
- Grommets for CO2 Gas Sensor (CO2-GROM)
- CO2 Gas Sensor (CO2-BTA)
Replacement Parts
- Go Direct® 300 mAh Replacement Battery (GDX-BAT-300)
- Micro USB Cable (CB-USB-MICRO)
- 250 mL Nalgene Bottle w/Lid (CO2-BTL)