Troubleshooting
General: Press the power button on the sensor to turn it on. Connect your sensor as described in the Getting Started instructions for your device. (The green LED will flash to indicate the sensor is connected.)
- Primary Test: Check the readings in the standards. The high should be around 1000 mg/L. The low should be around 10 mg/L.
See also, General tips for using Ion Selective Electrodes (ISE).
Additional Troubleshooting
- How do I calibrate my sensor?
- Do any of your sensors require special storage?
- Do you sell ISE Standards?
- General tips for using Ion Selective Electrodes (ISE).
- How do I sterilize an Ion-Selective Electrode?
- Go Direct sensor does not connect to LabQuest 2 via Bluetooth.
- How do I replace the battery in a Go Direct Wand-Style Sensor?
- Troubleshooting Bluetooth Connections with Go Direct Sensors
- What can I do if a Go Direct sensor's Bluetooth LED flashes red and green when I try to connect to it and the connection fails?
- Will my device work with Go Direct Sensors via Bluetooth?
- How do I know if my LabQuest will work with Go Direct Sensors and Go Wireless devices?
Specifications
- Range
⚬ mV: ±1000 mV
⚬ concentration: 1 to 40,000 mg/L (or ppm) - Accuracy: ±10% of full scale (calibrated 10 to 1000 mg/L)
- Reproducibility (precision): ±30mV
- Interfering ions: Pb2+, Hg2+, Si2+, Fe2+, Cu2+, Ni2+, NH3, Na+, Li+, Tris+, K+, Ba2+, Zn2+, Mg2+
- pH range: 2–8 (no pH compensation)
- Temperature range: 0–40°C (no temperature compensation)
- Electrode slope: 26 ± 2 mV/decade at 25°C
- Electrode resistance: 100 MΩ
- Minimum sample size: must be submerged 2.8 cm (1.1 in)
- Standard solution voltages (typical)
⚬ High (1000 mg/L): 80 mV
⚬ Low (10 mg/L): 30 mV - Dimensions
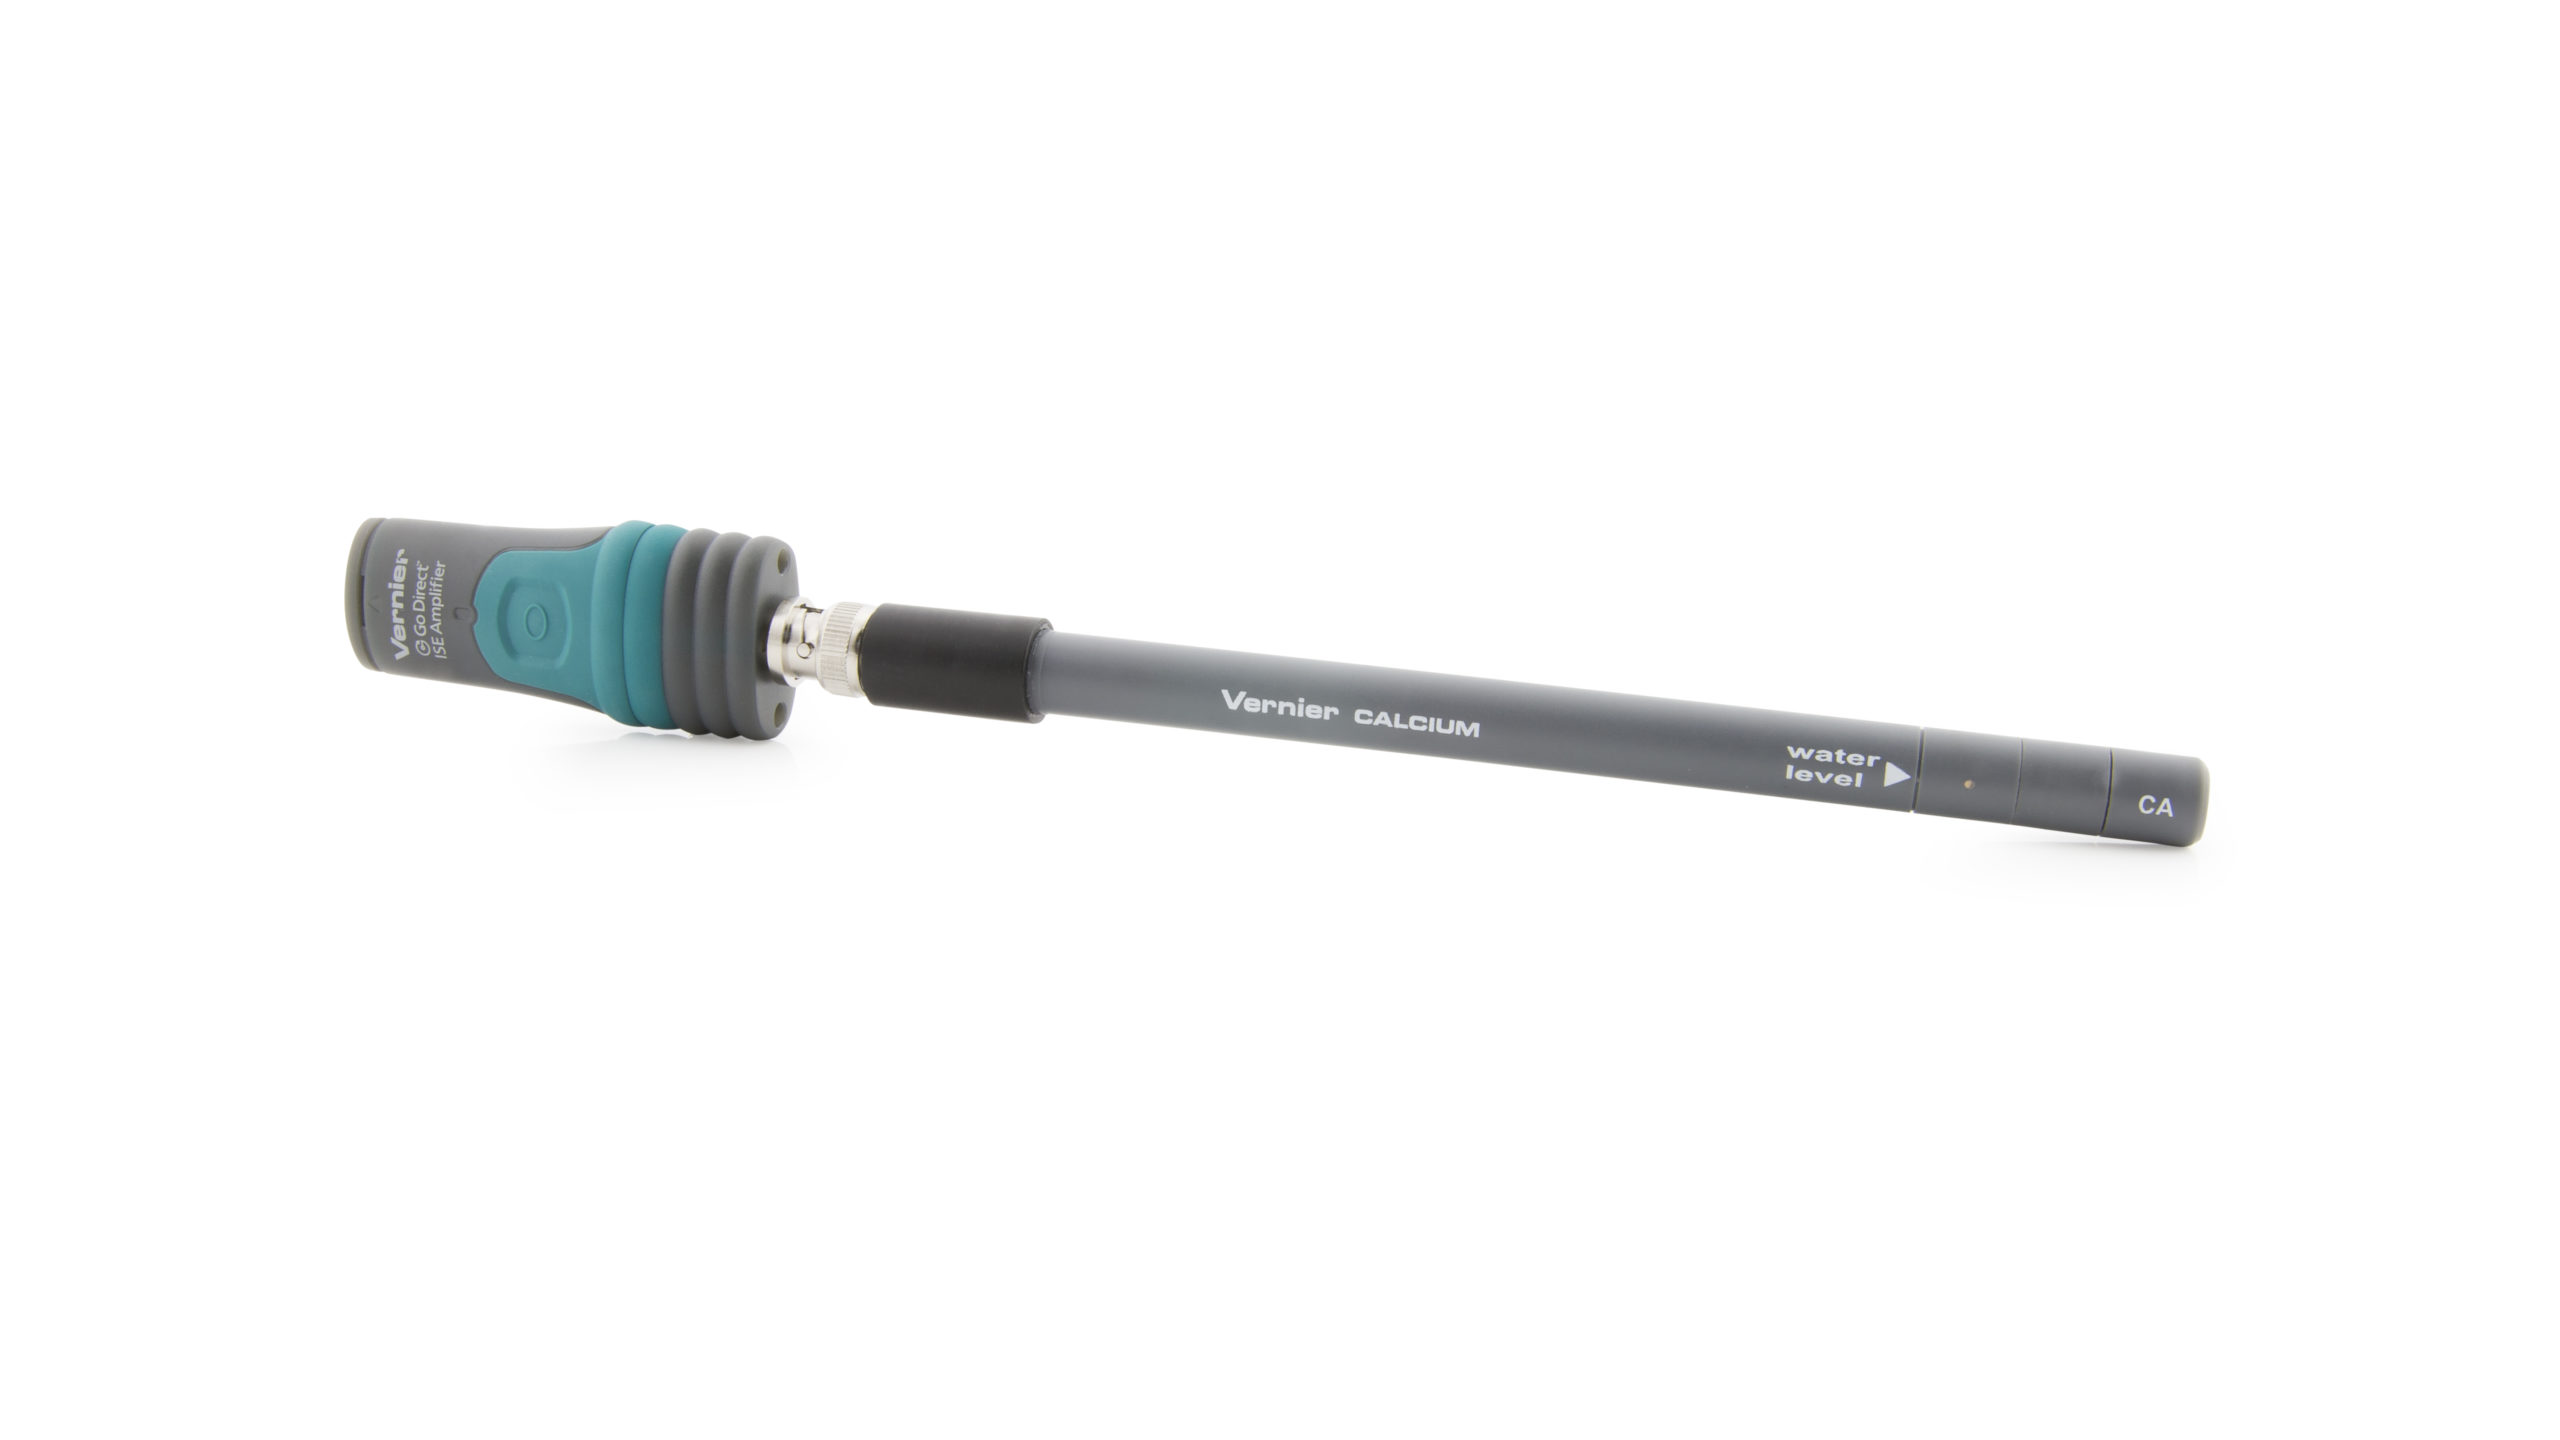
⚬ ISEA amplifier: 8.5 cm height x 3 cm wide x 1.75 cm depth
⚬ Ca electrode: 15.5 cm length, 12 mm OD - Connections:
⚬ Wireless: Bluetooth® v4.2 (wireless range 30 m unobstructed)
⚬ Wired: USB 2.0 full speed - Battery: 300 mA Li-Poly
⚬ Battery Life (single, full charge): ~24 hours continuous data collection
⚬ Battery Life (lifetime): 2 – 5 years (typical)
Calibration
Calibrate? Yes. Conduct a two-point calibration using the standard solutions that are shipped with the sensor. For more information, see How do I calibrate my sensor?
- Soak the ISE in the High Standard for 30 minutes
⚬ The ISE should not rest on the bottom of the container.
⚬ The small white reference contacts near the tip of the electrode should be immersed.
⚬ Make sure no air bubbles are trapped below the ISE. - Connect the sensor to the software and start a two point calibration.
- First point: The sensor should still be soaking in the High Standard.
⚬ Enter the concentration value of the High Standard.
⚬ Hold the ISE still and wait for the relative stability reading to stabilize.
⚬ Keep the first reading. - Remove the ISE from the High Standard, rinse well with distilled water from a wash bottle, and gently blot dry with a paper towel or lab wipe.
- Second point: Place the electrode into the Low Standard.
⚬ Enter the concentration value of the Low Standard.
⚬ Hold the ISE still and wait for the relative stability reading to stabilize.
⚬ Keep the second reading.
Most ISE measurements are done in water that is moving, so stirring the solution during calibration is important. For best results, suspend the ISE in a beaker containing the standard solution and use a stir station with magnetic stir bar to stir the solution as you calibrate the sensor. (Calibration video)
Battery Troubleshooting
- If the sensor can be turned on when connected by USB but not when disconnected from USB, the battery either needs charging or has reached its end of life and can no longer hold a charge.
⚬ First, try charging the sensor for several hours. - If the sensor still won’t turn on when disconnected from USB, try swapping the battery with a working sensor to see if the problem follows the battery or stays with the sensor.
⚬ If the problem stays with the sensor, the battery is probably not the issue.
⚬ If the problem follows the battery, the battery has likely reached its end of life. - If you intend to use this sensor wirelessly, its battery will need replacing.
Go Direct® 300 mAh Replacement Battery (GDX-BAT-300 ) - See How do I replace the battery in a Go Direct Wand-Style Sensor? for more information (including a video).
Rechargeable batteries are covered by a one-year warranty.
Batteries should last two to five years in typical use.
Related Products
- Micro USB to USB-C Cable (
CB-USB-C-MICRO ) - Go Direct® Charge Station (
GDX-CRG ) - Electrode Support (
ESUP ) - Stir Station (
STIR ) - Go Direct® Sensor Clamp (
GDX-CLAMP ) - Go Direct® Ammonium Ion-Selective Electrode (
GDX-NH4 ) - Go Direct® Chloride Ion-Selective Electrode (
GDX-CL ) - Go Direct® Nitrate Ion-Selective Electrode (
GDX-NO3 ) - Go Direct® Potassium Ion-Selective Electrode (
GDX-K ) - Calcium Ion-Selective Electrode (
CA-BTA )
Replacement Parts
- Go Direct® 300 mAh Replacement Battery (
GDX-BAT-300 ) - Micro USB Cable (
CB-USB-MICRO ) - Calcium Replacement Module (
CA-MOD ) - 10 mg/L Standard Ca ISE Solution (
CA-LST ) - 1000 mg/L Standard Ca ISE Solution (
CA-HST ) - Electrode Storage Bottles (
BTL-ES ) - Go Direct® Ion-Selective Electrode Amplifier (
GDX-ISEA ) - Go Direct® Calcium Ion-Selective Electrode BNC (
GDX-CA-BNC )

