Sharing ideas and inspiration for engagement, inclusion, and excellence in STEM
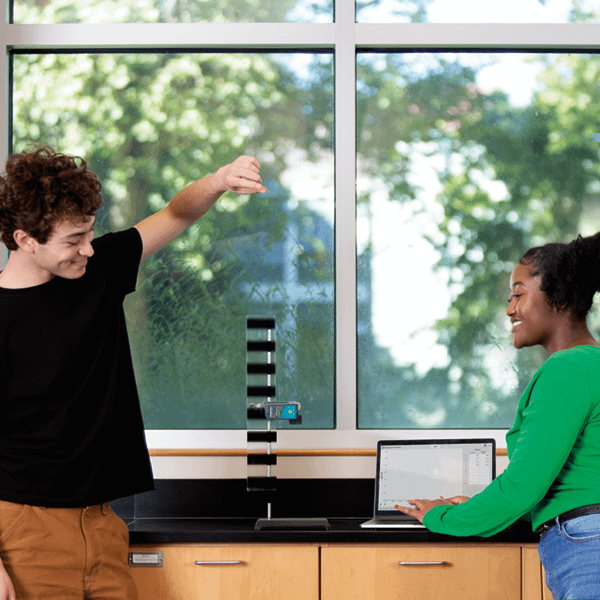
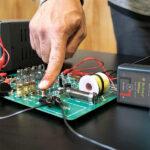
Photogates, at first glance, are one of our simplest sensors. They can capture incredibly precise snapshots of an object’s motion data utilizing just two LEDs. But despite their relative simplicity, photogates are actually incredibly versatile. They can detect objects in a range of sizes, from a marble to a pickup truck. And with just a brief snapshot, they can measure anything from the swing of a pendulum to the acceleration of a cart on a ramp to the speed of a collision—with the right alignment and precision. Here are five tips to help you get the most out of your experiments using photogates.
1. Know When to Use Photogates vs. Other Methods
Why choose a photogate over other methods, like a motion detector? Photogates can be advantageous in kinematics experiments for the following reasons:
- Measuring small objects, such as marbles, can be challenging to track accurately with a motion detector. Photogates are well-suited for capturing a wide range of objects, especially small objects.
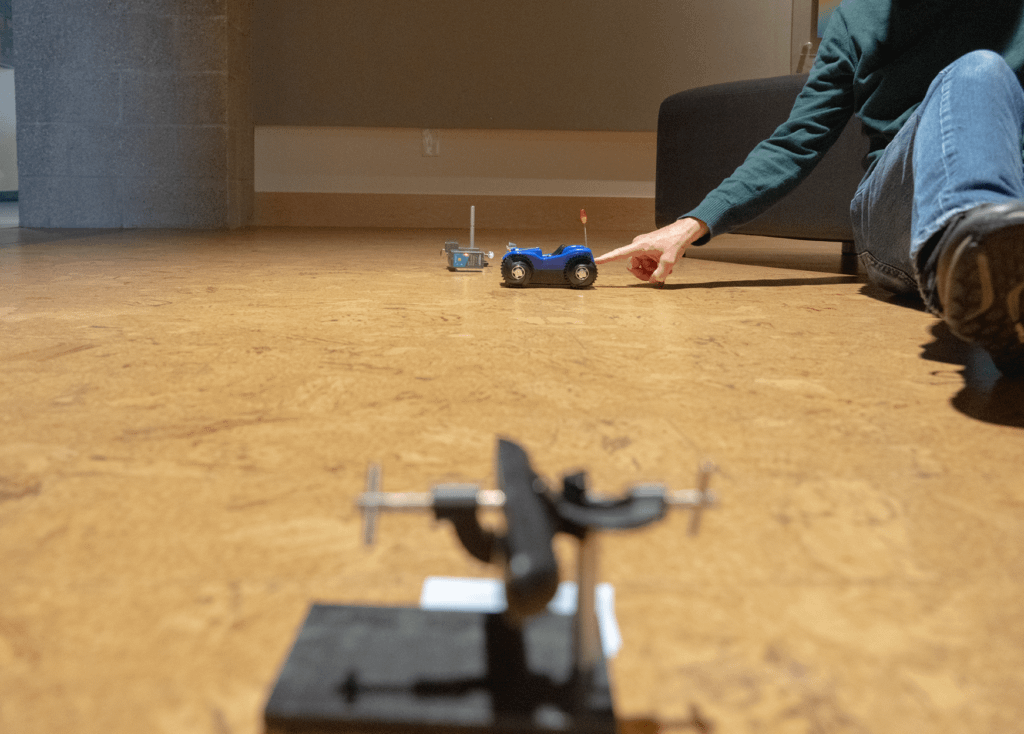
- When tracking motion across distance, the typical range of a motion detector (about 3.5 meters) may not suffice. Photogates extend the range, allowing you to capture the entire motion, especially in distance experiments like mousetrap car races.
- High-speed objects can often blur in Vernier Video Analysis®, compromising data accuracy. In these cases, photogates can offer a more reliable solution for collecting precise measurements.
2. Use Multiple Photogates to Enhance Data Accuracy
In gate-timing mode, the photogate records an object’s size as it passes through the beam, calculating the distance it travels through the gate. However, precise measurements hinge on the accurate alignment of the photogate beam with the object. Take a marble as an example. To measure its speed accurately, the light beam should align with the marble’s center—a known diameter—when it rolls through the photogate. This can be tricky, especially if the marble bounces while moving from a ramp to the photogate.
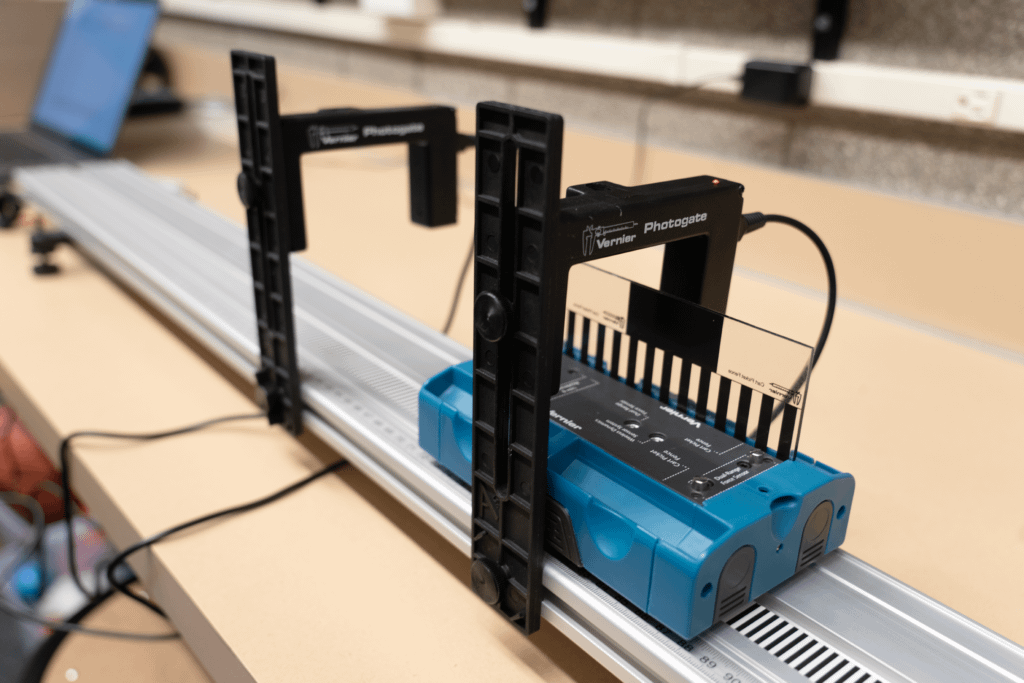
To address this challenge, use two LabQuest® Photogates in a “pulse timing” configuration. The two photogates are set at a known distance from each other, allowing you to calculate velocity and acceleration with much greater precision, regardless of how the beam hits the object. This setup ensures that you have a reliable and consistent distance measurement.
In fact, this approach is so effective, the Go Direct® Photogate is designed with this in mind. Each Go Direct sensor is built with two beams so you can collect precise data through pulse timing without any additional setup.
3. Align Your Photogates Correctly
Proper alignment is crucial when using photogates in your experiments. It ensures that the sensors accurately capture the motion you are investigating, regardless of whether you are using one or more photogates.
No matter what setup you are using, from measuring carts on a track with a pulley or freefall acceleration, make sure everything is aligned correctly to capture the motion you want. This means paying attention to angles and using tools like tripods or even stacks of books to get the alignment just right.
4. Use Data Tables vs. Graphs for Interpretation:
While we often use visual graphs to interpret our data in Vernier Graphical Analysis®, graphing photogate data isn’t always useful. Photogates give you a snapshot of an object’s motion at a particular moment, making it challenging to connect these snapshots effectively on a graph in a meaningful way.
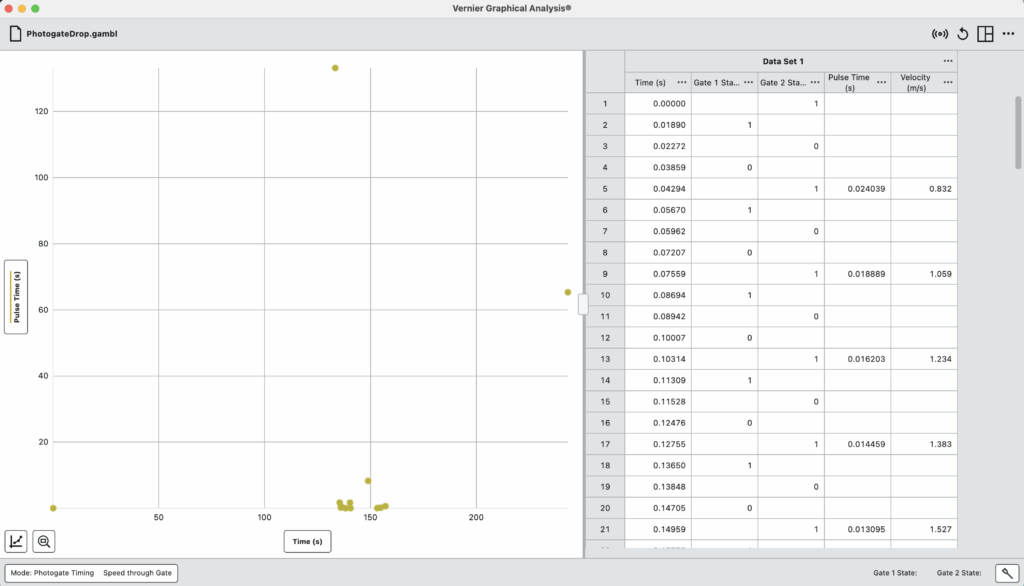
Instead, we suggest interpreting data using the data table view. Photogates record two entries in the data table each time the beam is broken and subsequently unblocked. The table allows you to clearly observe and interpret events—noting when the beam was broken and when it was unblocked, along with their respective timestamps.
5. Expand Your Gate Size with a Laser Pointer
One of the most versatile aspects of the photogate is that when paired with a Laser Pointer, you can make your gate as big as you want it to be. All Vernier photogates have one photodiode detector positioned on the outside of the photogate. This detector can be used with the Laser Pointer to produce a gate much wider than the standard 7.5 cm spacing of the photogate arms. This wide laser gate has many applications—from measuring the speed of a moving car to measuring the shutter speed of a film camera!
Looking for more hands-on tips about using photogates in your classroom? In a recent webinar, Vernier physics expert Josh Ence presents a demonstration of the Go Direct Photogate with tips for engaging students in hands-on physics learning!

Are you looking to incorporate more motion experiments into your physics class? Do you have questions about your photogates or motion sensors? Contact us at physics@vernier.com or 888-837-6437.
Share this Article
Related Articles


Sign up for our newsletter
Stay in the loop! Beyond Measure delivers monthly updates on the latest news, ideas, and STEM resources from Vernier.