Go Direct® Ion-Selective Electrode Amplifier User Manual
Order Code: GDX-ISEA
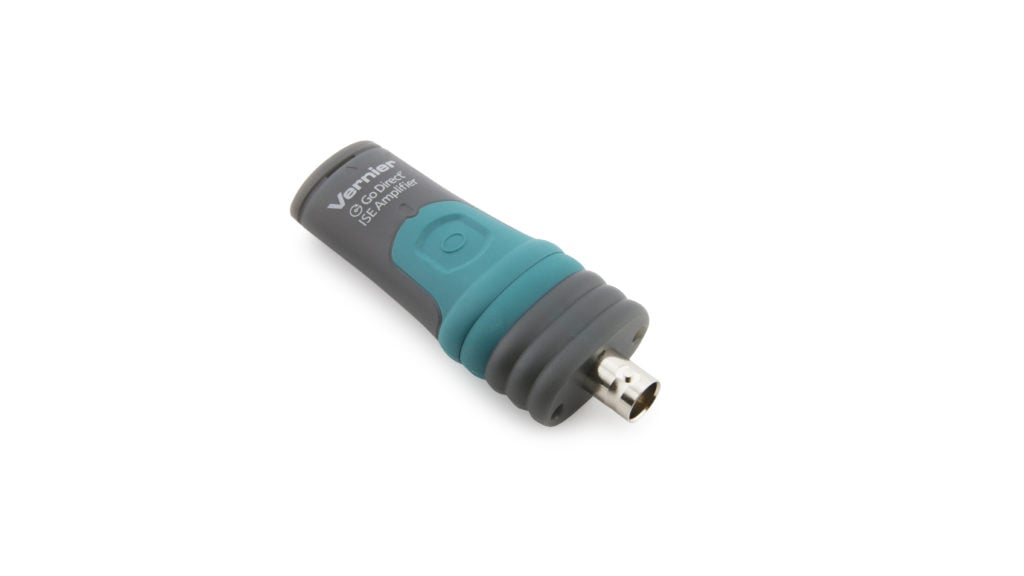
Use our Go Direct ISE Amplifier to collect data from any Vernier ion-selective electrode (ISE). The Go Direct ISE Amplifier can produce an output in mV or mg/L when connected to an electrode. It can also work with third party electrodes.
Note: Vernier products are designed for educational use. Our products are not designed nor are they recommended for any industrial, medical, or commercial process such as life support, patient diagnosis, control of a manufacturing process, or industrial testing of any kind.
What's Included
- Go Direct ISE Amplifier
- Micro USB Cable
Compatible Software
Choose a platform below to see its compatibility requirements.LabQuest
Interface LabQuest App LabQuest 3 Full support 1 LabQuest 2 Full support 1 2 LabQuest Incompatible Compatibility Notes
Computers
Software Interface Graphical Analysis Graphical Analysis (Web App) No interface required Full support 1 Full support 1 LabQuest 3 Full support 1 2 Incompatible LabQuest 2 Full support 1 2 3 Incompatible Compatibility Notes
Chromebook
Software Interface Graphical Analysis (Web App) No interface required Full support 1 Compatibility Notes
iOS
Software Interface Graphical Analysis Graphical Analysis GW No interface required Full support 1 Full support 1 LabQuest 3 Full support 1 2 3 Full support 1 2 3 LabQuest 2 Full support 1 2 3 4 Full support 1 2 3 4 Compatibility Notes
Android
Software Interface Graphical Analysis Graphical Analysis GW No interface required Full support 1 Incompatible 1 LabQuest 3 Full support 2 3 Full support 1 2 LabQuest 2 Full support 2 3 4 Full support 1 2 4 Compatibility Notes
Python
Software Interface Python No interface required Full support Javascript
Software Interface Javascript No interface required Full support 1 Compatibility Notes
LabVIEW
Software Interface NI LabVIEW No interface required Full support
Quick Start: Vernier Graphical Analysis® and Bluetooth®
- Charge your sensor for at least 2 hours before first use.
- Prepare a BNC ion-selective electrode (not included) by connecting it to the Go Direct ISE Amplifier and soaking it in the High Standard solution for 30 minutes. Refer to the electrode’s manual for more information.
- Turn on your sensor. The LED will blink red.
- Launch Graphical Analysis, then click Sensor Data Collection.
- Select your sensor from the list. The sensor ID is located on the sensor label near the bar code. Note: If you don’t see a list of available sensors, click WIRELESS. After selecting your sensor, click Pair.
- This is a multi-channel sensor. Click SENSOR CHANNELS and select the channel(s) you want to use.
- Click DONE. You are now ready to collect data.
- For best results, perform a two-point calibration using the High and Low Standard solutions. Refer to the electrode’s manual for more information.
Using other Vernier data-collection apps or want to connect via USB?
Visit www.vernier.com/start-go-direct
Note: This sensor also works with LabQuest 2 and LabQuest 3; it does not work with the original LabQuest.
Charging the Sensor
Connect the Go Direct ISE Amplifier to the included USB micro cable and any USB device for two hours.
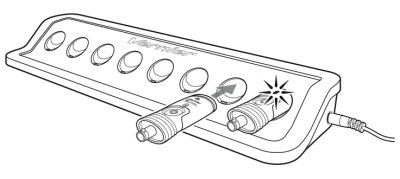
You can also charge up to eight Go Direct ISE Amplifiers using our Go Direct Charge Station, sold separately (order code: GDX-CRG).
| Charging |
Blue LED is on steady while sensor is connected to the Charging Cable or Charge Station. |
| Fully charged |
Blue LED is off when charging is complete. |
Powering the Sensor
| Turning on the sensor |
Press button once. Red LED indicator flashes when unit is on. |
| Putting the sensor in sleep mode |
Press and hold button for more than three seconds to put into sleep mode. Red LED indicator stops flashing when sleeping. |
Connecting the Sensor
See the following link for up-to-date connection information:
www.vernier.com/start/gdx-isea
Connecting via Bluetooth
| Ready to connect | Red LED flashes when sensor is awake and ready to connect. |
| Connected | Green LED flashes when sensor is connected via Bluetooth. |
Connecting via USB
| Connected and charging | Blue and Green LEDs are solid when sensor is connected to Graphical Analysis via USB and unit is charging. (Green LED is obscured by the blue one.) |
| Connected, fully charged | Green LED is solid when sensor is connected to Graphical Analysis via USB and the unit is fully charged. |
| Charging via USB, connected via Bluetooth |
Blue LED is solid and green LED is flashing, but the green flashing LED looks white because it is overwhelmed by the blue. |
Using the Product
Channels
Go Direct ISE Amplifier has six measurement channels:
- Potential (mV)
- Chloride (mg/L)
- Ammonium (mg/L)
- Calcium (mg/L)
- Nitrate (mg/L)
- Potassium (mg/L)
Note: The Potential channel is the default channel for this sensor. All channels are mutually exclusive except Potential (i.e., You can display one concentration channel and Potential at the same time, but you cannot display two concentration channels at the same time). In order to collect data from the other concentration channels, you must also attach the applicable corresponding BNC electrode to the ISE.
Calibration
If an ion-selective electrode is attached, a two-point calibration is recommended for the most accurate results. For additional calibration information, see www.vernier.com/til/4011
In order to calibrate an ISE electrode/ISE amplifier combination, or to confirm that a saved calibration is accurate, you should have a supply of ISE standard solutions that cover the range of the concentration values you will be measuring. For more information about ISE standard solutions, including recipes for preparation, see www.vernier.com/til/665
Once you have calibrated a Go Direct sensor, the calibration is automatically stored to the sensor and will be used each time you connect to your device. You can always choose to restore factory defaults if you feel the custom calibration is invalid.
If you are measuring potential, calibration is not required. Calibration is disabled in this mode to ensure the best results. For additional calibration information, see www.vernier.com/til/4011
Specifications
|
Range |
–1000 mV to +1000 mV |
|
Resolution |
0.01 mV |
|
USB specification |
2.0 |
|
Wireless specification |
Bluetooth 4.2 |
|
Maximum wireless range |
30 m |
|
Dimensions |
8.5 cm × 3.5 cm × 1.75 cm |
|
Battery |
300 mA Li-Poly |
|
Battery life (single full charge) |
~24 hours |
|
Battery life (long term) |
~500 full charge cycles (several years depending on usage) |
Care and Maintenance
Battery Information
Go Direct ISE Amplifier contains a small lithium-ion battery. The system is designed to consume very little power and not put heavy demands on the battery. Although the battery is warranted for one year, the expected battery life should be several years. Replacement batteries are available from Vernier (order code:
GDX-BAT-300).
Storage and Maintenance
To store Go Direct ISE Amplifier for extended periods of time, put the device in sleep mode by holding the power button down for at least three seconds. The red LED will stop flashing to show that the unit is in sleep mode. Over several months, the battery will discharge but will not be damaged. After such storage, charge the device for a few hours, and the unit will be ready to go.
Exposing the battery to temperatures over 35°C (95°F) will reduce its lifespan. If possible, store the device in an area that is not exposed to temperature extremes.
Water Resistance
Go Direct ISE Amplifier is not water resistant and should never be immersed in water.
If water gets into the device, immediately power the unit down (press and hold the power button for more than three seconds). Disconnect the sensor and charging cable, and remove the battery. Allow the device to dry thoroughly before attempting to use the device again. Do not attempt to dry using an external heat source.
How the Sensor Works
Go Direct ISE Amplifier is a circuit that allows the voltage output of the electrode to be monitored. Firmware on the amplifier automatically uses the Nernst equation to convert the Potential reading to Concentration when the appropriate sensor channel is connected. The electrode is connected to the BNC connector on one end of the amplifier. Go Direct ISE Amplifier will initially default to report values in units of mV.
Troubleshooting
For troubleshooting and FAQs, see www.vernier.com/til/665
Repair Information
If you have followed the troubleshooting steps and are still having trouble with your Go Direct ISE Amplifier, contact Vernier Technical Support at support@vernier.com or call 888-837-6437. Support specialists will work with you to determine if the unit needs to be sent in for repair. At that time, a Return Merchandise Authorization (RMA) number will be issued and instructions will be communicated on how to return the unit for repair.
Accessories/Replacements
| Item | Order Code |
|---|---|
|
GDX-K-BNC |
|
|
GDX-NO3-BNC |
|
|
GDX-NH4-BNC |
|
|
GDX-CL-BNC |
|
|
GDX-CA-BNC |
|
|
CB-USB-MICRO |
|
| Go Direct 300 mAh Replacement Battery |
GDX-BAT-300 |
| USB-C to Micro USB Cable |
CB-USB-C-MICRO |
Warranty
Warranty information for this product can be found on the Support tab at www.vernier.com/gdx-isea/#support
General warranty information can be found at www.vernier.com/warranty
Contact Support
Fill out our online support form or call us toll-free at 1-888-837-6437.