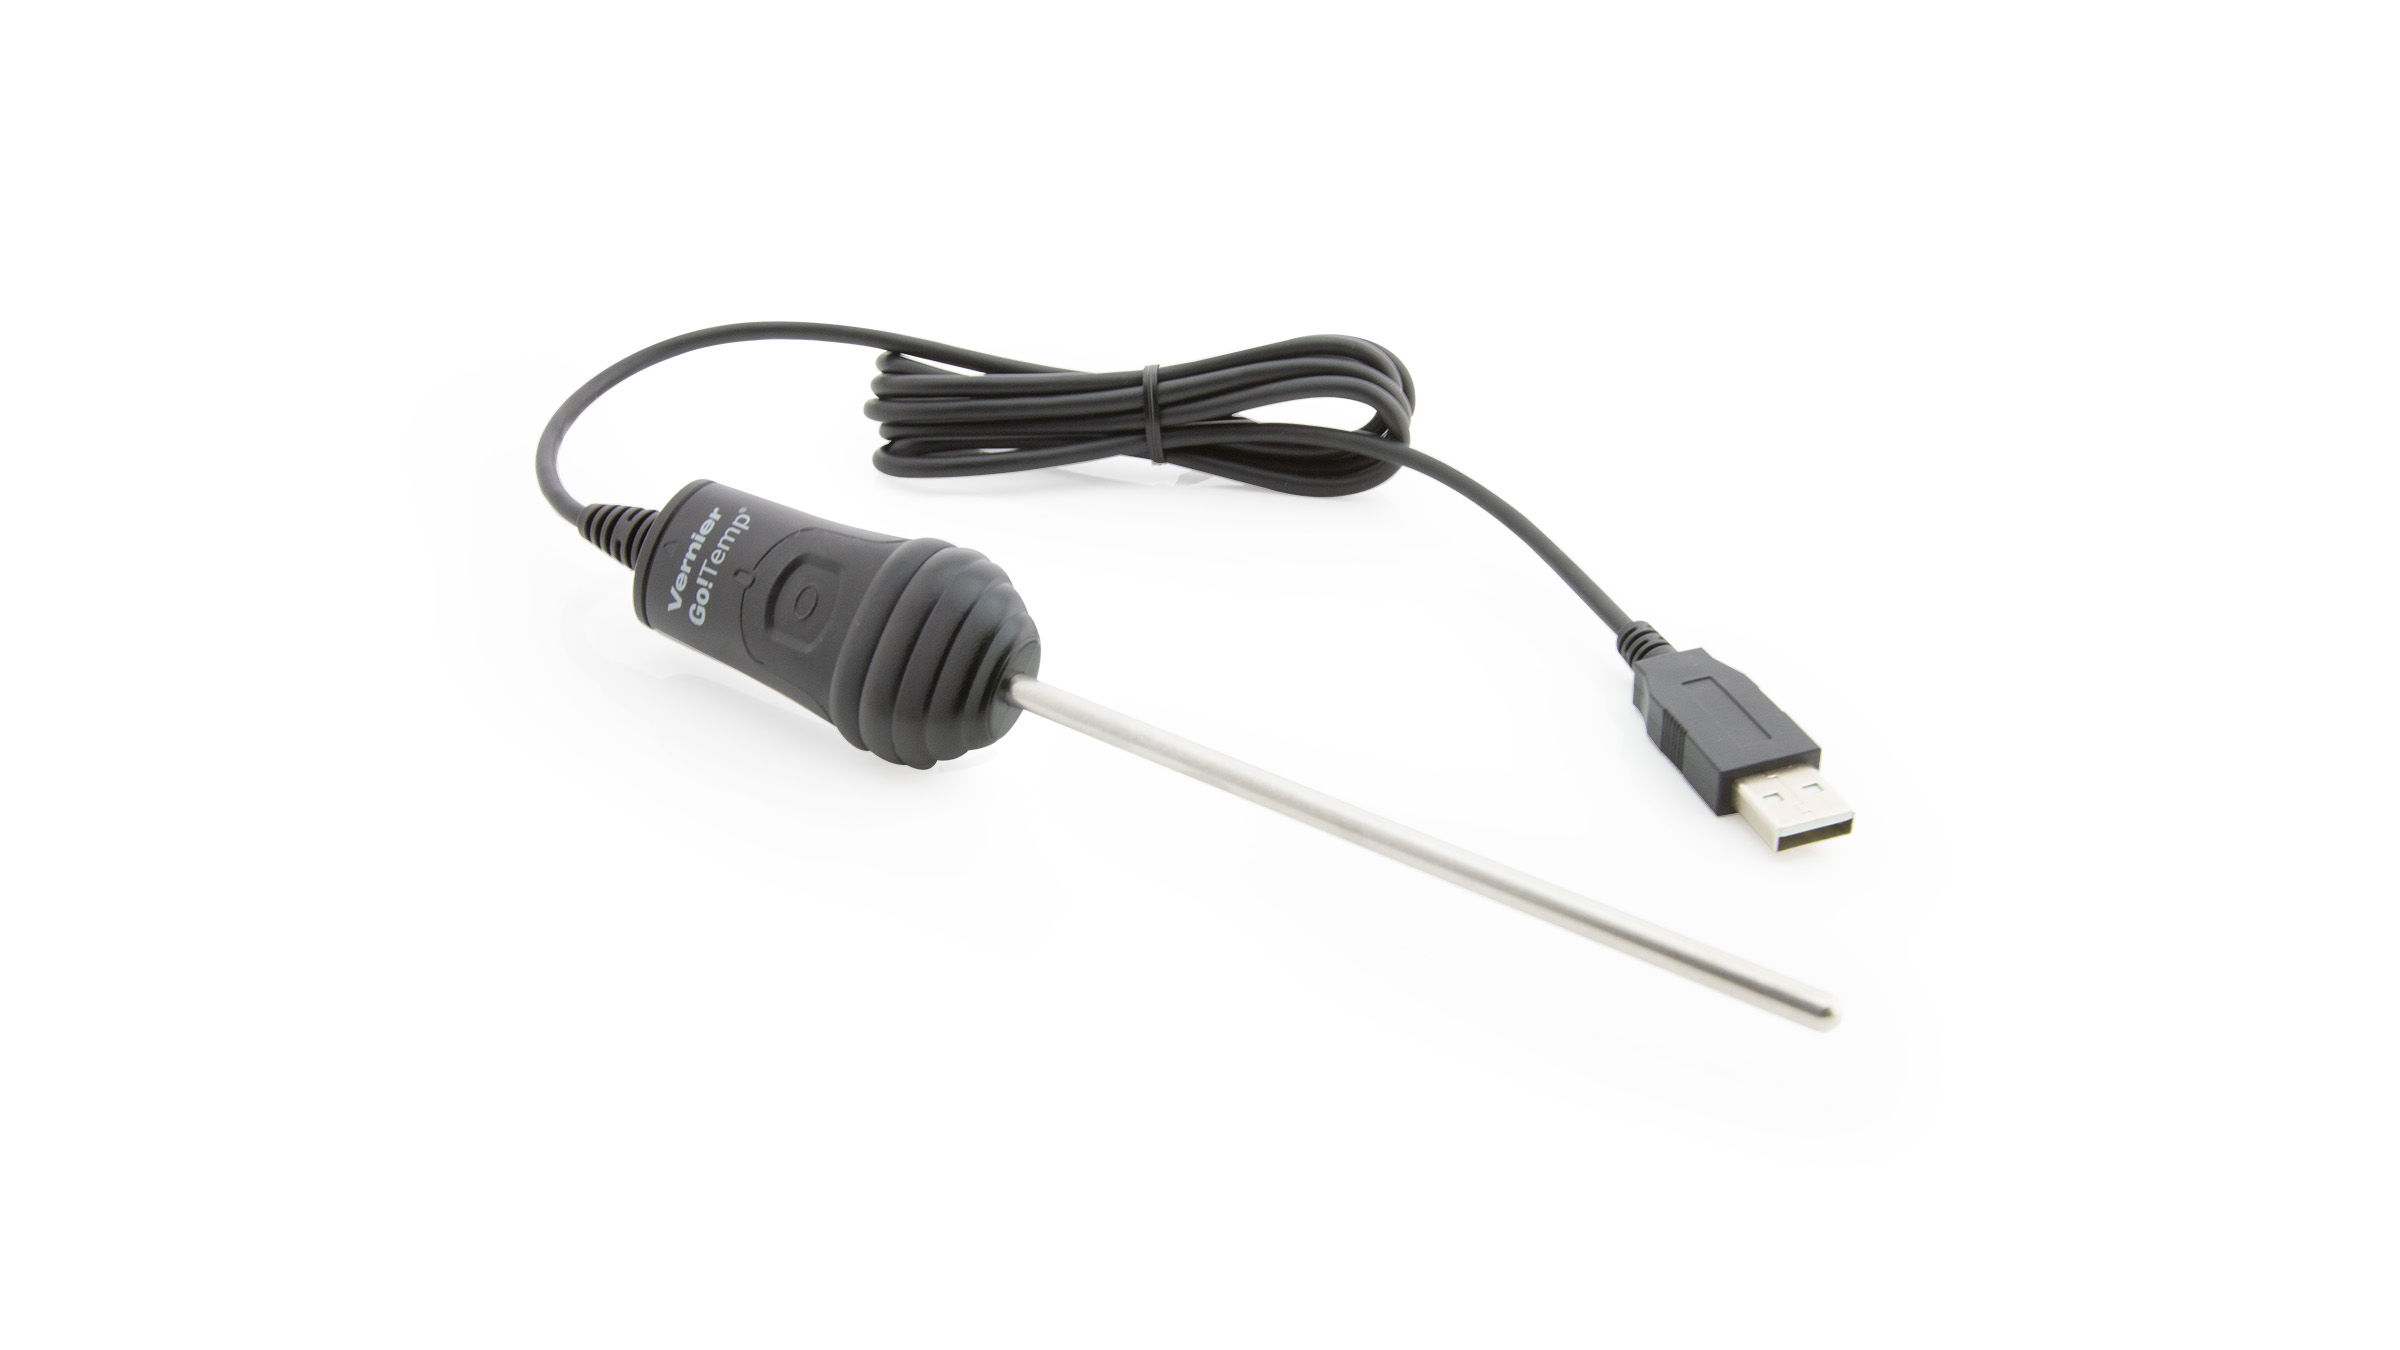
Go!Temp (GO-TEMP)
Logger Lite software is free with the purchase of a Go! device. For more information about Logger Lite, see:
https://www.vernier.com/go/loggerlite.html

Product Overview
What are the system requirements for Logger Pro and Logger Lite?
What are the differences between Logger Pro and Logger Lite?
Do Go! devices work with the LabQuest App?
Where can I get Go! Tweet? How can I send sensor data to Twitter?

Troubleshooting
The LED on Go!Temp is a useful troubleshooting tool. When working correctly, the LED on Go!Temp is green. If your LED is not green, see:
     The LED on my Go! device or LabQuest Mini is not green. What does that mean?
Why is Logger Pro not connecting to the interface and reading "No Device Connected" in the toolbar?
Go!Temp used to work, but now is not recognized by computer.
Logger Lite does not detect any sensors.
How do you calibrate a Go!Temp?
Logger Lite crashes when a Go!Temp is connected to an Intel Macs running Mac OS X 10.4.
When collecting data on LabQuest at very slow data rates from Go! Devices, data collection ends before it should.

SPECIFICATIONS
– Range: -20°C to 115°C
– Maximum temperature with : 150°C
– Resolution: 0.07°C
– Accuracy: ± 0.5°C
– Response time: 4 s (to 90% of full reading in water)

CALIBRATION
– Calibrate? Go!Temp is very nicely calibrated when shipped. Most never need to calibrate. However, if you need to, there are 2 options:
OPTION 1: One-point calibration
a. Place the Go!Temp in a water bath of known temperature.
b. Click on Experiment/Calibrate, then choose Calibrate Now. Note that One-point Calibration is checked.
c. Enter the correct, known temperature and choose Keep. Go!Temp will now be calibrated.

OPTION 2: Two-point calibration (more complex)
This requires two water baths of known temperature.
a. Click on Experiment/Calibrate, then choose Calibrate Now.
b. Select the One-point calibration check box to clear it.
c. Start with the Go!Temp in one of the water baths of known temperature. Enter the correct, known temperature and choose Keep.
d. Move the Go!Temp to the second water bath and complete the two-point calibration. Go!Temp will now be calibrated.

Note: If you want to save the calibration on Go!Temp, choose Calibration Storage and then click the button labeled Set Sensor Calibration. This will bring up a dialog box showing where the new calibration will be stored. Page 2 is the default. This is the page that was previously used for the Kelvin calibration. Overwriting this calibration is not a problem.

If you want to reset Go!Temp settings to factory defaults, Choose Experiment>Calibrate>Go!Temp, then choose the Calibration Storage tab and click on Restore Factory Defaults.

RELATED VERNIER PRODUCTS
-Learn how to communicate with Go!Temp directly and develop your own programs with our Go! Software Development Kit: https://www.vernier.com/downloads/gosdk.html.
Stainless Steel Temperature Probe (TMP-BTA)
Go Direct® Temperature Probe (GDX-TMP)
Extra-Long Temperature Probe (TPL-BTA)
Wide-Range Temperature Probe (WRT-BTA), (for use with temperature range of –20 to 330 deg C (–4 to 626 deg F))
Thermocouple (TCA-BTA), (for use with super-cooled liquids and flame)
Surface Temperature Sensor (STS-BTA), (quick response – not for use in chemicals)