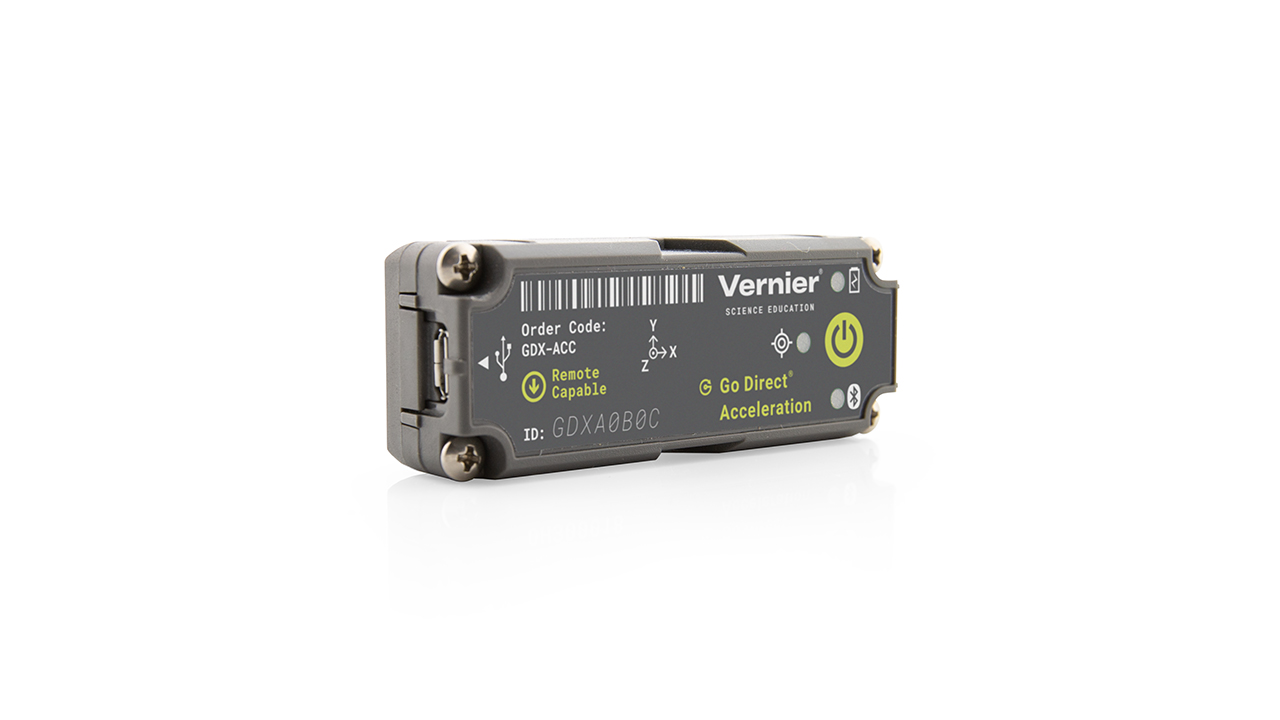
Go Direct® Acceleration Sensor (GDX-ACC)
Troubleshooting
Primary test: Press the power button on the sensor to turn it on. Connect your sensor as described in the Getting Started instructions for your device. (The green LED will flash to indicate the sensor is connected.)
- General: When placed on a flat surface with the label up, do the accelerations in the x and y directions read approximately zero, and does the acceleration in the z direction measure -9.8 m/s2? Do the gyroscopes read zero?
- Accelerometers: Were the accelerometers properly zeroed? For more accurate acceleration readings, zero the x- and y- directions of acceleration while the sensor rests horizontally on its top or bottom surface. Zero the z-direction of acceleration while the sensor rests horizontally on one of the long sides.
- Gyroscope: Zero unit while it is at rest on a surface. Then shake unit in one hand while collecting data. Are there readings?
- Altimeter: Zero unit on a surface. Move unit upwards more than 1 meter – does the altimeter reading show the change in height above the surface?
Additional Troubleshooting
- What is the difference between a Go Wireless sensor and a Go Direct sensor?
- Will my device work with Go Direct Sensors via Bluetooth?
- Graphical Analysis App Bluetooth issues on Windows 10: Do I need to pair?
- Does the Go Direct Acceleration fit inside a model rocket tube?
- How do I attach my Go Direct Accelerometer to my experimental setup?
- Why does GDX-ACC report inaccurate altitudes?
- Can I use Go Direct Acceleration with a metal cart?
- Can I use Vernier sensors to investigate factors causing concussions?
- How do you calibrate an accelerometer?
- What is the difference between your accelerometers?
- Which Go Direct Sensor should I take to the amusement park?
- What are the dimensions of the Go Direct Acceleration sensor?
- Which sensors are equipped with the remote data logging feature?
- How do I zero my sensor for a remote data logging experiment?
- Channel Numbers for GDX Sensors in Python and other coding languages
- What are the temperature limitations on the Go Direct 300 mAh battery?
Specifications
- Range:
⚬ Low acceleration: ±157 m/s2 (±16 g)
⚬ High acceleration: ±1,960 m/s2 (±200 g)
⚬ Gyros: ±35 rad/s (±2000 °/s)
⚬ Altimeter: –1,800 m to 10,000 m (-5,900 ft to 33,000 ft)
⚬ Angle: ±180° - Maximum data-collection rate: 1000 samples per second
- Dimensions: 68 mm × 27 mm × 17 mm
⚬ Least cross-section diagonal: 28.6 mm
⚬ Mass: ~28 g - Connections:
⚬ Wireless: Bluetooth® v4.2 (wireless range 30 m unobstructed)
⚬ Wired: USB 2.0 full speed - Battery: 300 mA Li-Poly
⚬ Battery Life (single, full charge): ~24 hours continuous data collection
⚬ Battery Life (lifetime): 2 – 5 years (typical)
Calibration
Calibrate? No. The sensor is set to the stored calibration before shipping. It is not necessary to calibrate any of the sensors included in the Go Direct Acceleration.
- In most cases, calibration is not necessary for the acceleration sensor. However, most accelerometers, including this one, sense gravity as well as acceleration. Thus, if you want to measure vertical acceleration separate from gravity, simply place the sensor in its measurement orientation and zero the axis that is pointing vertically upward.
- If you plan to use this sensor exclusively for vertical acceleration, it makes sense to calibrate the sensor so that zeroing will not be necessary every time a new experiment is created in software. Calibration writes an offset value to the sensor, as opposed to setting a zero temporarily for the duration of an experiment. To calibrate the sensor, click or tap the meter for the axis you wish to offset and choose Calibrate. Orient your sensor as for measurement and enter 0 m/s2 (or whatever offset you choose, for example -19.6 m/s2 if you orient an axis vertically downward instead of upward). Click or tap Keep, then Apply the calibration.
- The gyroscope is factory-calibrated and there is no user-calibrate option.
- You can use the calibration function to write an offset to the altitude chip for your physical location. You can also change the offset to read zero at your location, or simply zero the altimeter when you begin a new experiment.
Battery Troubleshooting
- If the sensor can be turned on when connected by USB but not when disconnected from USB, the battery either needs charging or has reached its end of life and can no longer hold a charge.
⚬ First, try charging the sensor for several hours. - If the sensor still won’t turn on when disconnected from USB, try swapping the battery with a working sensor to see if the problem follows the battery or stays with the sensor.
⚬ If the problem stays with the sensor, the battery is probably not the issue.
⚬ If the problem follows the battery, the battery has likely reached its end of life. - If you intend to use this sensor wirelessly, its battery will need replacing.
Go Direct® 300 mAh Replacement Battery (GDX-BAT-300) - See How do I remove or replace a Go Direct battery? for more information.
Rechargeable batteries are covered by a one-year warranty.
Batteries should last two to five years in typical use.
Related Products
- Micro USB to USB-C Cable (CB-USB-C-MICRO)
- Go Direct® Charge Station (GDX-CRG)
- Wireless Dynamics Sensor System (WDSS), discontinued
- Go Direct® Force and Acceleration Sensor (GDX-FOR)
- Go Direct® Sensor Cart (GDX-CART-G)
- Go Direct® Sensor Cart (GDX-CART-Y)
- 3-Axis Accelerometer (3D-BTA)
- 25-g Accelerometer (ACC-BTA)
- Low-g Accelerometer (LGA-BTA)
Replacement Parts
- Go Direct® 300 mAh Replacement Battery (GDX-BAT-300)
- Micro USB Cable (CB-USB-MICRO)