Dual-Range Force Sensor User Manual
Order Code: DFS-BTA
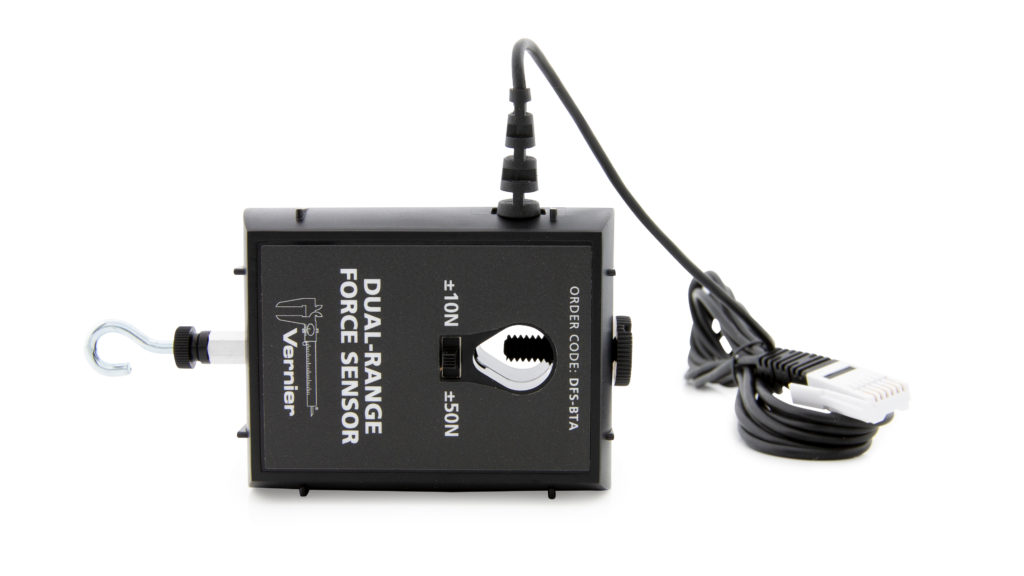
The Dual-Range Force Sensor is a general-purpose device for measuring pushing and pulling forces. It can be used as a replacement for a hand-held spring scale or mounted on a ring stand. It can also be mounted on a dynamics cart to study collisions. Forces as small as 0.01 N and as large as 50 N can be measured. The Dual-Range Force Sensor can be used for a variety of experiments, including
- Studying force and impulse during collisions
- Studying simple harmonic motion
- Monitoring frictional force
- Studying Hooke’s law
- Monitoring the thrust of model rocket engines
- Measuring the force on a dynamics cart
- Measuring the force required to lift a known mass using simple machines
Note: Vernier products are designed for educational use. Our products are not designed nor are they recommended for any industrial, medical, or commercial process such as life support, patient diagnosis, control of a manufacturing process, or industrial testing of any kind.
What's Included
- Dual-Range Force Sensor
- Hook attachment for measuring pulling forces
- Bumper attachment for measuring pushing forces
- Nylon thumb screw
- Accessory Rod that can be used as a handle or mount
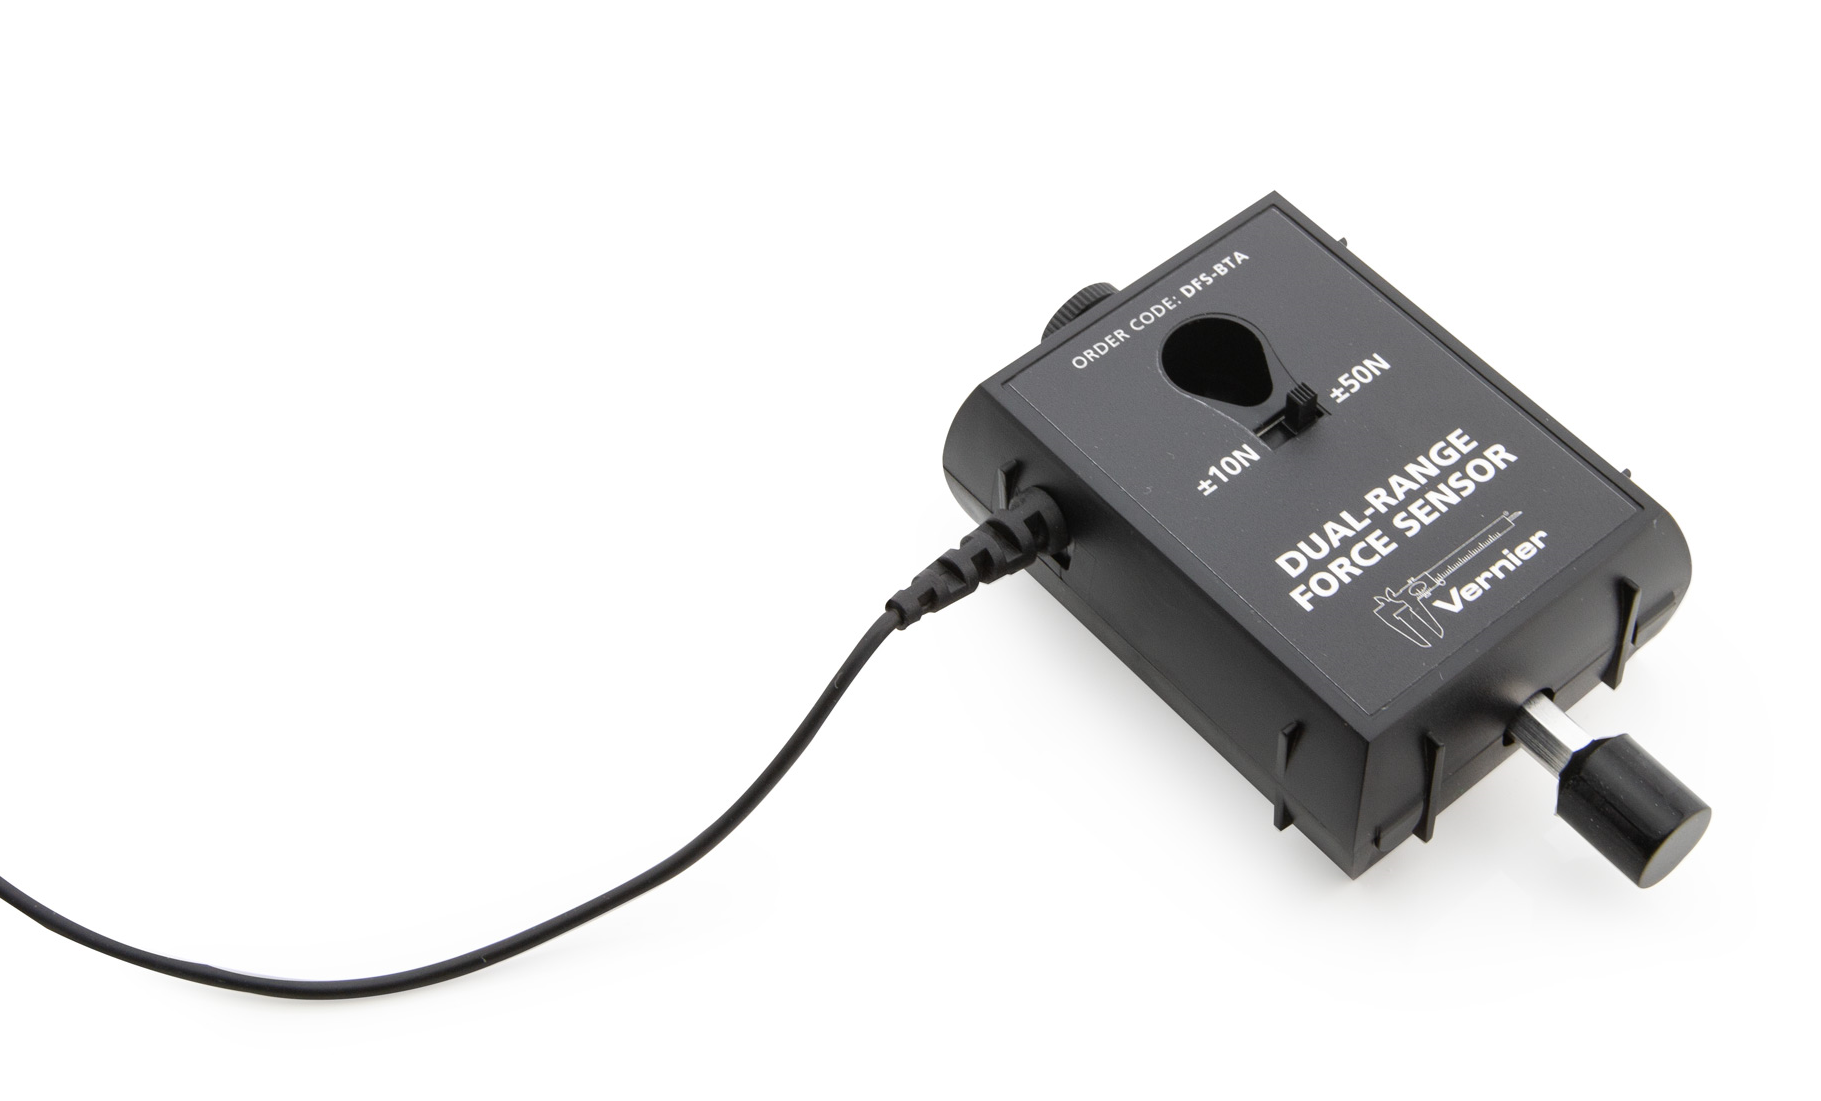
Bumper attached
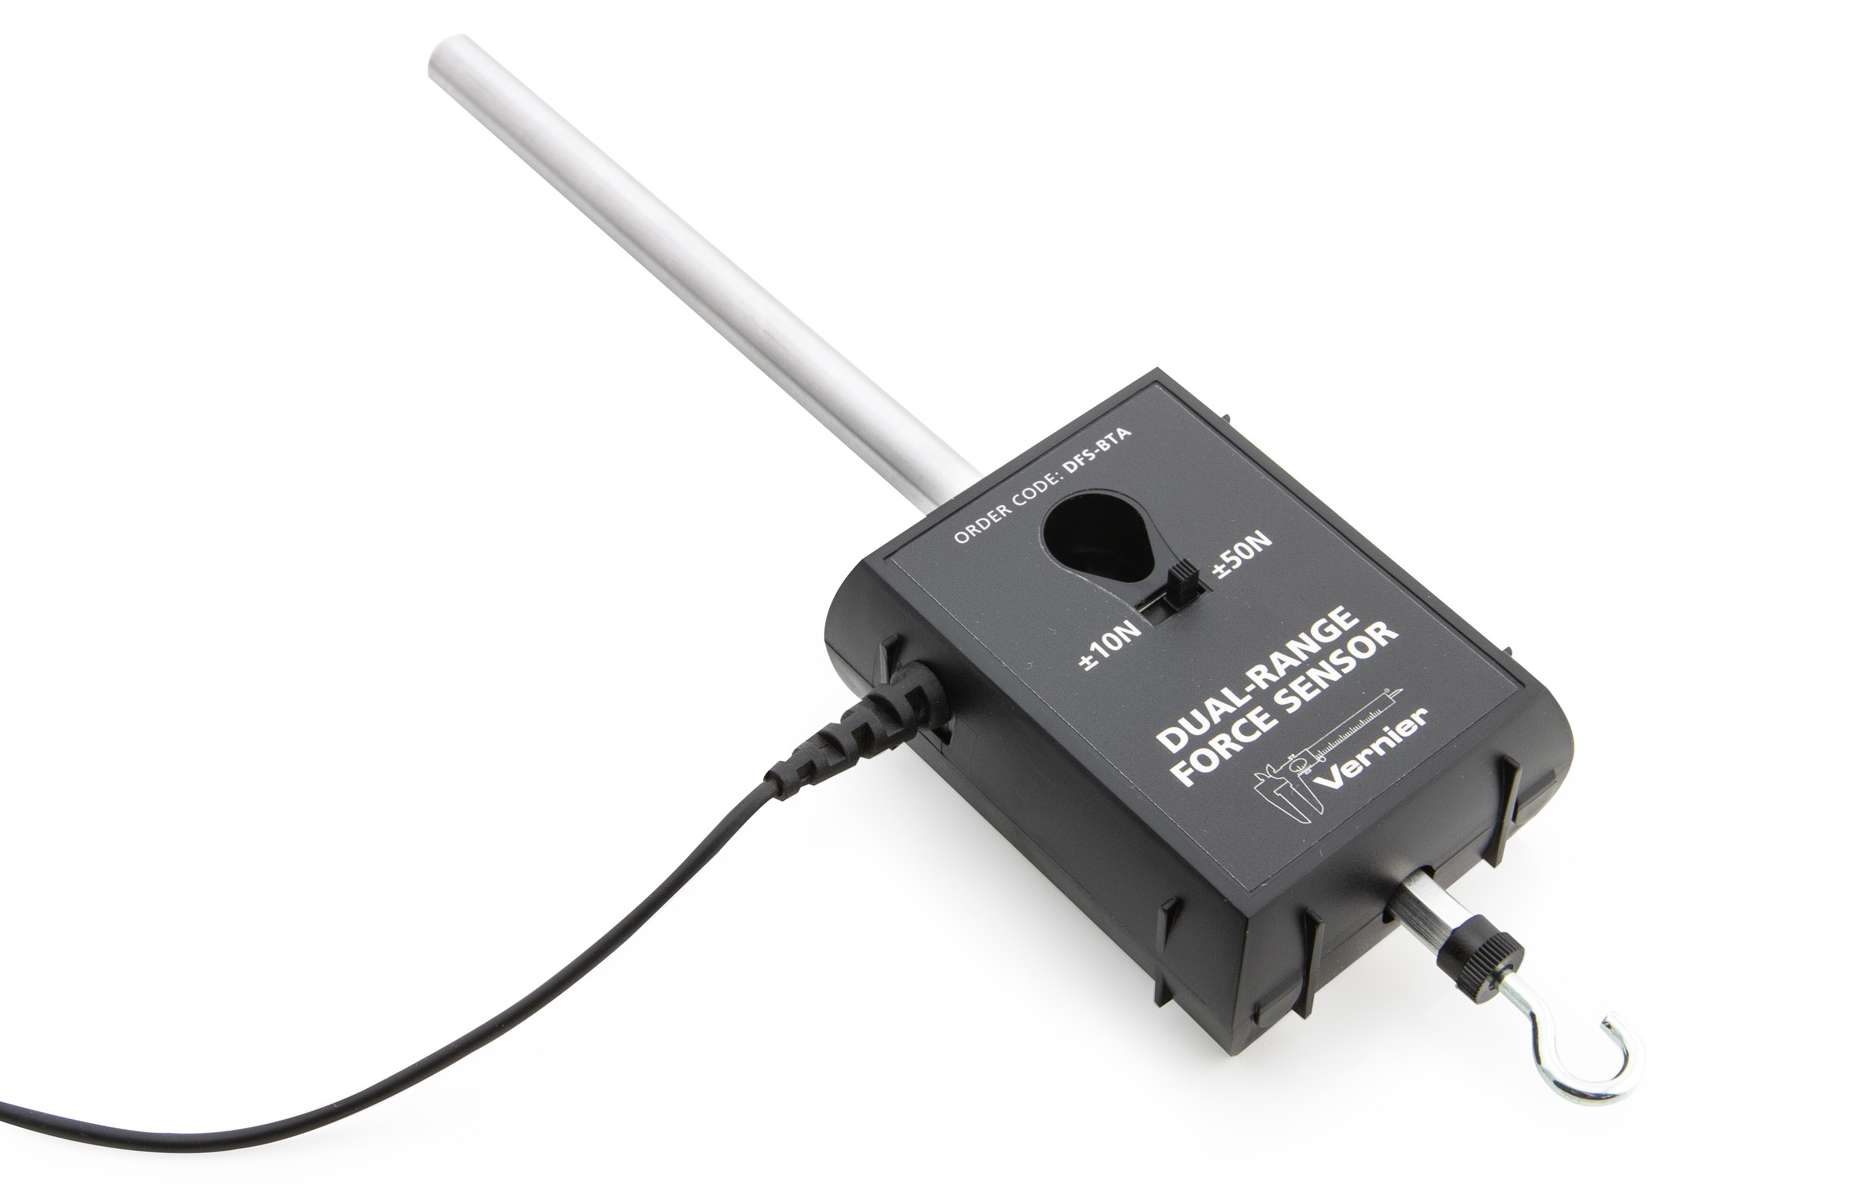
Accessory rod and hook attached
Compatible Software and Interfaces
Choose a platform below to see its compatibility requirements.LabQuest
Interface LabQuest App LabQuest 3 Full support LabQuest 2 Full support LabQuest Full support Computers
Software Interface Graphical Analysis Graphical Analysis (Web App) Logger Pro (discontinued) Logger Lite (discontinued) LabQuest Mini Full support Full support Full support Full support LabQuest 3 Full support Full support Full support Incompatible LabQuest 2 Full support Full support Full support Full support LabQuest Stream Full support 1 Full support 1 Partial support 2 Full support 1 Go! Link Full support 3 Full support 3 Full support 3 Full support 3 LabQuest Full support Full support Full support Full support LabPro Incompatible Incompatible Full support Full support Compatibility Notes
Chromebook
Software Interface Graphical Analysis (Web App) LabQuest Mini Full support LabQuest 3 Full support LabQuest 2 Full support LabQuest Stream Full support 1 Go! Link Full support 2 LabQuest Full support Compatibility Notes
iOS
Software Interface Graphical Analysis Graphical Analysis GW LabQuest Stream Full support Full support LabQuest 3 Full support 1 Full support 1 LabQuest 2 Full support 1 Full support 1 Compatibility Notes
Android
Software Interface Graphical Analysis Graphical Analysis GW LabQuest Stream Full support Full support LabQuest 3 Full support 1 Full support 1 LabQuest 2 Full support 1 Full support 1 Compatibility Notes
Arduino
Software Interface Arduino Vernier Arduino® Interface Shield Full support LabVIEW
Software Interface NI LabVIEW SensorDAQ Full support Vernier myDAQ Adapter Full support 1 Go! Link Full support LabQuest Mini Full support LabQuest Stream Full support LabQuest 3 Full support LabQuest 2 Full support LabQuest Full support Compatibility Notes
Texas Instruments
Software Interface EasyData DataMate TI-84 SmartView DataQuest TI-Nspire Software EasyLink Full support 1 2 Incompatible Full support 1 3 Full support 1 Full support 1 3 CBL 2 Full support 4 Full support 4 5 Incompatible Incompatible Incompatible LabPro Full support 4 Full support 4 5 Incompatible Incompatible Incompatible TI-Nspire Lab Cradle Incompatible Incompatible Incompatible Full support Full support Compatibility Notes
Assembly
The Dual-Range Force Sensor is designed to be mounted on a ring stand, cart, track, or force table in several different ways. Use a 13 mm rod extended through the hole in the Dual-Range Force Sensor. Tighten the included thumb screw.
Getting Started
- Plug the sensor into the interface (LabQuest 3, LabQuest Mini, etc.).
- Connect the interface to your device.
- If using USB, connect to the USB port on your computer.
- If using Bluetooth® wireless technology, click your interface type and then select your device.
- Prepare for data collection:
- Vernier Graphical Analysis®: Launch the app, if necessary, and click Sensor Data Collection.
- LabQuest® App: Choose New from the File menu.
The software will identify the sensor and load a default data-collection setup. You are now ready to collect data.
Need Additional Information?
Visit the following link:
Using the Product
Connect the sensor following the steps in the Getting Started section of this user manual.
Note that the Dual-Range Force Sensor measures forces in only one dimension.
Videos
Calibration
You should not have to perform a new calibration when using the Dual-Range Force Sensor in the classroom. The sensor is sensitive enough to measure the weight of the sensor hook. To minimize this effect, simply place the sensor in the orientation in which it will be used (horizontal or vertical) and choose zero in the software. Much like pressing “Tare” on a scale, zeroing will define the current situation as 0 N of force.
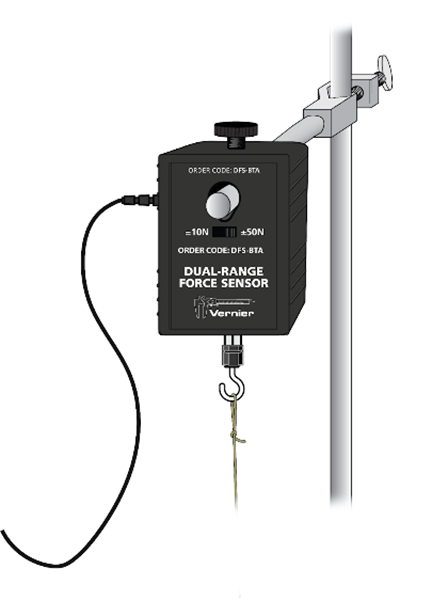
Mounted for vertical data collection
If you want to improve the calibration, it is easy to recalibrate. Follow the same two point calibration procedure used in calibrating most Vernier sensors. One of the points is usually with no force applied.
- Remove all force from the sensor and place it in the vertical orientation.
- Select the calibration option in the program you are using.
- Enter 0 as the first known force.
- Apply a known force to the sensor. The easiest way to do this is to hang a labeled mass from the hook on the end of the sensor. Enter the weight of the mass (Note: 1 kg applies a force of 9.8 N).
For calibration in the ±10 N range, we recommend using 300 g of mass (2.94 N) for the second calibration point. For calibration in the ±50 N range, we recommend using a 1 kg mass (9.8 N) for the second calibration point. Be careful not to exceed the selected range setting during calibration. If you plan to use the Dual-Range Force Sensor in a different orientation (horizontal vs. vertical) than calibrated, simply zero the sensor after calibrating to account for the change.
The default calibration for the Dual-Range Force Sensor is linear (Force) = (slope)(output voltage) + (intercept), with the following values for the slope and intercept:
±10 N range – slope = –4.9 N/V, intercept = 12.25 N
±50 N range – slope = –24.5 N/V, intercept = 61.25 N
Specifications
As with any instrument, there is a trade-off between accuracy and the range of forces that can be measured. In general, you should use the ±10 N range if you can. If the forces exceed 10 N, you need to use the ±50 N range. In normal use, the resolution with the two different switch settings will be
|
Accuracy |
±0.2 N (when calibrated) |
|
|
Range |
Resolution |
Default Calibration Values |
|
±10 N |
0.01 N |
N: slope = –4.9, intercept = 12.25 lbs: slope = –1.1016, intercept = 2.7539 |
|
±50 N |
0.05 N |
N: slope = –24.5, intercept = 61.25 lbs: slope = –5.5083, intercept = 13.77 |
How the Sensor Works
The Dual-Range Force Sensor uses strain gauge technology to measure force based on the bending of a beam. Strain gauges attached to both sides of the beam change resistance as the beam bends. The strain gauges are used in a bridge circuit such that a small change in resistance will result in a change in voltage. This voltage change is proportional to the change in force. A switch allows you to select either of two ranges: ±10 N or ±50 N.
Troubleshooting
For troubleshooting and FAQs, see www.vernier.com/til/1429
Repair Information
If you have watched the related product video(s), followed the troubleshooting steps, and are still having trouble with your Dual-Range Force Sensor, contact Vernier Technical Support at support@vernier.com or call 888-837-6437. Support specialists will work with you to determine if the unit needs to be sent in for repair. At that time, a Return Merchandise Authorization (RMA) number will be issued and instructions will be communicated on how to return the unit for repair.
Accessories/Replacements
| Item | Order Code |
|---|---|
|
CLAY-BUMPERS |
|
|
BLK |
|
|
RFX-ACC |
|
|
PCA-DFS |
|
|
FTA-DFS |
|
|
ATA-DFS |
|
|
SPRINGS |
|
|
EXT-BTA |
|
|
Replacement Rod for Dual-Range Force Sensor, Photogate, or WDSS, 5 in |
ACC-ROD |
|
DFS-RPK |
Warranty
Warranty information for this product can be found on the Support tab at www.vernier.com/dfs-bta/#support
General warranty information can be found at www.vernier.com/warranty
Contact Support
Fill out our online support form or call us toll-free at 1-888-837-6437.